We’re going to show you how to recolor glyph icons to any color in Adobe Illustrator. Although we’re mostly thinking of our Windows and iOS icon packs, this method applies to any glyph icons.

If you can’t afford, download or stand Illustrator, try Icons8 Web App. It allows you to:
That’s easy. No tutorial is needed 🙂
When Might You Need to Recolor an Icon?
We deliver the black (indeed, dark gray) icons, but lots of you need them in a different color:
- many of you use the icons on dark backgrounds and want to make them pure black
- some of you use icons as a logo and want to add some color for branding
Let’s take a quick look at recoloring icons in Adobe Illustrator in just a few steps.
Note for advanced users: If you know the basics of Illustrator, you could brag to everyone about your mad skills, or you could skip to Step 5.
Step 1. Getting Adobe Illustrator (for free)
Simply go to the Adobe website and download it. There is a 14-day free trial, which serves our needs.

If you want to change the color of the icons after 14 days, you could either:
- pay $50 for a month of use
- install Adobe Illustrator on another computer and get another 14-day trial
Step 2. Getting the icons
By this point, you should have some vector icons to work with. Well, we sell the vector icons for a fee. Occasionally, we distribute some vectors free and give away the link on our twitter. Follow us.
We also give away all of the icons in our most popular category. Go ahead and check out our Very Basic icon pack.
If you just want to get right to work, download this sample with a few icons about love. Yes, we love our readers:
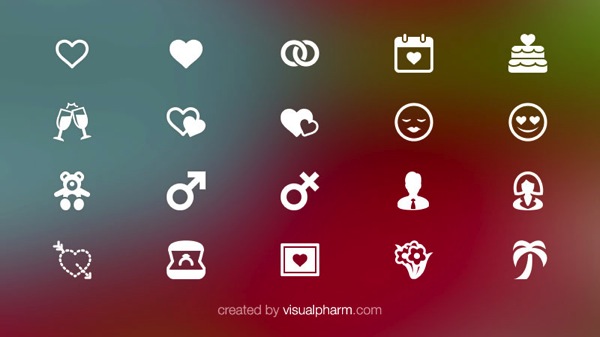
Step 3. Opening the file and finding the icon
Now that you have a vector file (usually with an AI or EPS extension), you could open it with File -> Open… dialog. Now, you should have a window like this:
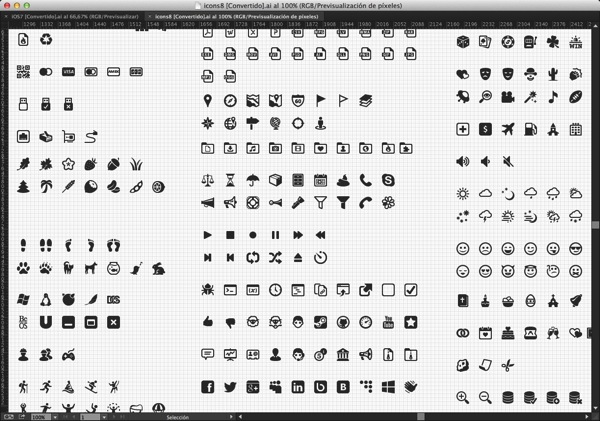
It could take a while to find the icon you need. Use the scrollbars.
Finally, zoom in on the icon you need, press Cmd+ ( Ctrl++ in Windows) few times to enlarge it:

Step 4. Selecting
Now, when you have the icon you like on the screen, select it. Make sure you have the select tool chosen. It’s in the top left corner:
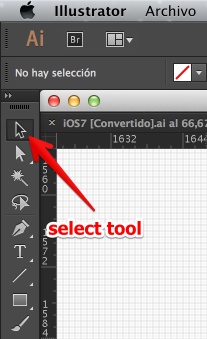
Now drag the cursor around the icon and release the cursor.
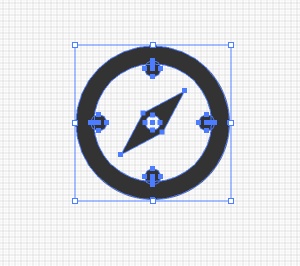
Make sure every part of the icon is selected.
Step 5. Inverting color
Great job. The hard part is over. In the menu now choose Edit -> Edit Colors -> Invert colors. Voila! Whatever was black is white. Dark gray is light gray.

Alternative step 5: if you want a different color
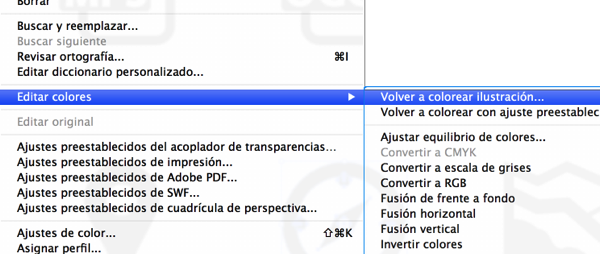
Go to Edit -> Edit colors -> Color the illustration. Here is my Illustrator screen (sorry, it’s in Spanish because I’m learning Spanish):
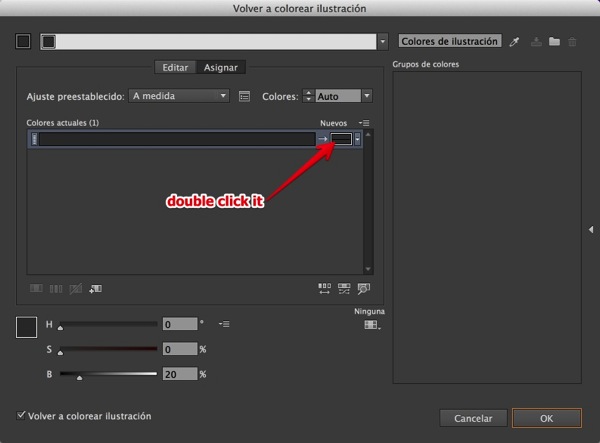
In the dialog double click where indicated:
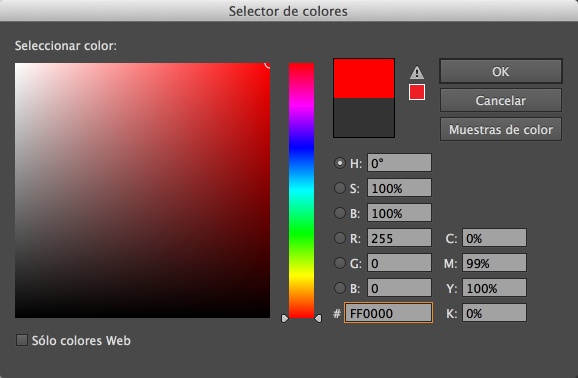
Now you can choose any color. I picked red. Don’t analyze me 🙂
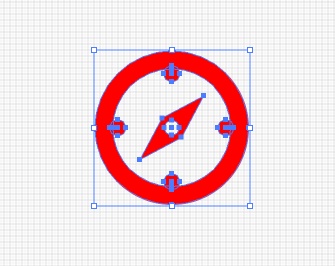
All done. Click OK on all dialogs and enjoy your red icon:
Step 6: Saving the icon
Don’t let all your hard work go to waste. To save:
- Copy the selected icon to the clipboard: Cmd+C (Ctrl+C in Windows)
- Create a new document: menu File->New… or just press Cmd+N (Ctrl+N in Windows). Press OK in the next dialog: the defaults are fine.
- Export it with File -> Export… Again, the defaults are fine.
If you need a different size, scale the icon before saving.
Well done!
Try free tools for creators by the Icons8 team
Also, get the lists of free vector software and free photo editing software.