Looking for ideas on how to upgrade your YouTube channel? Here is the step-by-step tutorial on creating a fun video thumbnail using built-in images in Lunacy, free graphic software.
A video thumbnail is the first thing your potential viewers see. It is often a matter of one glance, whether they choose to click on it or not. So let’s create an eye-catching image for a video.
I’ll use a gradient, shadow, layer style, photos, and icons in this tutorial.
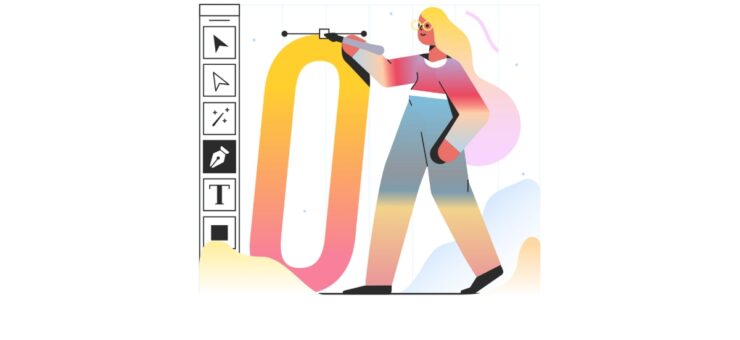
Here is the thumbnail I want to make:

1. Open Lunacy.

2. Choose the artboard you want. I’ve picked “Youtube” in the Social Media expander.

3. Adjust the zoom to see the full artboard.

4. Open the Object tab to see the object tree.

5. Select the Rectangle Tool and stretch the shape across the entire artboard.

6. Change the color of the rectangle. Choose the fill, for example, a linear gradient. I’ve chosen a double gradient with colors #9DD4FF and #FFC68F.

7. Add two center points to the gradient. Use the colors from the gradient’s opposite sides: #9DD4FF and #FFC68F.

8. Join the two center points somewhere in the middle of the gradient for a sharp transition.

9. Add a small rectangle to the left of the artboard.

10. Change the color of the rectangle. I’ve chosen a color: Soft red #DD614A.

11. Select the Text tool and type in the first part of the caption. The text block will be added to the group with a rectangle automatically.

12. Adjust the text block. I’ve chosen the font Gadugi Bold, size 165, and the color #FFFFFF.

13. Adjust the size and position of the text block.

14. Select the group in the Objects tree and duplicate it. Press Alt, grab the group, and drag the copy under the existing group.

15. Type in the second part of the caption.

16. Select the rectangle in the Objects tree and increase its width to cover the area under the text fully.

17. Open the photos library. Click on the search bar and select the type “Objects.”

18. Select multiple photos and add them to your thumbnail. I’ve chosen a lamp-cat, 3D Hands, and an alpaca. Why alpaca? Because it’s awesome and it looks like it knows everything 🙂

19. Adjust the rotation and position of all photos.

20. Choose one of the photos and add shadow to it.

21. Set up a shadow. I’ve chosen a white shadow color #FFFFFF with an Opacity of 100%, Blur 2, and Spread 20. I’ve left the X and Y positions 0:0.

22. Now, create a layer style using the right panel.

23. Enter a name for the layer style in the window that appears. I’ve chosen “Shadow style.”

24. Select the rest of the photos without shadow and apply a layer style to them.

25. Adjust extra shadow if it’s not enough.

26. Now, let’s add the company or the channel icon to the thumbnail. I’ve opened the icons library and found the Icons8 logo. You can search for any other icons that would suit your project. Just remember to set a link back to us if you are using them for free.

27. Select an icon and add it to the corner of the thumbnail.

28. Adjust the position and rotation of the elements until you are happy with the result.

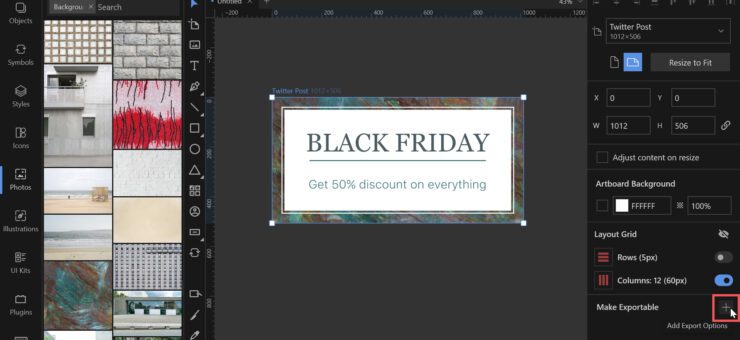
29. Select all the objects by pressing Ctrl (Cmd) + A on your keyboard. Then click the plus button next to Make Exportable in the right tab to set up export.

30. Choose the right format from the drop-down menu. In this case, I’ve chosen PNG and JPEG.

31. Click the Export Selected button to save your image.

Now you can add a thumbnail to your video.
Result
By following these steps, you can create a cool and fun thumbnail for your video. Use this tutorial to create your own cool designs, and don’t forget to share your results with us on social media!
Download the project file for Lunacy and see what it is made of. You can customize it by adding different images and text and use it, but remember to set a link to us!
Check out the other Lunacy tutorials to upgrade your skills and learn something new right now:
- Design a Landing page
- Glassmorphism in UI design
- Banner for Facebook Post
- Memes
Follow the Lunacy team on social media and stay tuned for new tutorials:
About the author: Julia G, a wonderful creature responsible for QA and SMM at the Lunacy team.