Do you want to remove picture backgrounds in Photoshop like a pro? Learn how to use Background Eraser Tool in Photoshop in our comprehensive guide.
Table of contents
- What is the Background Eraser Tool?
- How does the Background Eraser Tool work?
- Background Eraser Tool settings
- How to erase an image background using Background Eraser Tool: step-by-step guide
- Why is the Background Eraser Tool not working?
- Icons8 Background Remover — a hassle-free Background Eraser Tool’s alternative
What is the Background Eraser Tool?
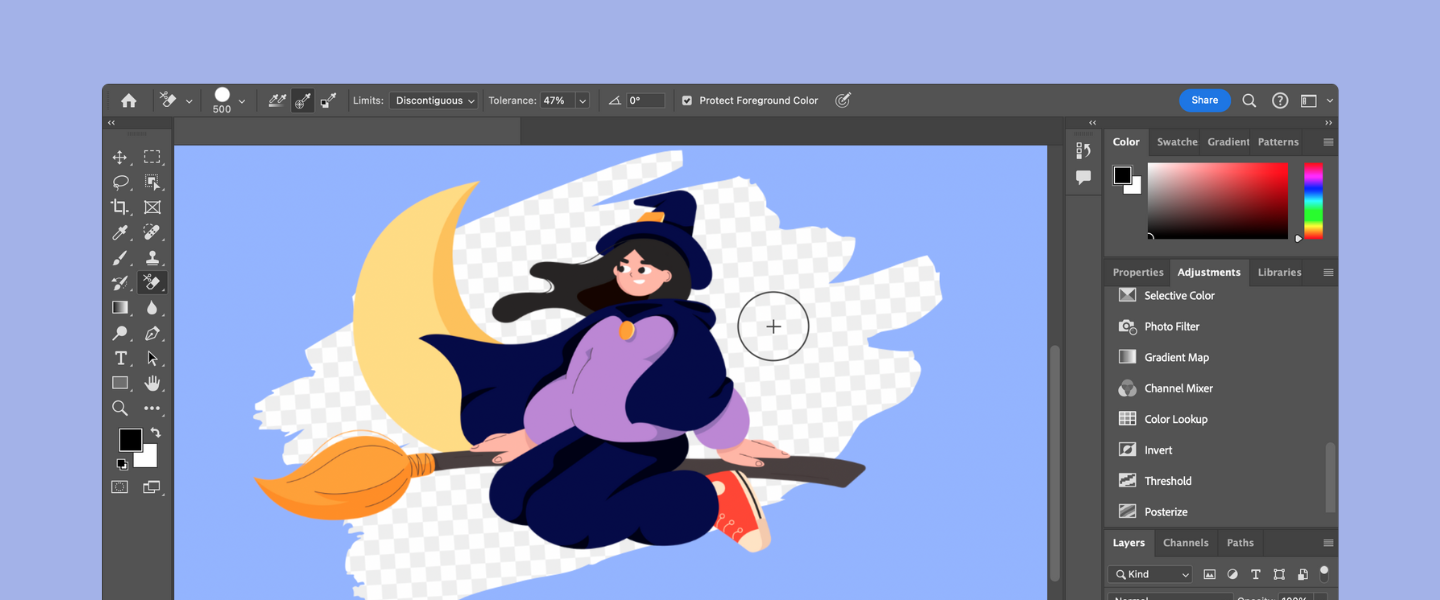
As the name suggests, the Background Eraser Tool is a brush that erases picture backgrounds.
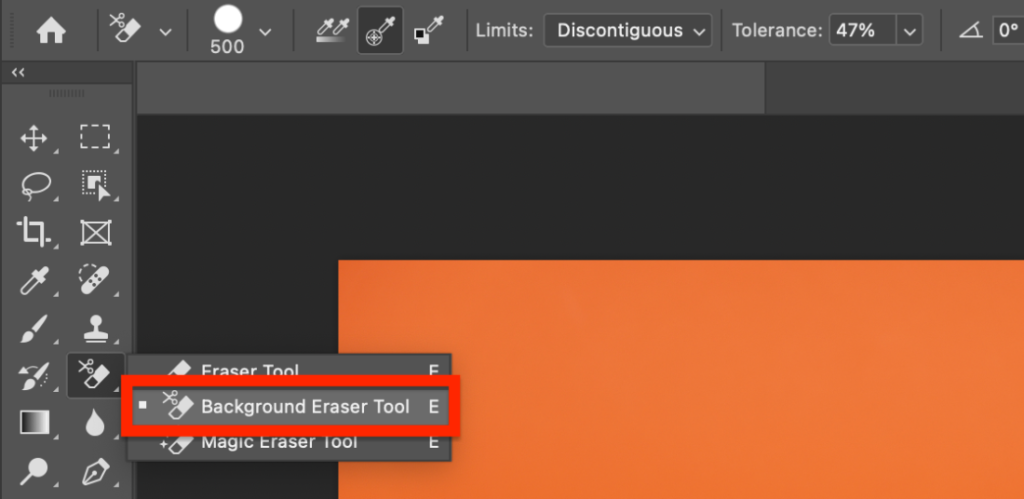
You can find it under the Eraser tool along with Magic Eraser tool.
How does the Background Eraser Tool work?
The Background Eraser Tool in Photoshop erases background pixels based on their color.
When you erase a particular area of the background, it samples the color from the area you first clicked. Then it erases all the pixels of that specific color.
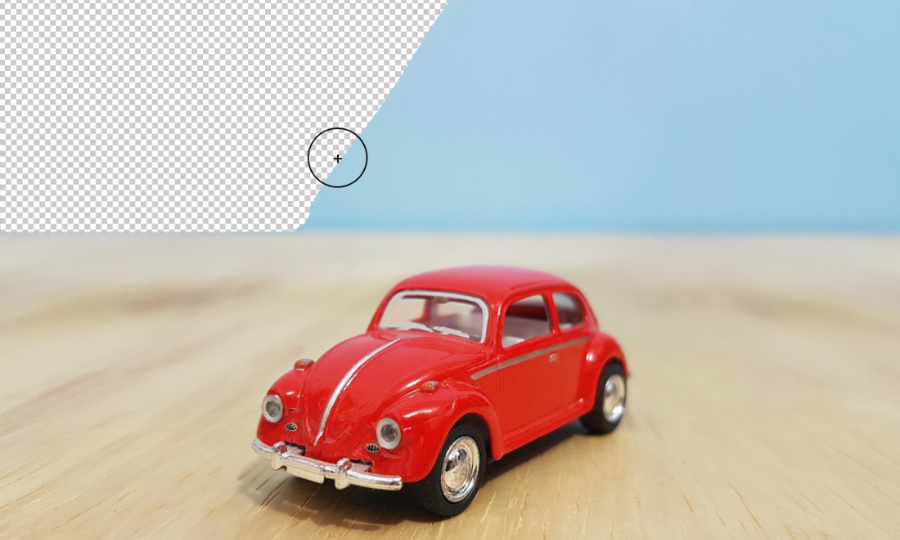
Let’s look at the picture below. The brush ignores the table’s edges when we erase the blue background. Because we sampled the blue color, the Background Eraser Tool erases only that one color.
Background Eraser Tool settings
To make the most of the Background Eraser Tool, it’s important to understand its key settings. Let’s dive into each of them and learn how they impact your editing process.
Brush size
The Brush Size setting determines the diameter of the eraser.
A smaller brush size is ideal for fine details or smaller areas of the background, while a larger brush size works best for erasing larger portions of the background.
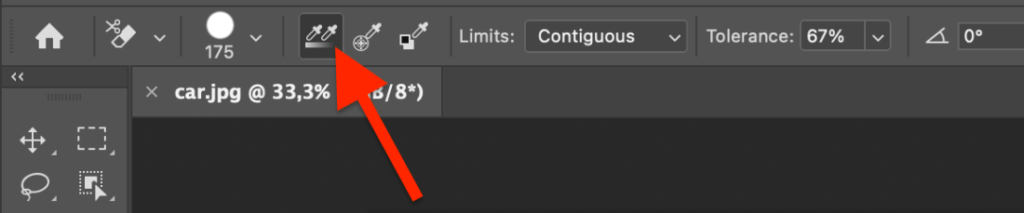
Sampling
The Sampling controls how the Background Eraser Tool will sample the background colors of your image. It offers 3 options: Continuous, Once, and Background Swatch. They’re located on the top menu and look like eyedroppers with different signs next to them.
- Continuous
It looks like a double-eyedropper.
With Continuous Sampling, the Background Eraser Tool continuously samples the color as you move the cursor.
It’s useful when you want to erase a photo background with varying colors.
The table from the image below has different shades of beige. Continuous Sampling allows you to smoothly erase the table while maintaining its texture.
- Once
It looks like an eyedropper with a plus sign next to it.

With the Once Sampling option, the Background Eraser Tool samples the color only once (from your first click). After that, it erases the pixels of that sampled color.
This option is helpful when you want to erase a specific background color in Photoshop.
Let’s use the previous photo as an example. With Once Sampling, you can click on the blue background once and then erase all the blue pixels while leaving other colors ignored.
- Background Swatch
It looks like an eyedropper with a pair of overlapping squares.
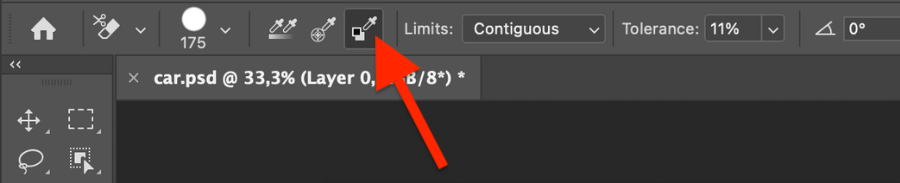
The Background Swatch option allows you to choose a specific color as the background. The tool erases pixels that match that swatch color.
Let’s take the previous picture again. With the Background Swatch Sampling option, you don’t have to sample the blue color. Just set the blue color as the background swatch, and remove it by dragging the cursor over it.

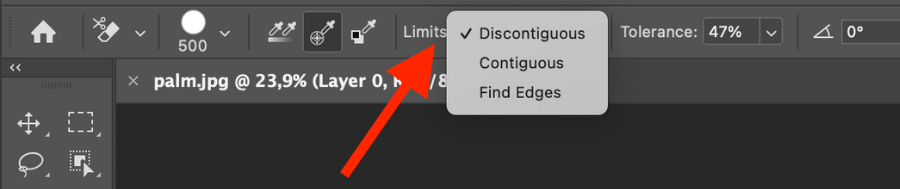
Limits
The Limits settings tell the Background Eraser Tool where to look for pixels that match the color you want to erase. They’re located next to the Sampling options. There are 3 of them: Contiguous, Discontiguous, and Find Edges.
- Contiguous
The contiguous option erases pixels with similar colors, touching each other.
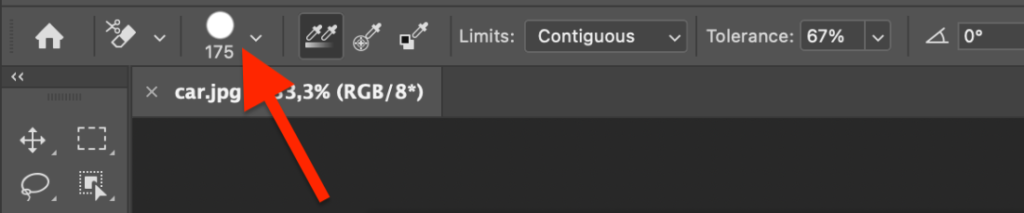
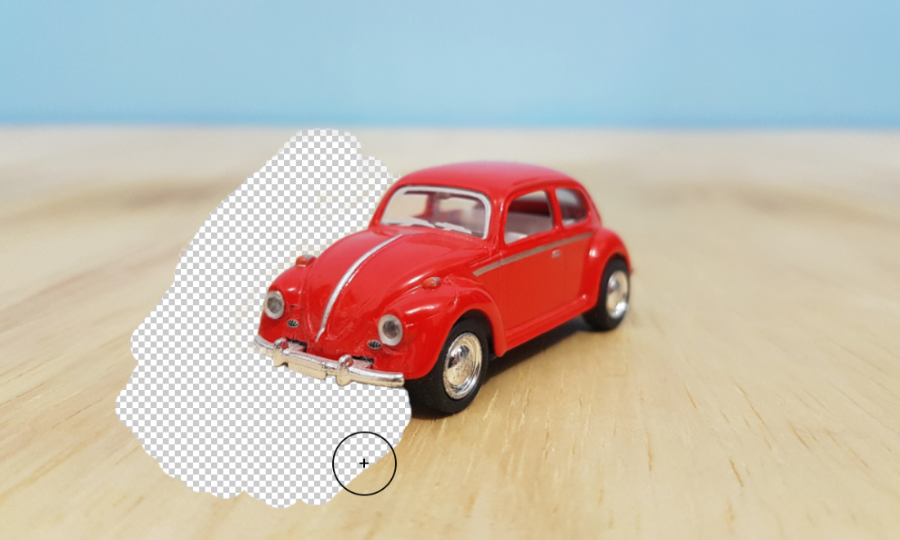
Look at the picture below. The contiguous option erases all the connected beige pixels around the car.
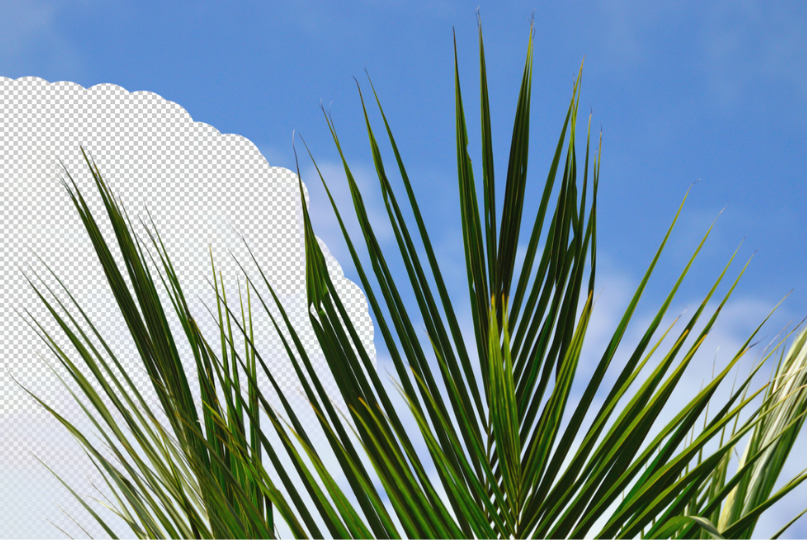
- Discontiguous
The Discontiguous option removes similar-colored pixels throughout the image, even if they’re isolated.
In the picture below, you can easily remove the sky pixels, even if they’re separated by leaves.
- Find Edges
The Find Edges option provides a precise background removal along the object’s edges.
Tolerance
The Tolerance settings determine the range of colors that will be erased. You can find it right after the Limits.
If there is a high color contrast between the object and the background, i.e., there are many colors in your picture, then use the higher tolerance settings. It can be 65%-85%.
If the object and background share similar colors, i.e., there are few colors in your picture, then use the lower tolerance settings. It can be 5%-45%.
The objects and the background from the image below have contrasting colors. So the Tolerance value of 70% is the perfect option for this image.

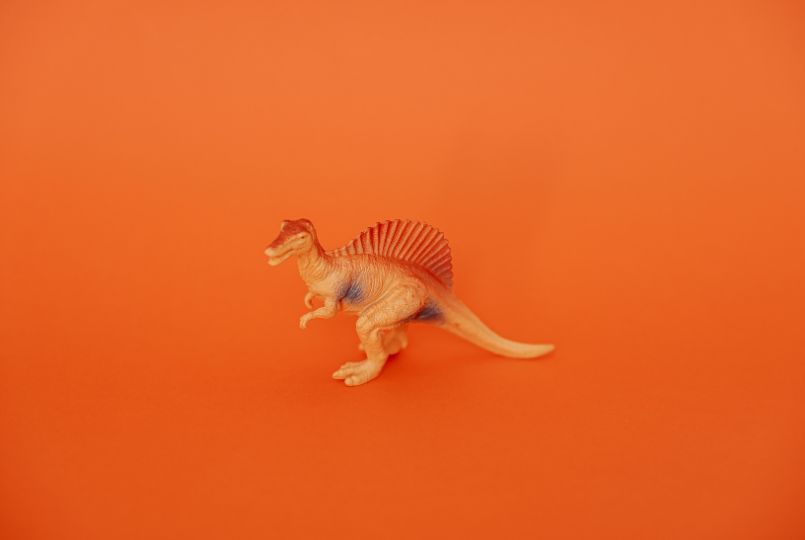
Protect Foreground Color
The Protect Foreground Color setting helps preserve a specific foreground color while erasing the background.
It’s helpful when the object and background share similar colors.
The dinosaur and the background from the image below have similar colors. So, checking Protect Foregrond Color option for this image will give the best results.
Why is the Background Eraser Tool not working?
Take note that the most common reason why the Background Eraser Tool isn’t working properly is that Sampling, Limits, and Tolerance aren’t set right.
During the process, adjust these settings to best suit the parts of the image you’re working on. This will help you get the best result. By the way, you may even create or download free Photoshop actions to save time on repetitive actions and make it automatically.
For example, changing the Sampling, and Tolerance can help you adapt to color variations.
Adjusting the Limits settings will help you to quickly remove unwanted areas of the background, and achieve accurate results for the edges of the object.
Keep in mind that practice and experimentation are key to mastering the Background Eraser Tool.
How to erase a picture background using Background Eraser Tool in Photoshop: step-by-step guide
- Select the Background Eraser Tool from the left-hand toolbar.
- Start from the edges of your object. Choose the Find Edges Limits settings. Adjust the Brush size, Sampling, Tolerance, and Protect Foreground Color settings based on your image. Follow the instructions from the previous section.
- Sample the background color pixels around the edges of the object and start erasing the background along the edges. If you accidentally erased the parts of the object you want to keep, press Ctrl+Z (Windows) / Command+Z (Mac) to undo your last brush stroke, and start erasing again. Adjust the Background Eraser Tool’s settings during the process if it’s needed.
- Now erase the rest of the background. Switch from the Background Eraser Tool to the Eraser tool. Set the largest brush size and the brush opacity of 100%. Continue until the entire background is erased.
Icons8 Background Remover — a hassle-free Background Eraser Tool’s alternative
Mastering the Background Eraser tool requires time and practice. It’s not a 15-minutes job. Additionally, this tool works best only for solid-color backgrounds, like white background, green screen, etc. But hey, don’t fret! There’s a hassle-free alternative. It’s an Icons8 Background Remover.
With our online tool, you can remove backgrounds of varying complexity within 5–10 seconds. Just a few clicks and your background is transparent.
- Go to the Icons8 Background Remover and upload an image you want to edit.
- The tool will automatically remove its background.

- Download your image.
What option to choose: Background Eraser Tool or Icons8 Background Remover? It all depends on your goal. If you want to become a Photoshop pro, go with Photoshop. For a hassle-free way to remove image backgrounds, use Icons8 Background Remover.
Also, check how to remove background from picture in Photoshop, and review of top 5 background removal services.