In this tutorial, you’ll learn how to create a paper cut-out effect in Lunacy. We will be mainly using the vector tool and shadows.
Watch this video or follow the step-by-step guide below.
Ready? Let’s go!
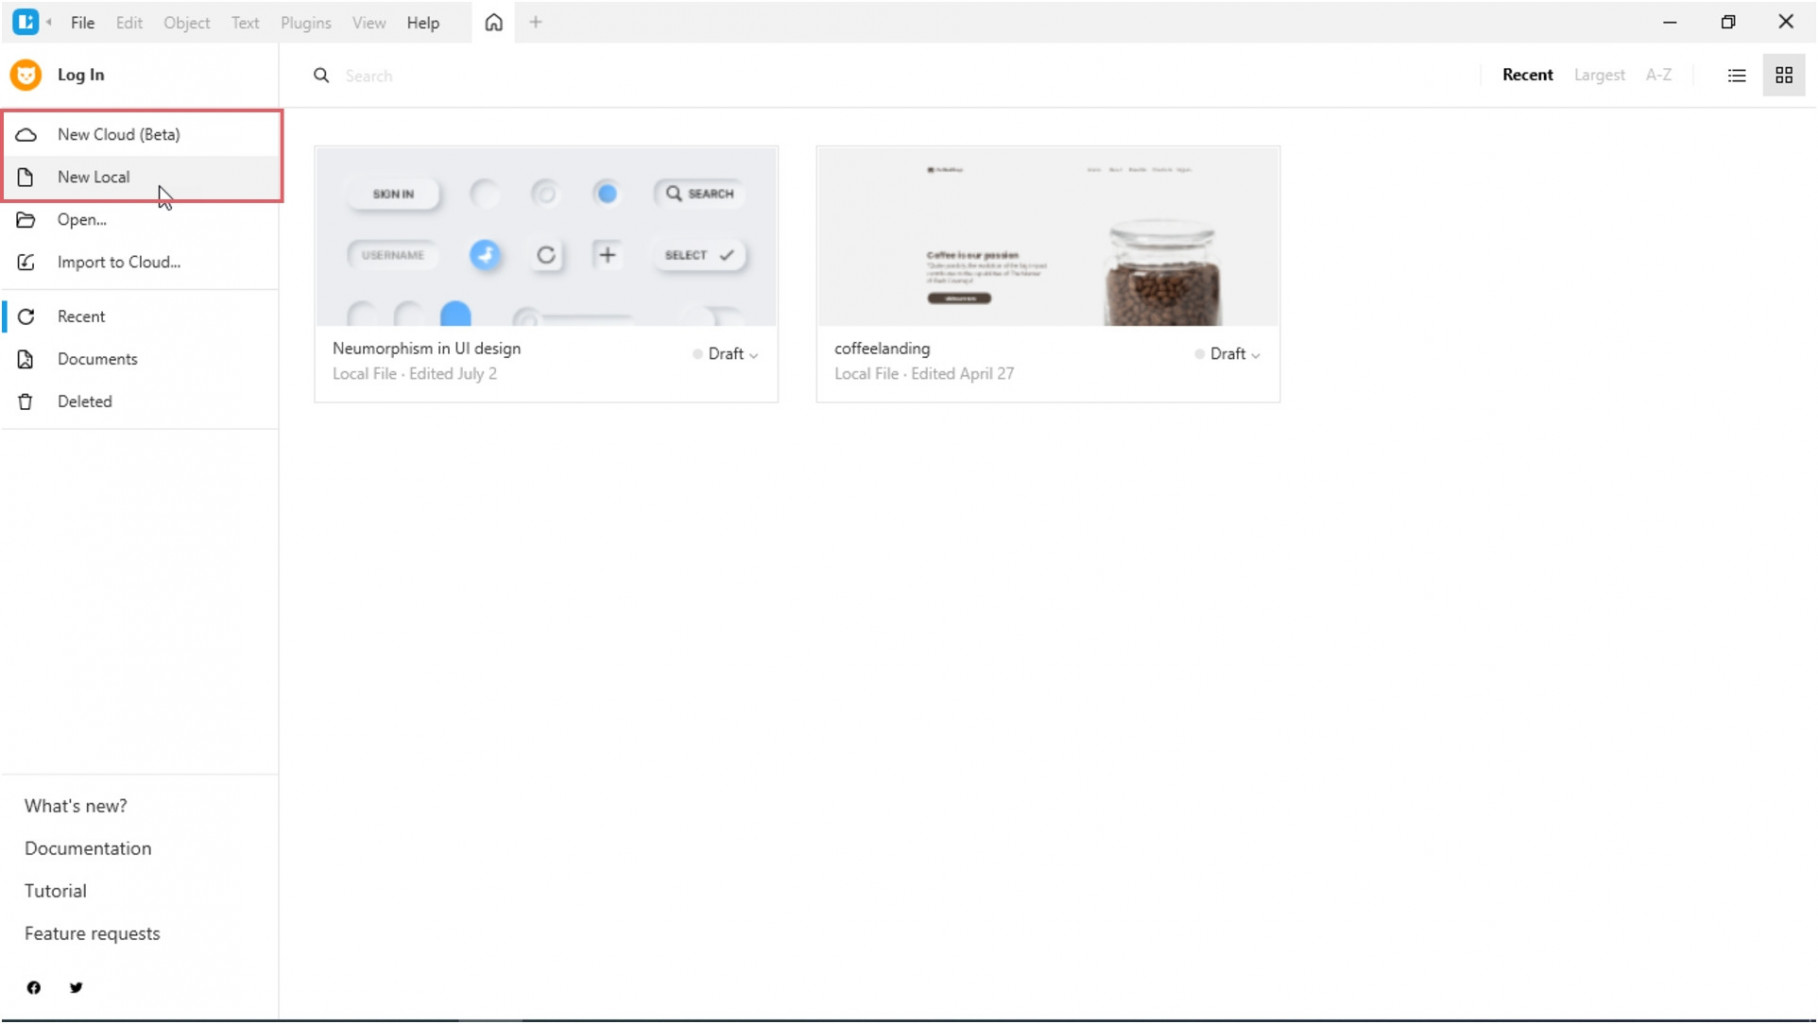
Launch Lunacy and create a new document.
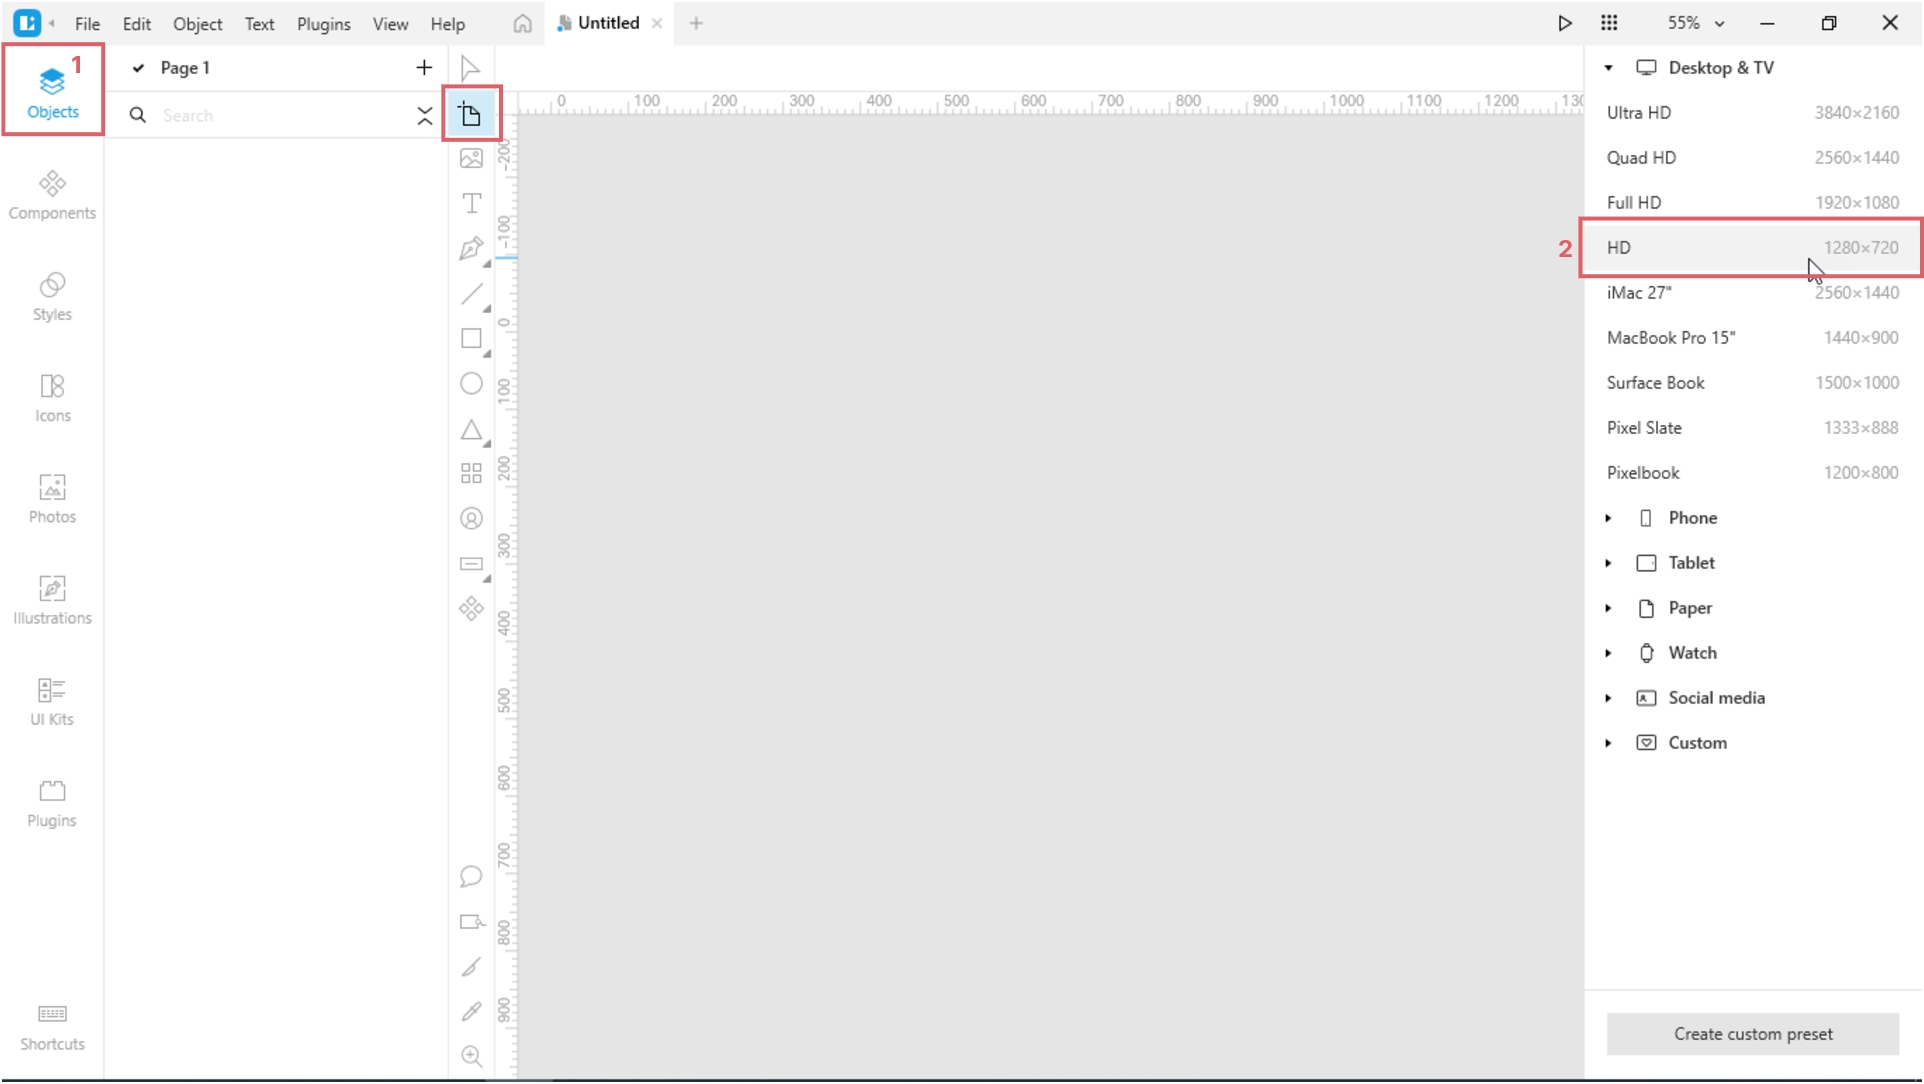
In the app window, select the Objects tab. This will let you see and manage all the objects in the left panel.
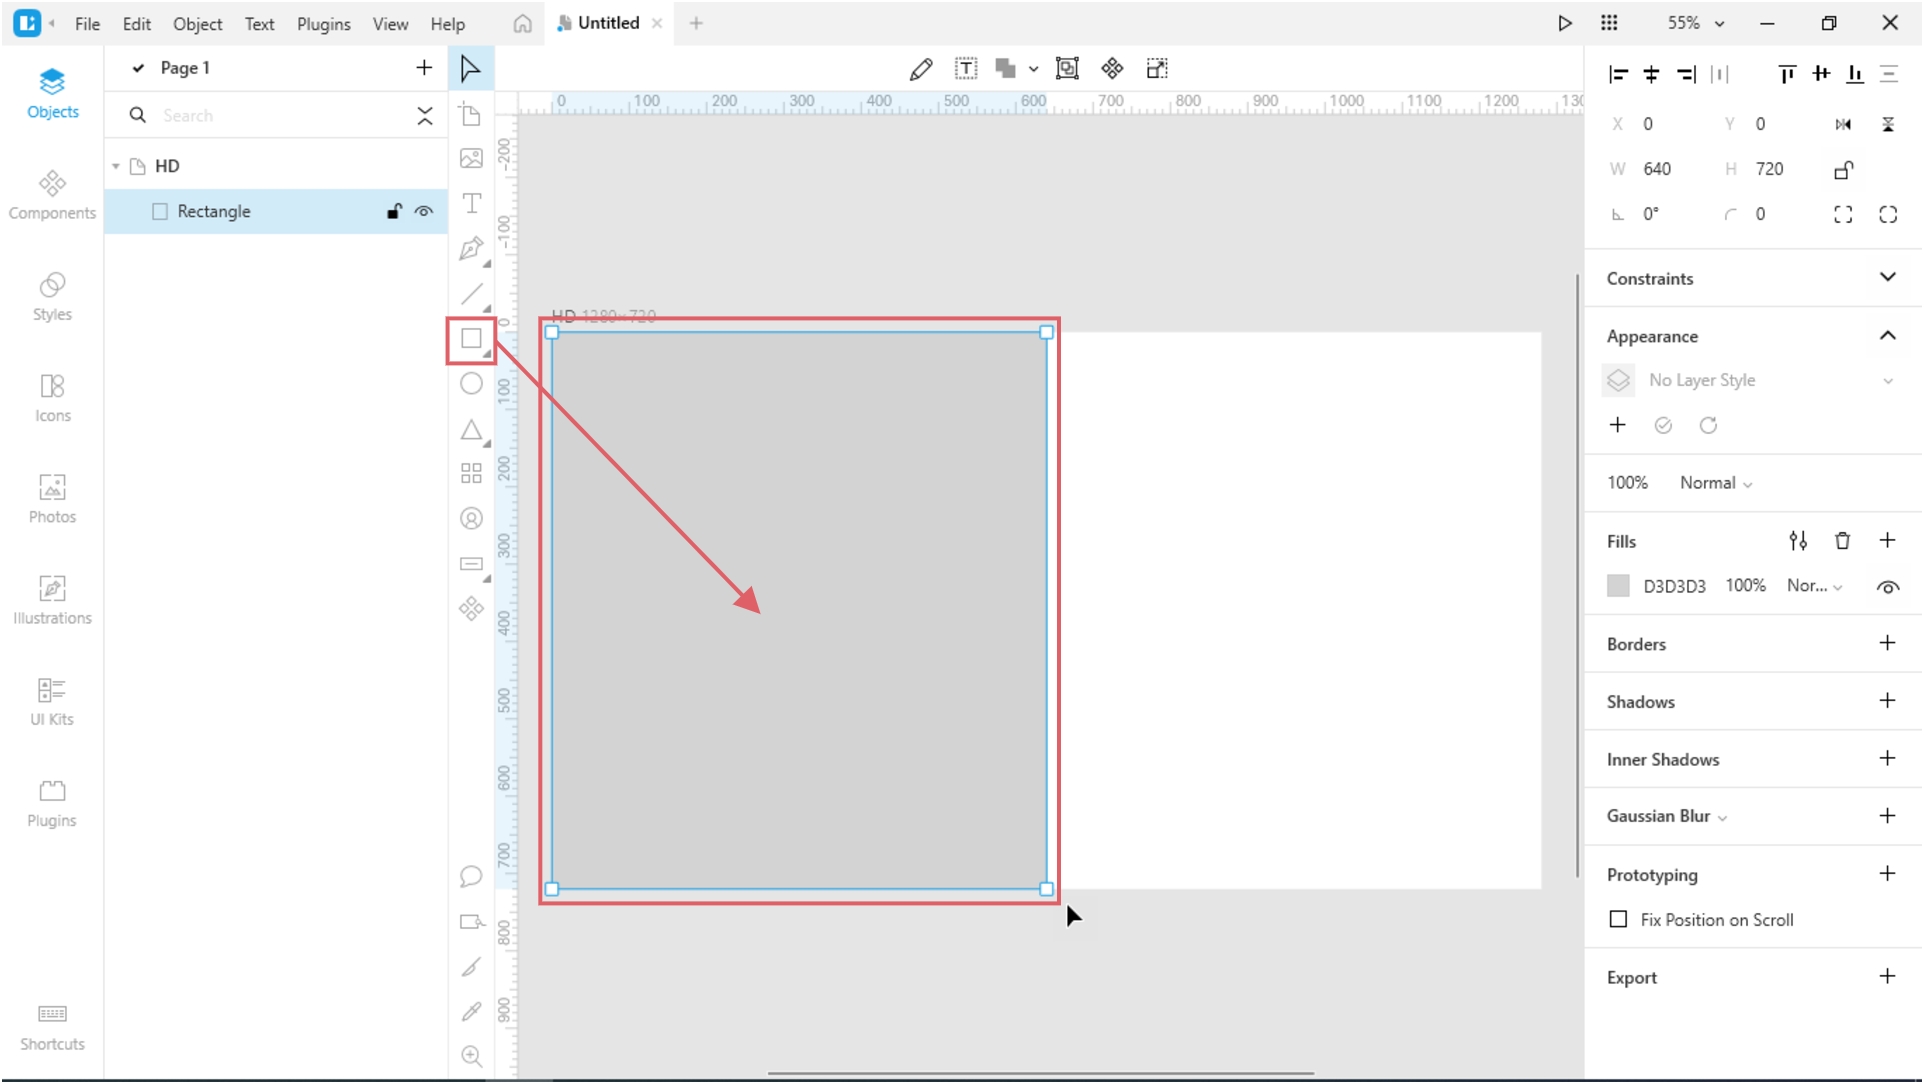
Then, add an artboard. I selected the HD option from the list of presets in the right panel. Adjust the zoom so that the artboard fits the canvas.
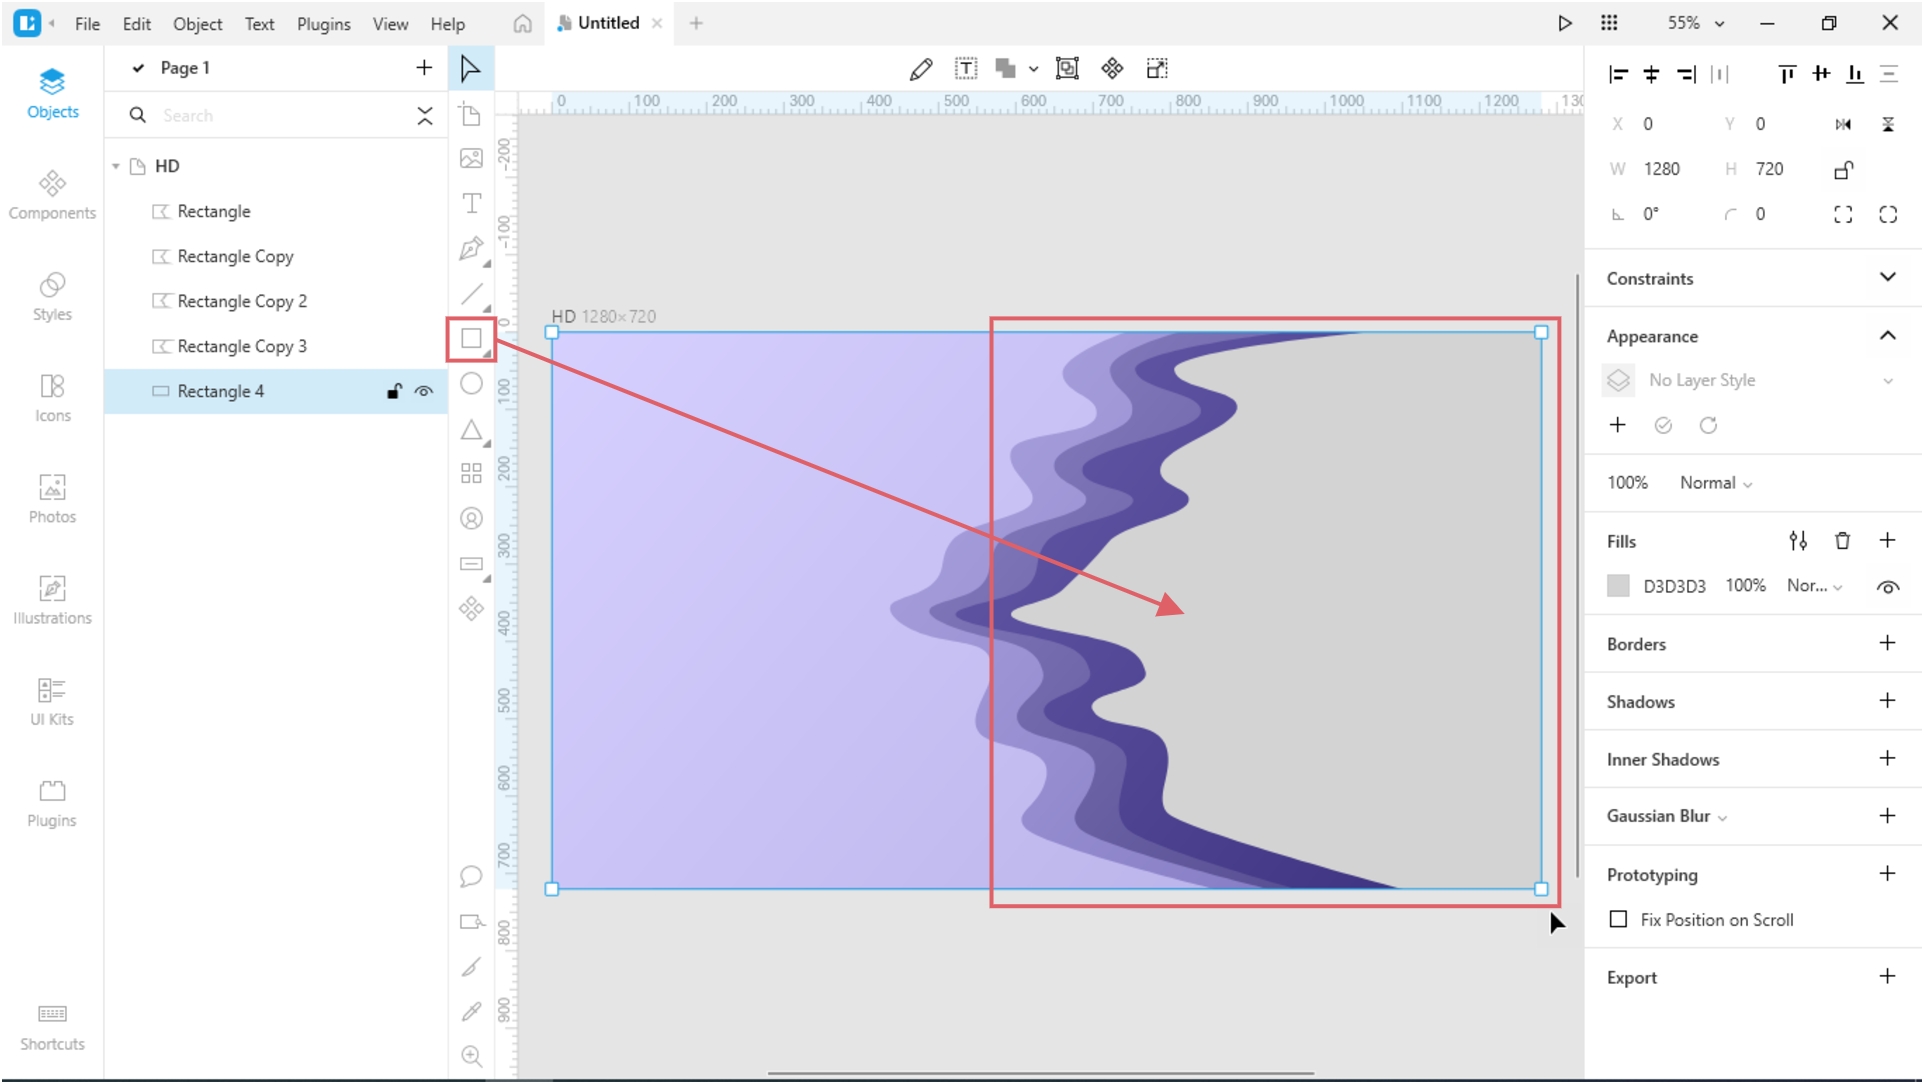
Now, add a rectangle that is half the size of the artboard.
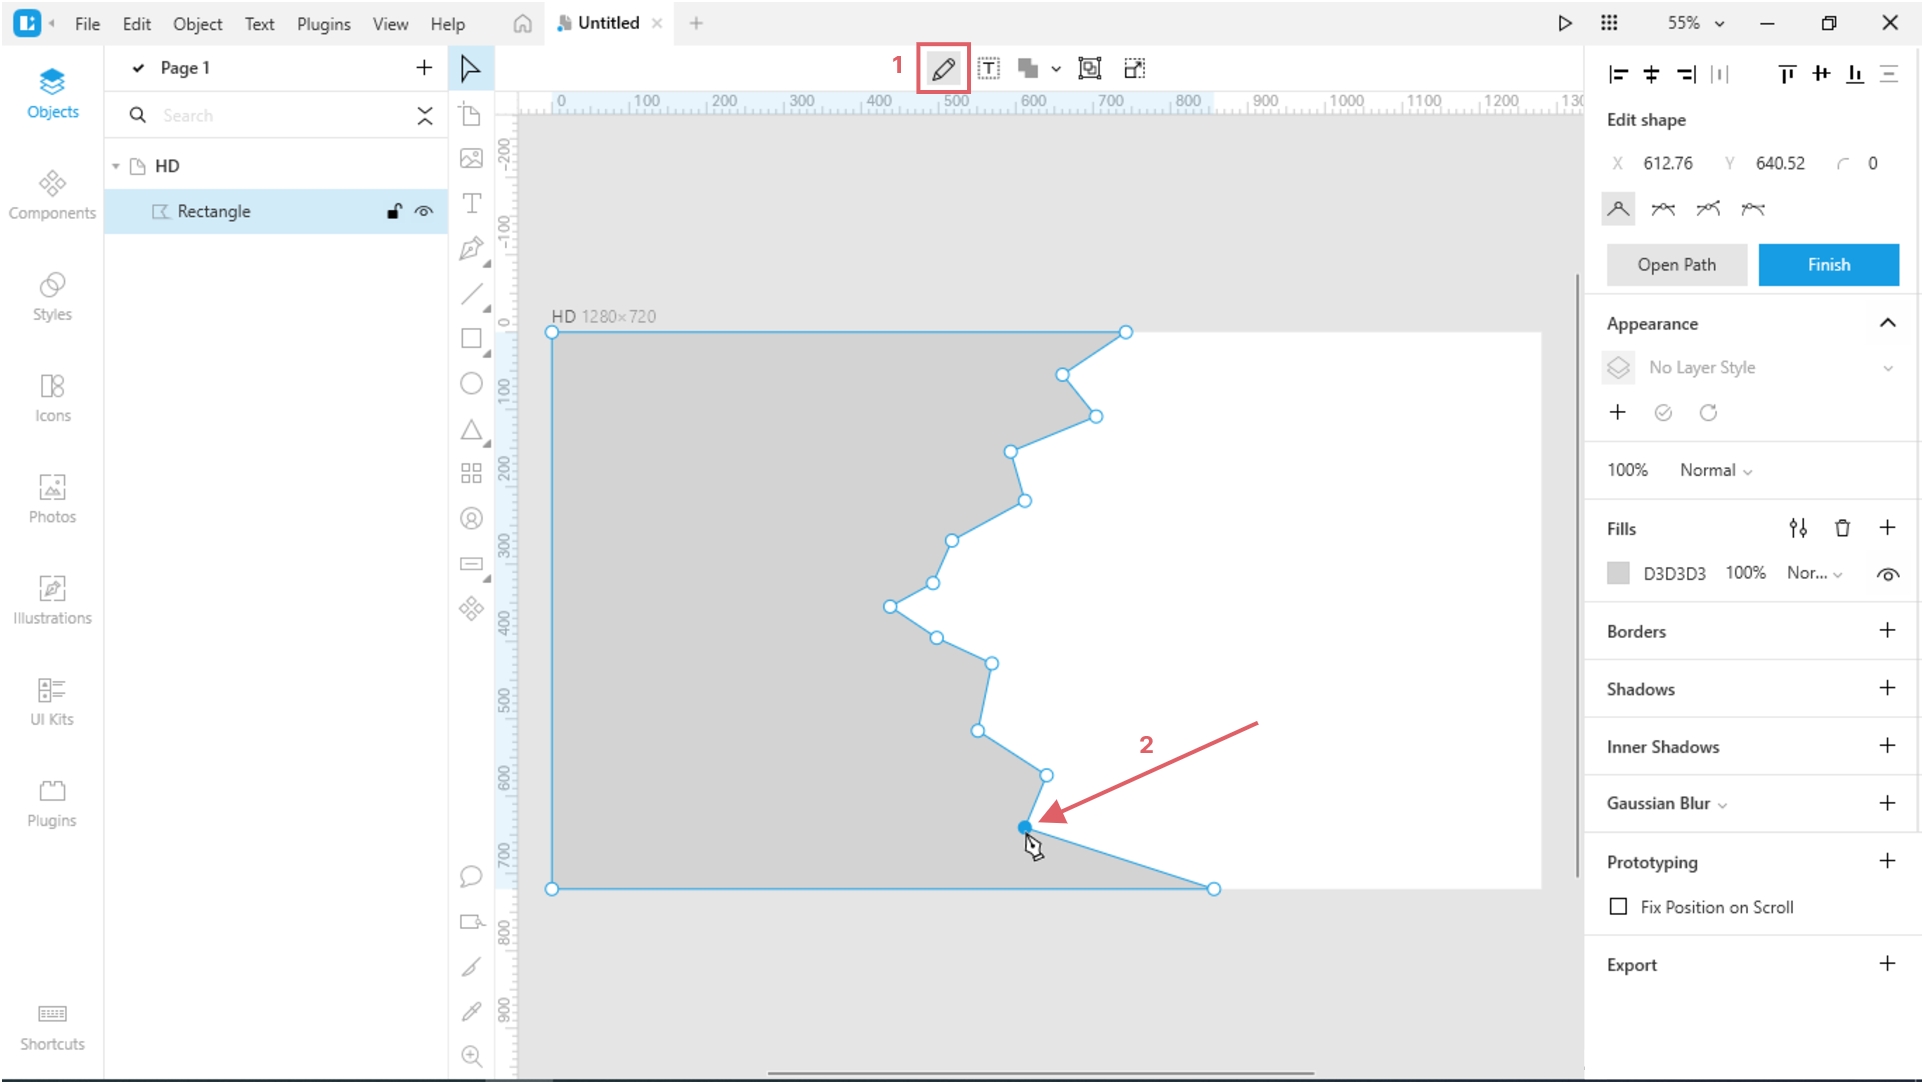
Switch to vector editing mode. To do this, select the rectangle and click the Edit button on the top bar or double-click it. The cursor will turn into a pen.
Add some random points to the left side of the rectangle. Just click over it.
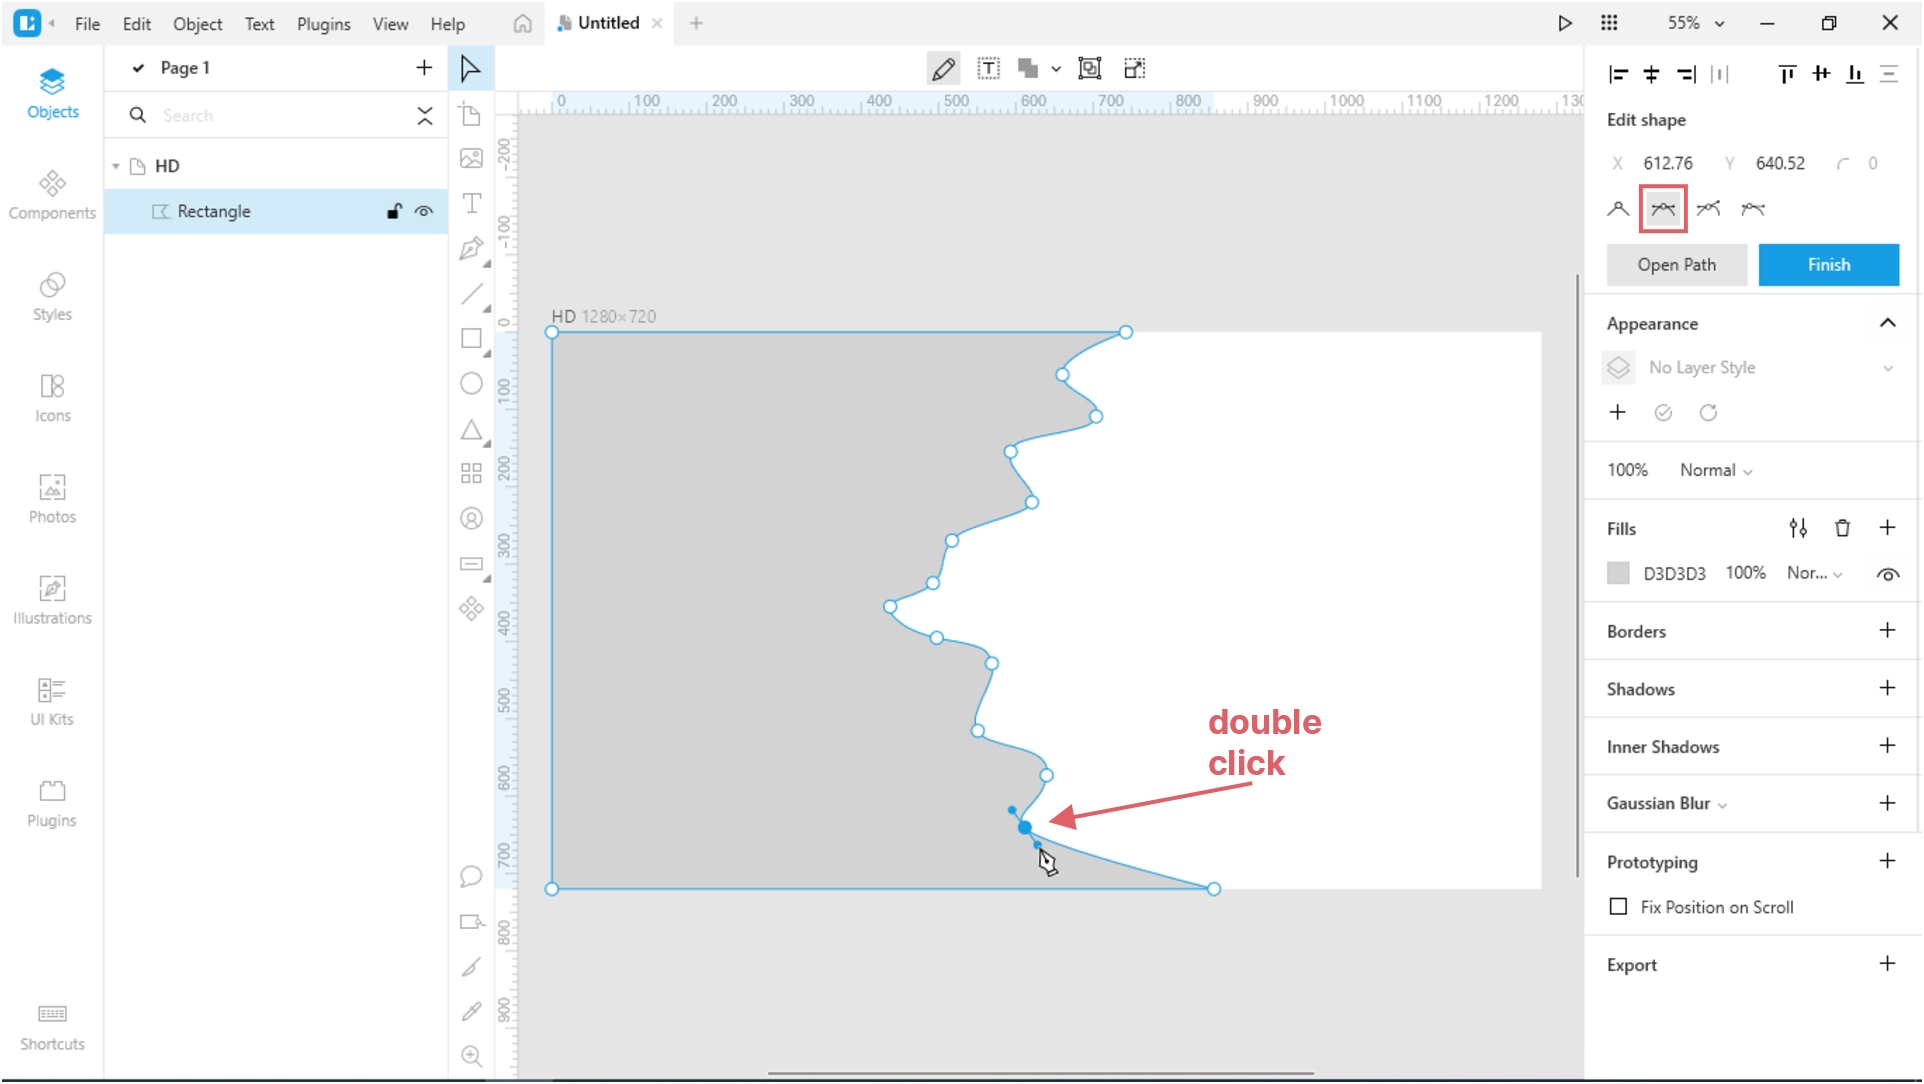
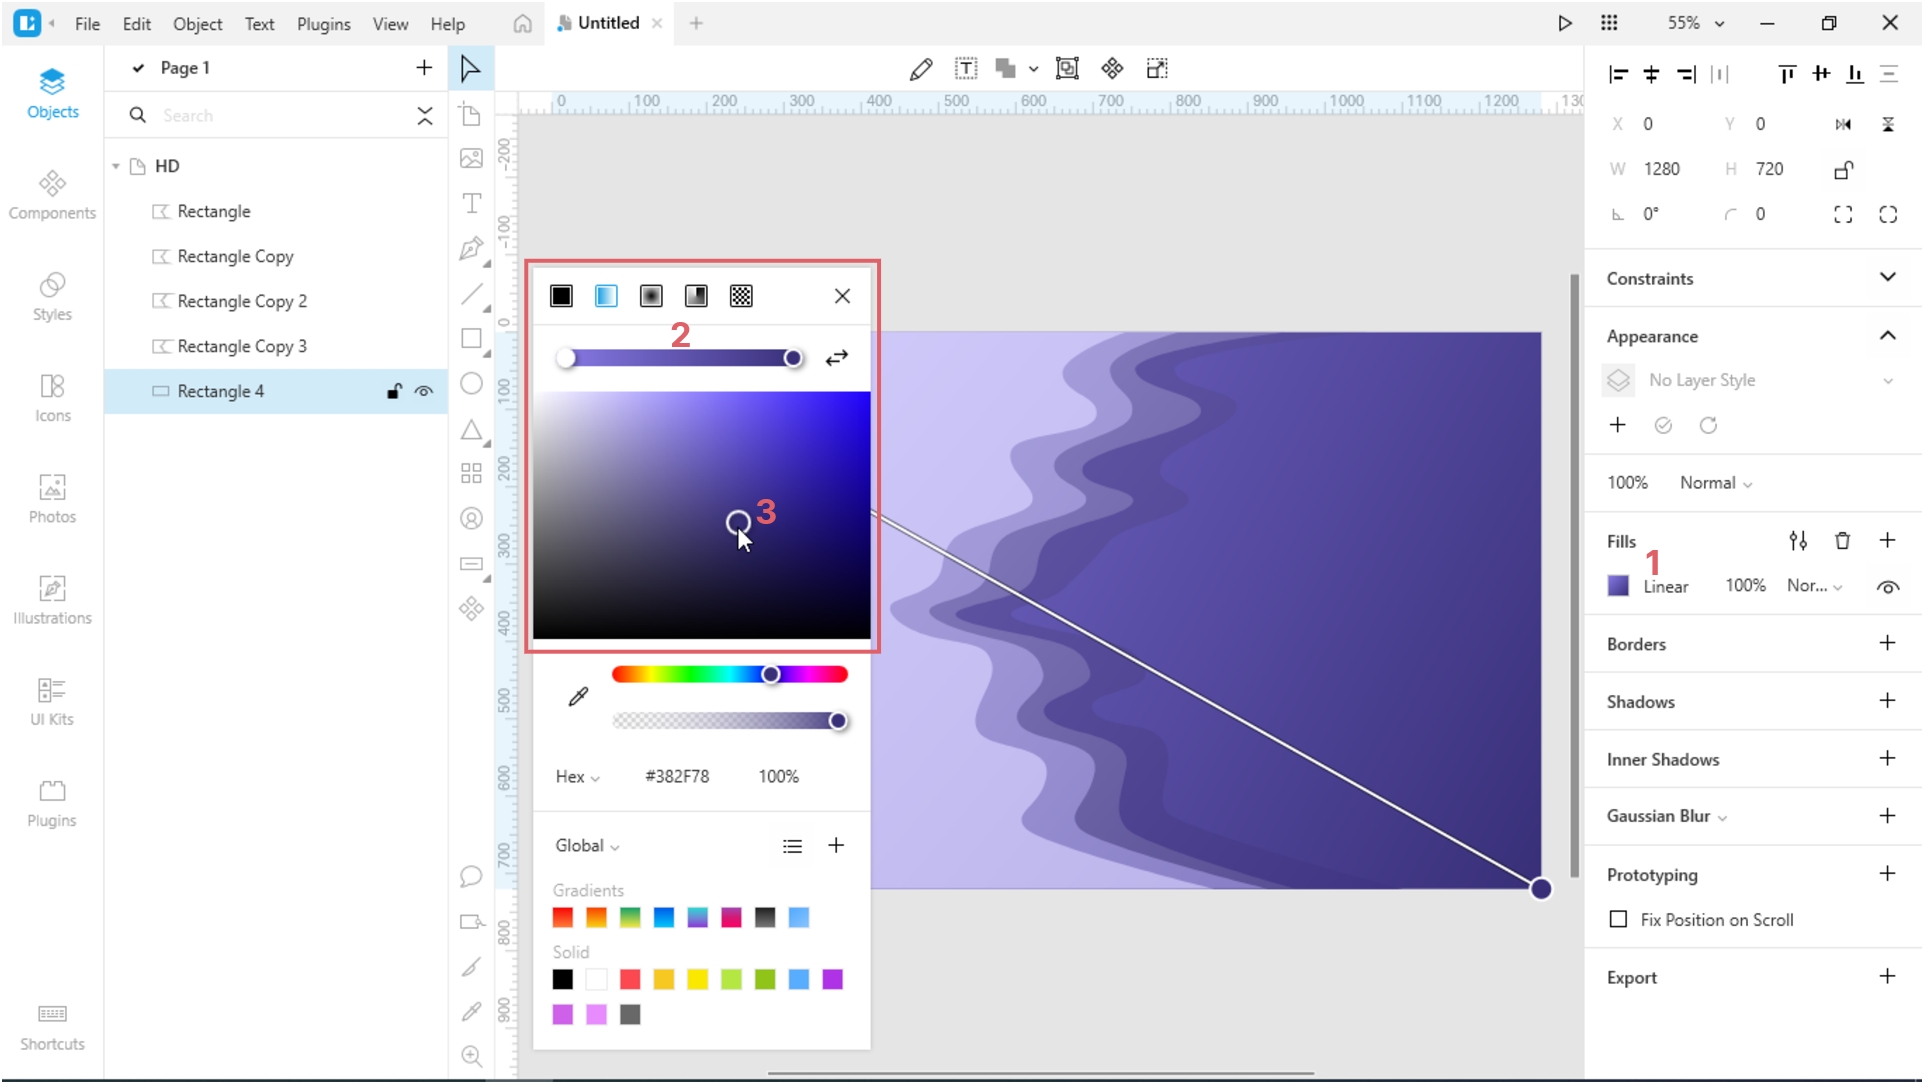
Change the type of all points to mirrored. For this:
Double-click a point OR select a point and click the button in the right panel (see the figure below).
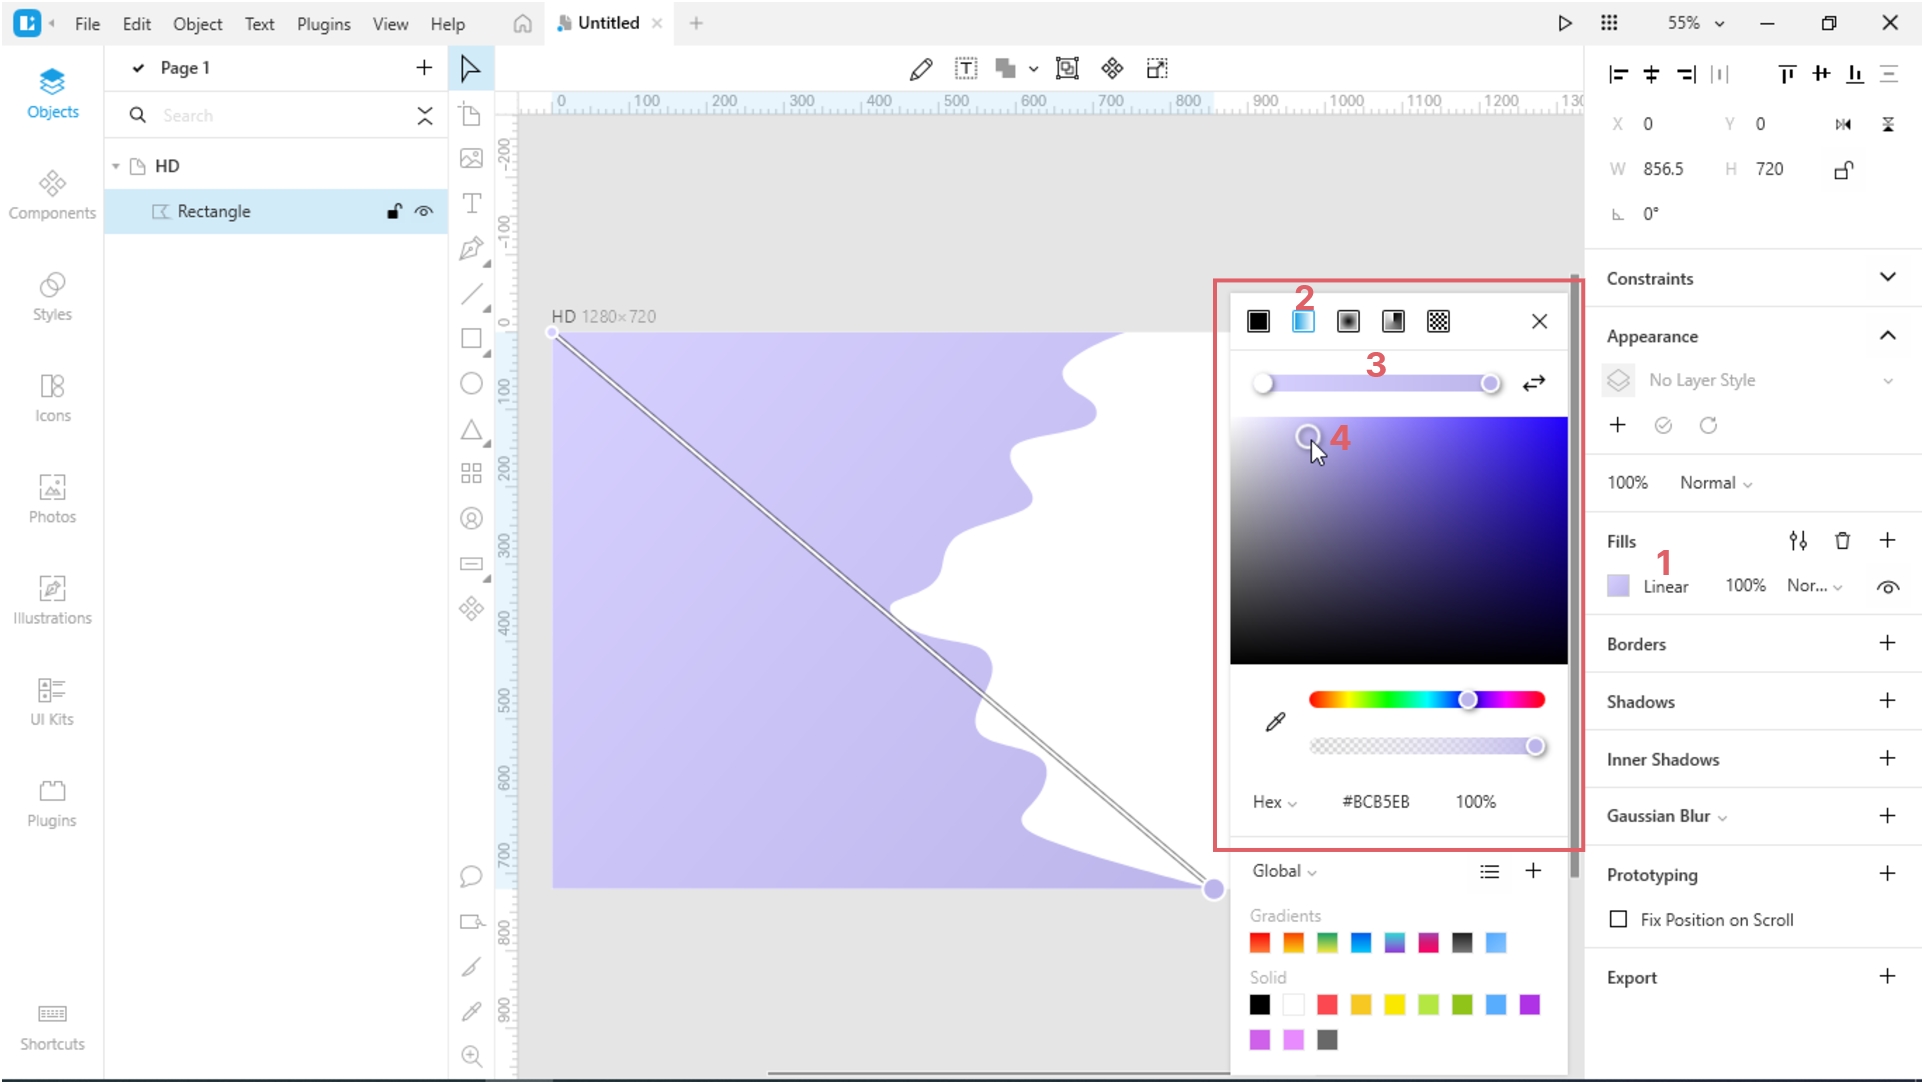
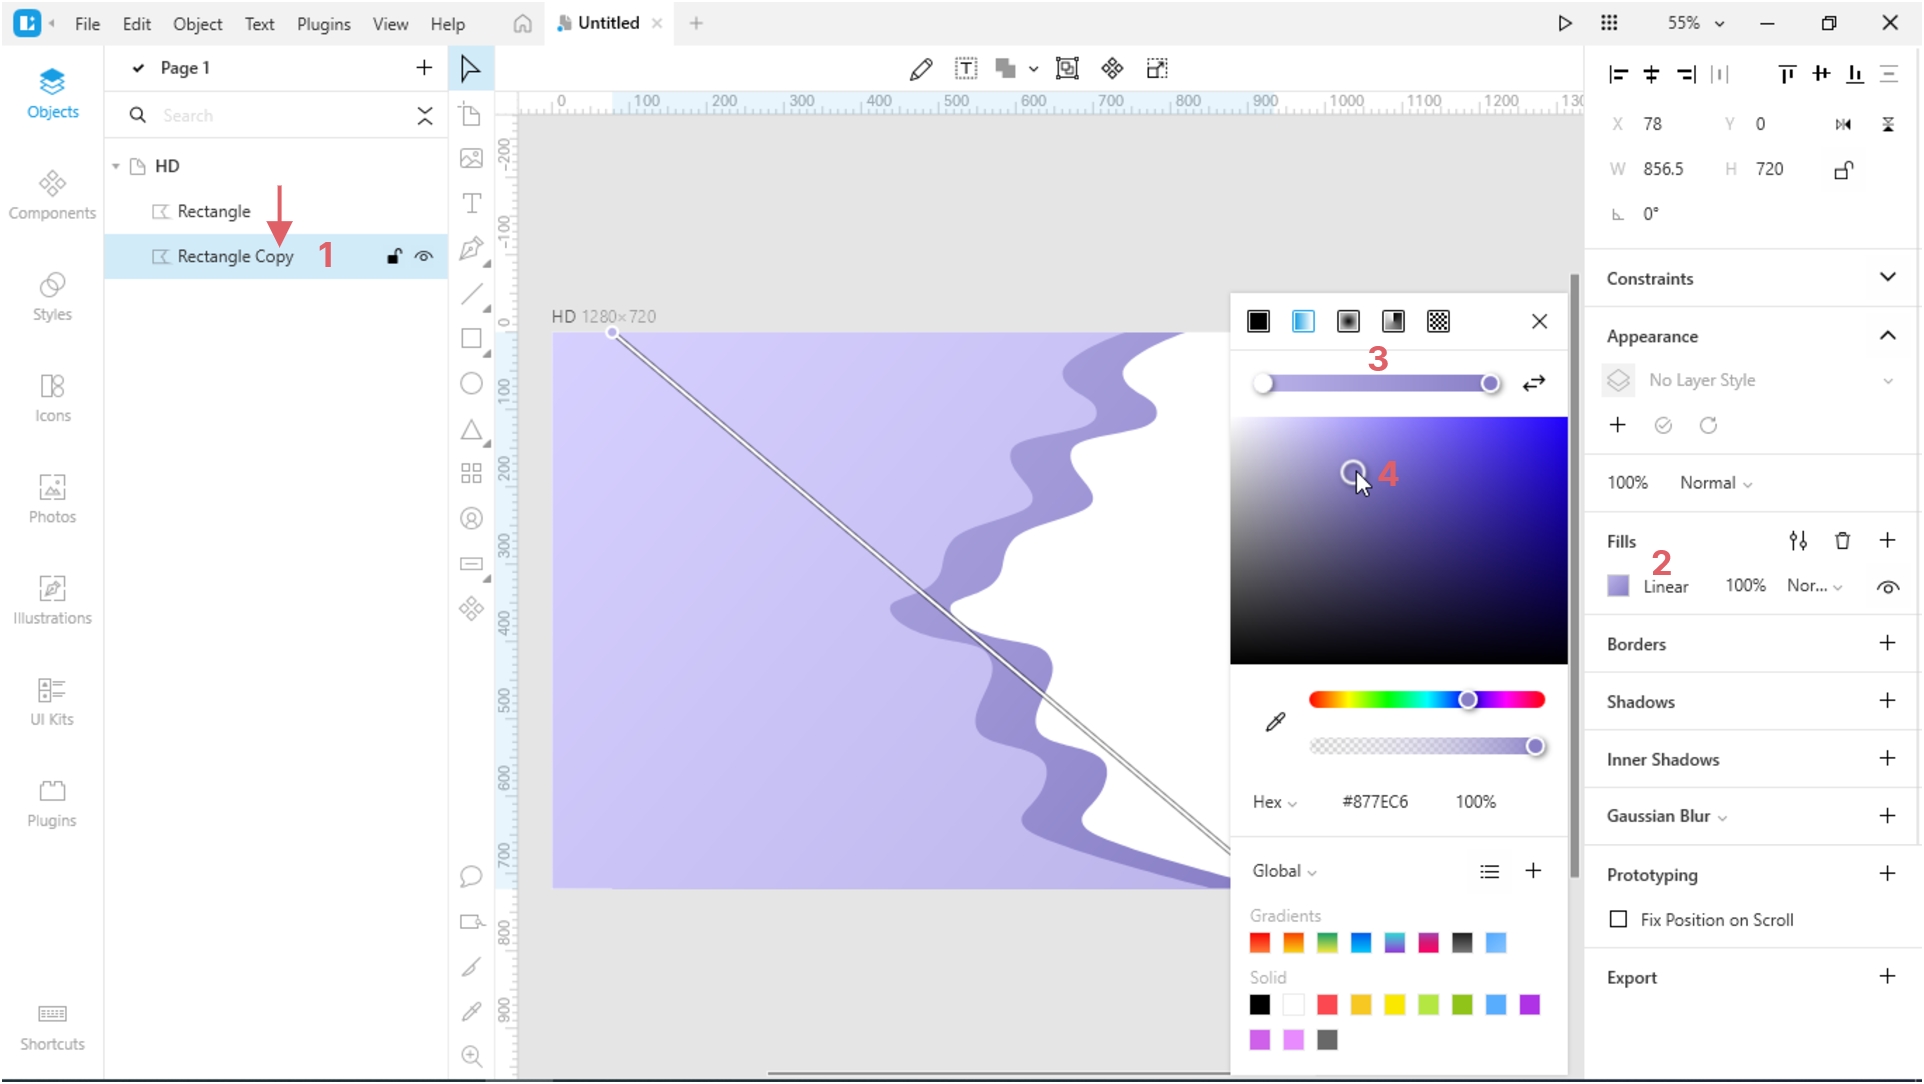
Change the color of the shape. I used a linear gradient with the following colors: #D6D0FF > #BCB5EB.
Select the resulting shape and press Ctrl (Cmd)+D to duplicate it.
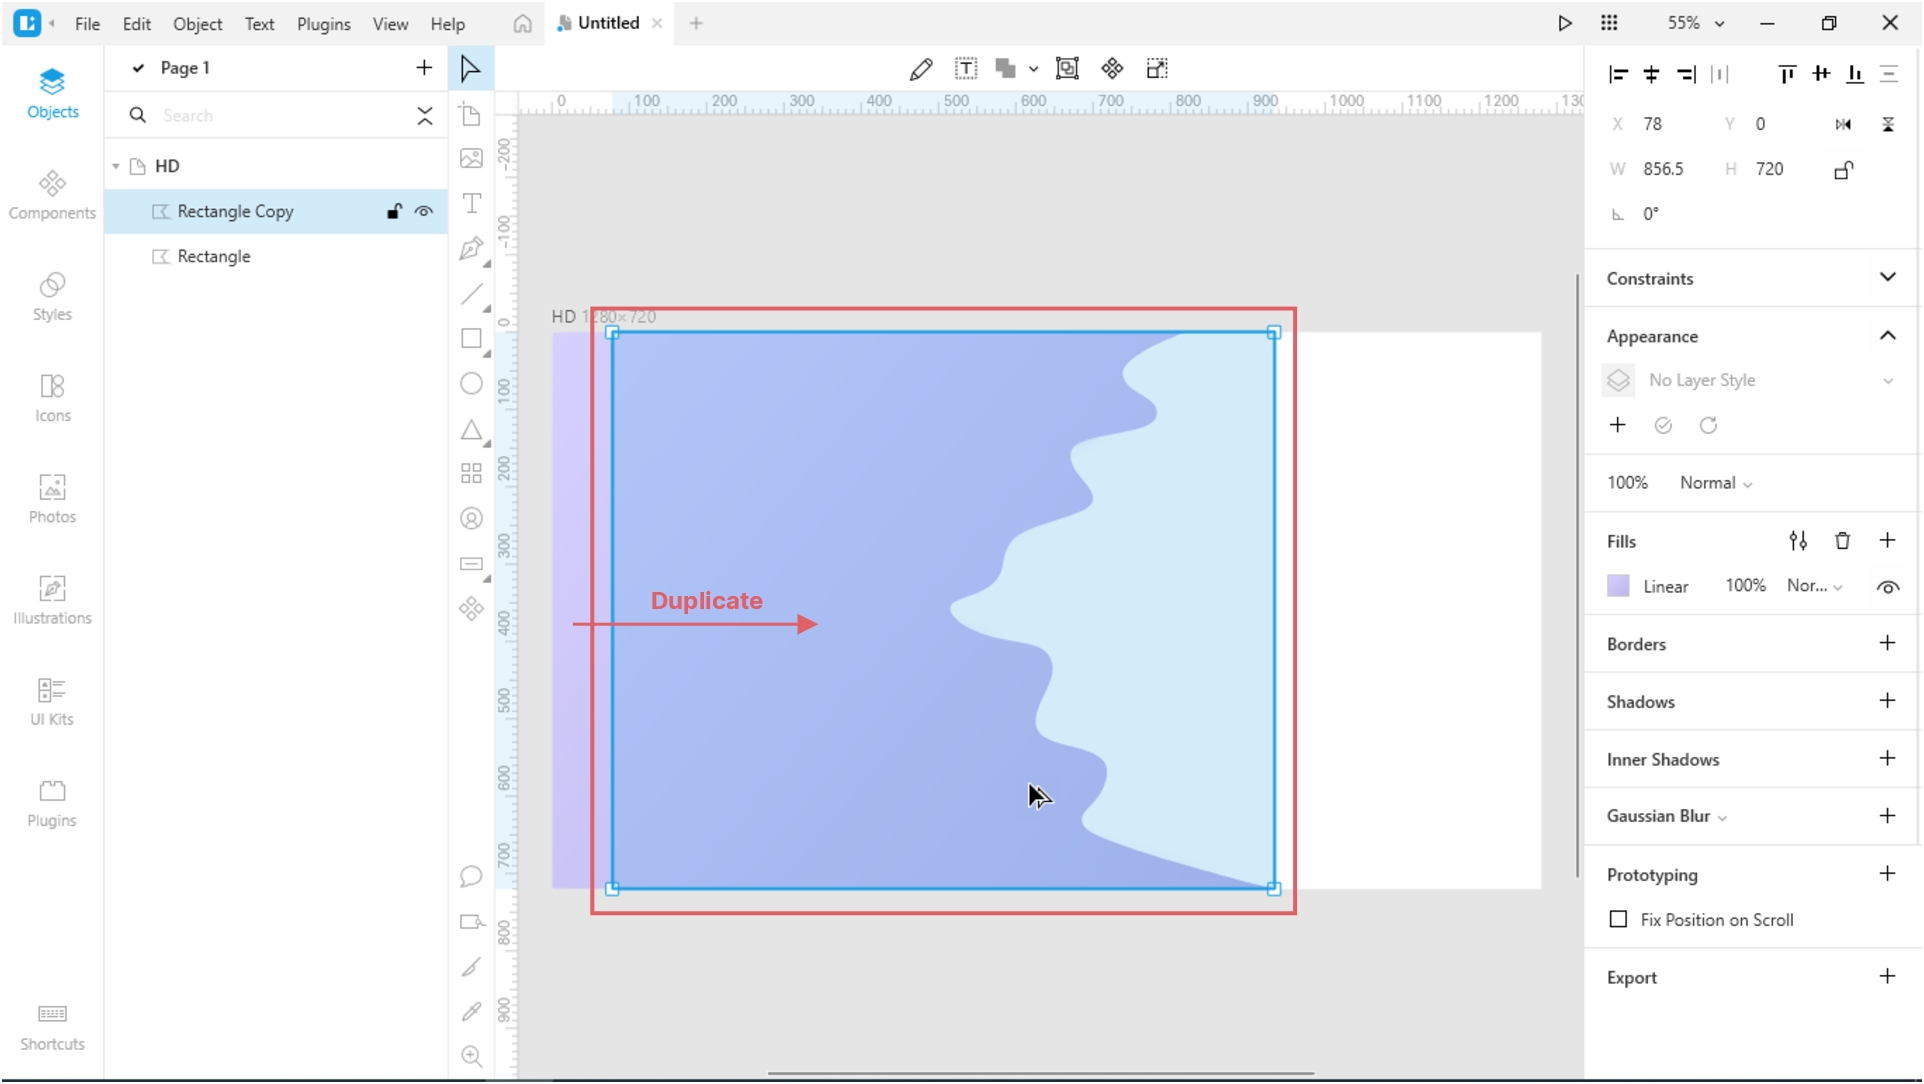
Move the duplicate below the original shape. For this:
In the left panel, drag the Rectangle Copy object below the Rectangle object OR right-click the duplicate and select Send to back on the menu.
The color of the new shape should be slightly darker than the first shape. I used a linear gradient with the following colors: #BAB3E9 > #877EC6.
Switch to the vector editing mode and slightly change the location of the points on the second shape.
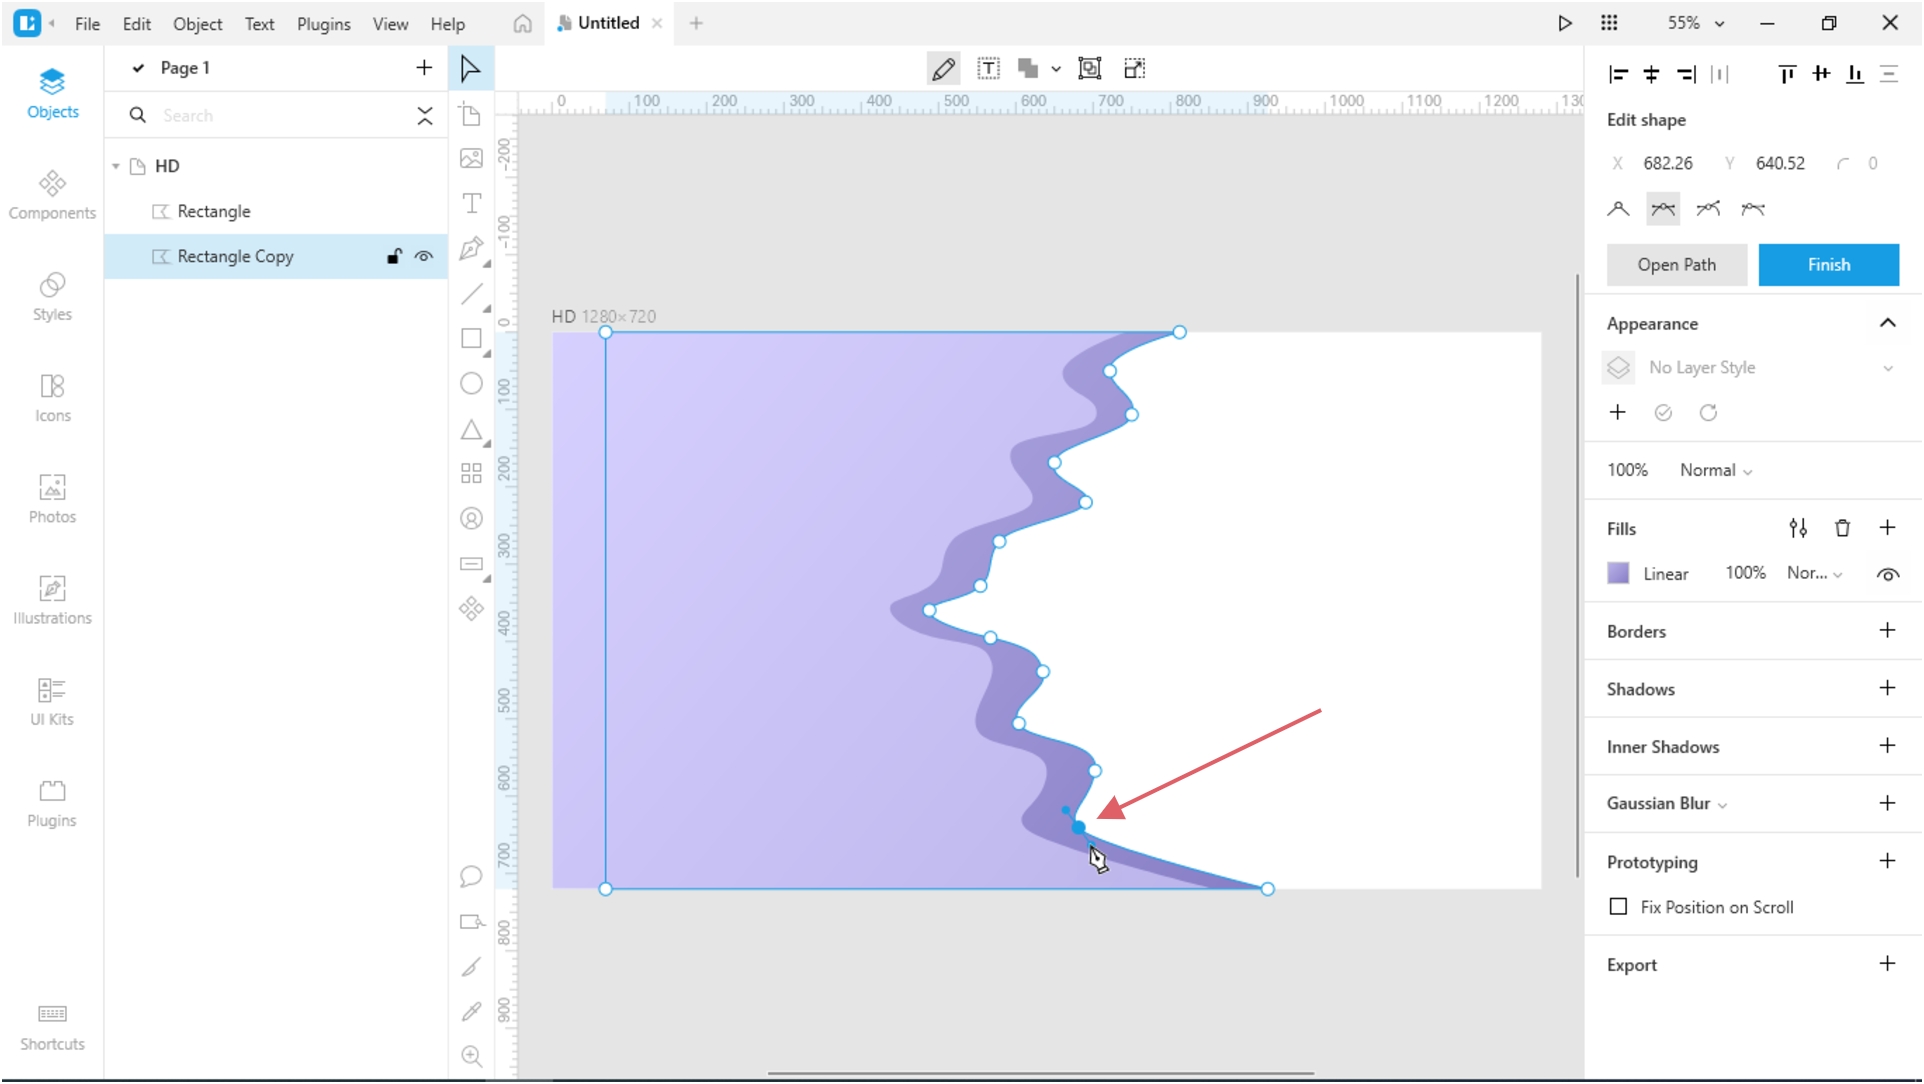
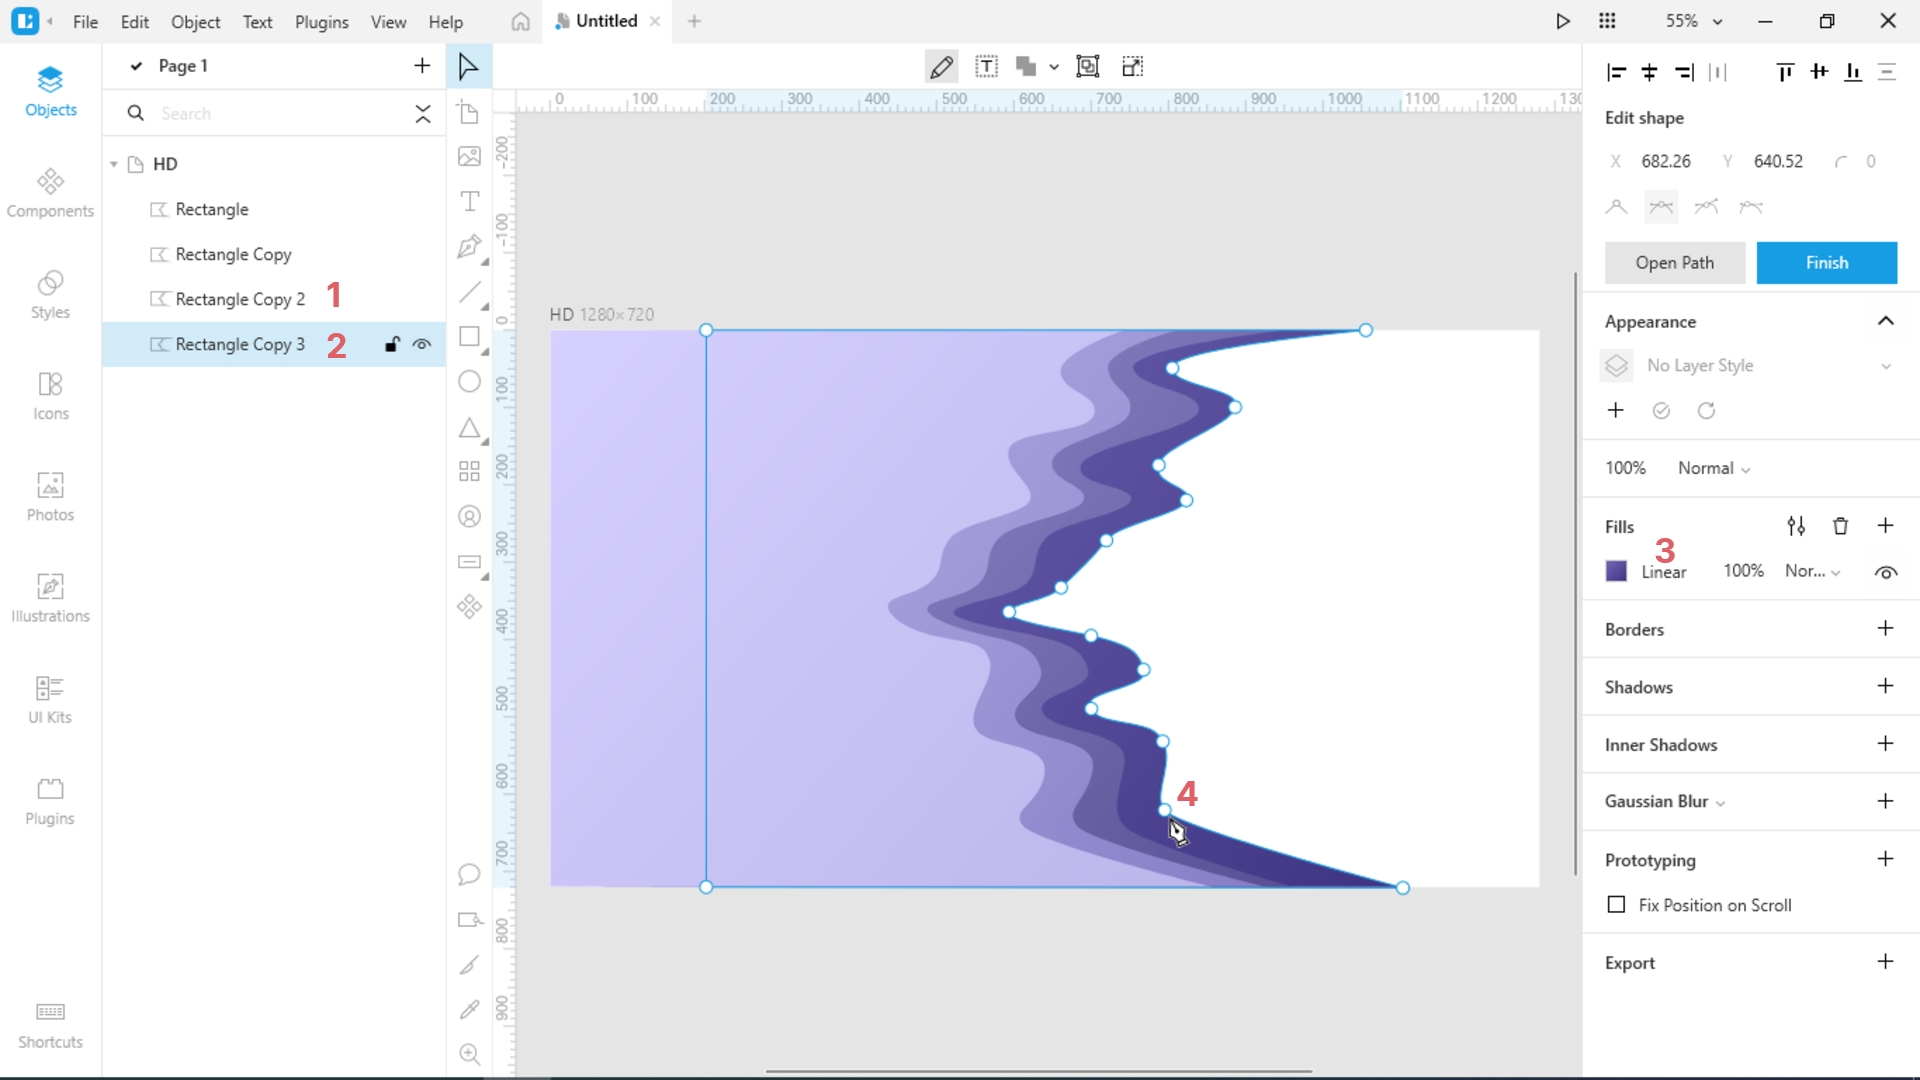
Similarly, create 2-3 more duplicates. Adjust the colors and location of the points. Place the shapes one under another so that the color evolves from lighter to darker.
I created two more shapes with the following gradients: #9C94D4 > #584F94 (3rd) and #7167B7> #3E3481 (4th).
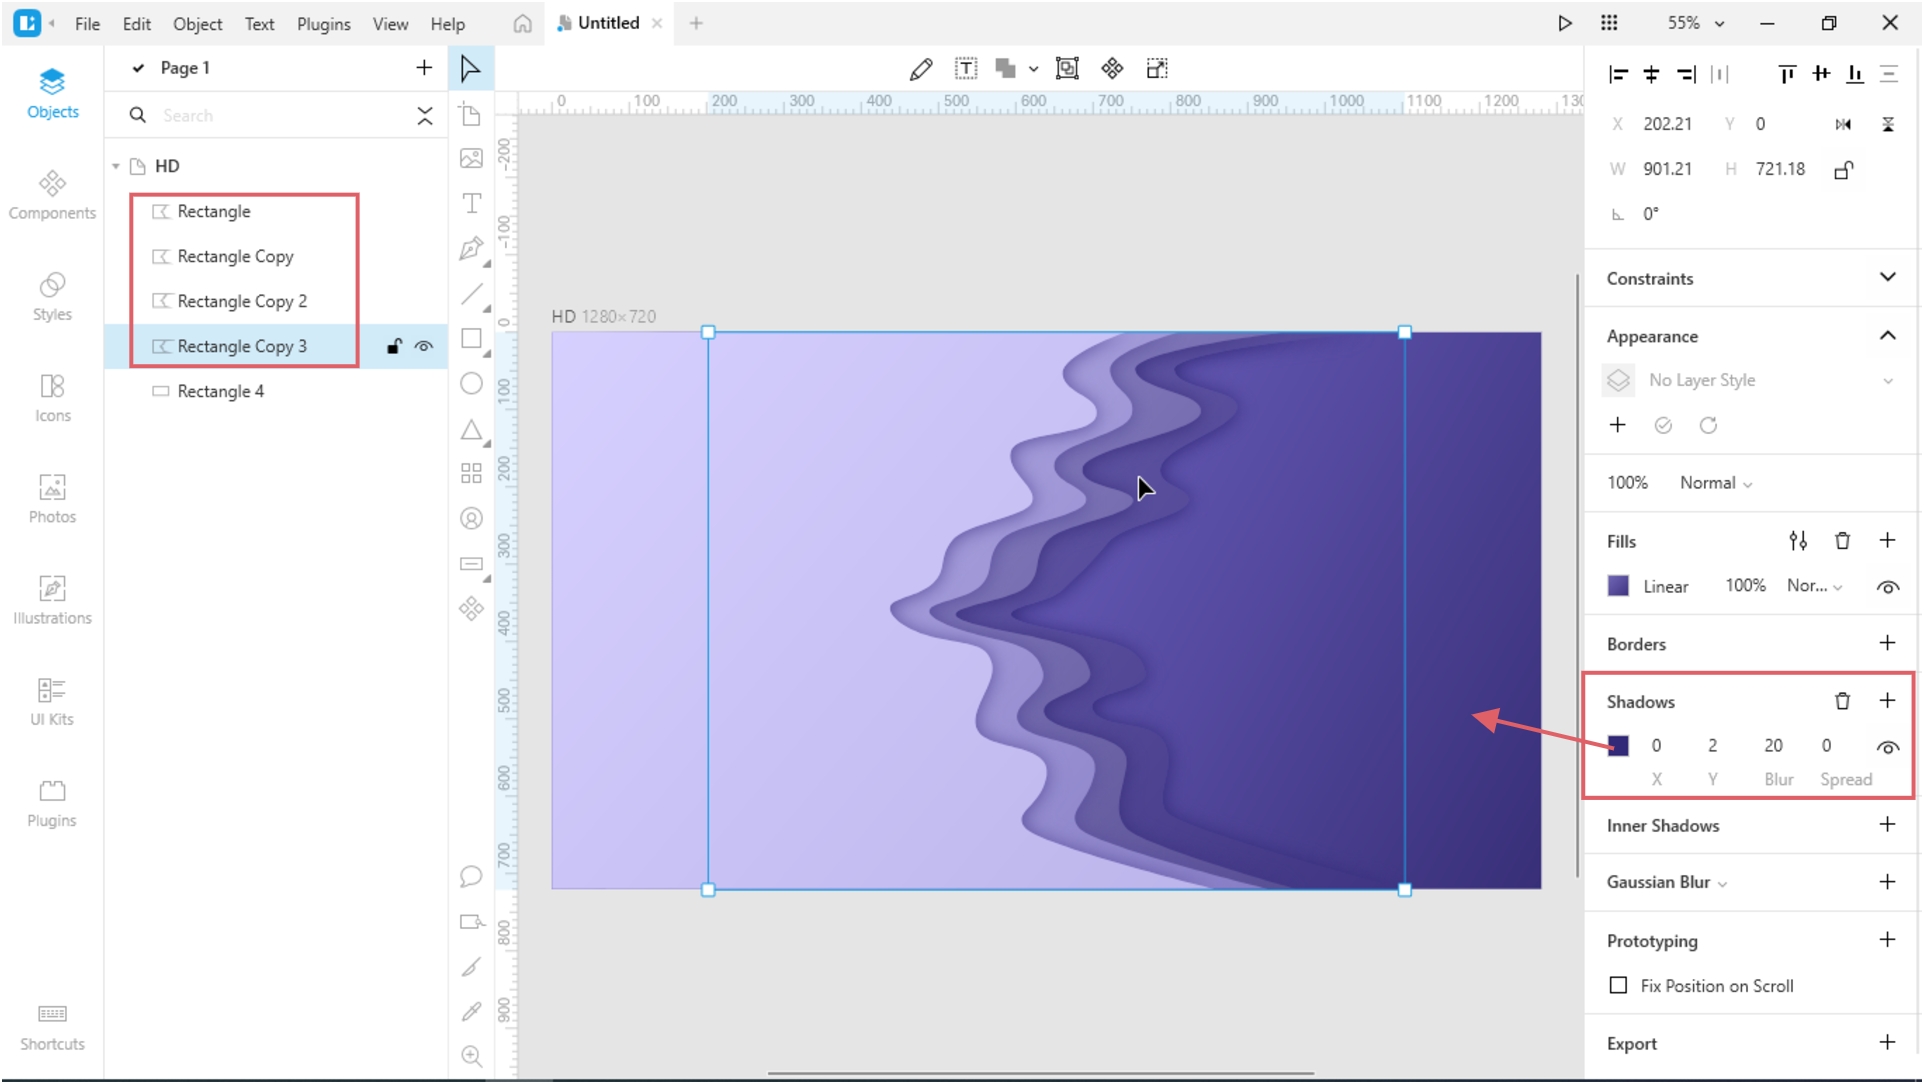
Create one more rectangle that will cover the rest of the artboard. And send it to the very back.
Adjust the color of the rectangle to match the color scheme of your project. I used the following gradient: #887AE6 > #382F78.
Now, let’s add some volume to our shapes. Add shadows to all the curvy shapes. I used the color of the bottom rectangle: #322978. I picked it up using the Eyedropper tool. Also, I set the shadow blur to 20.
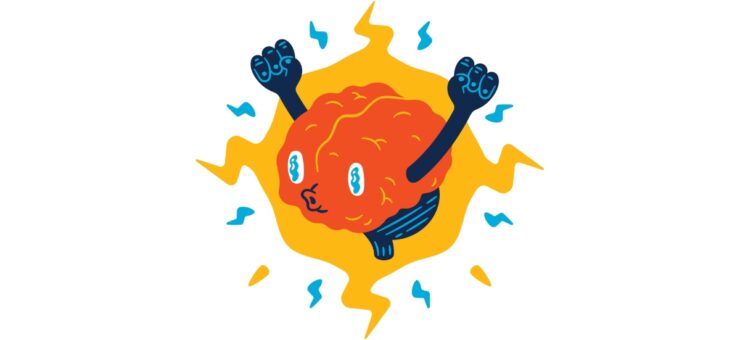
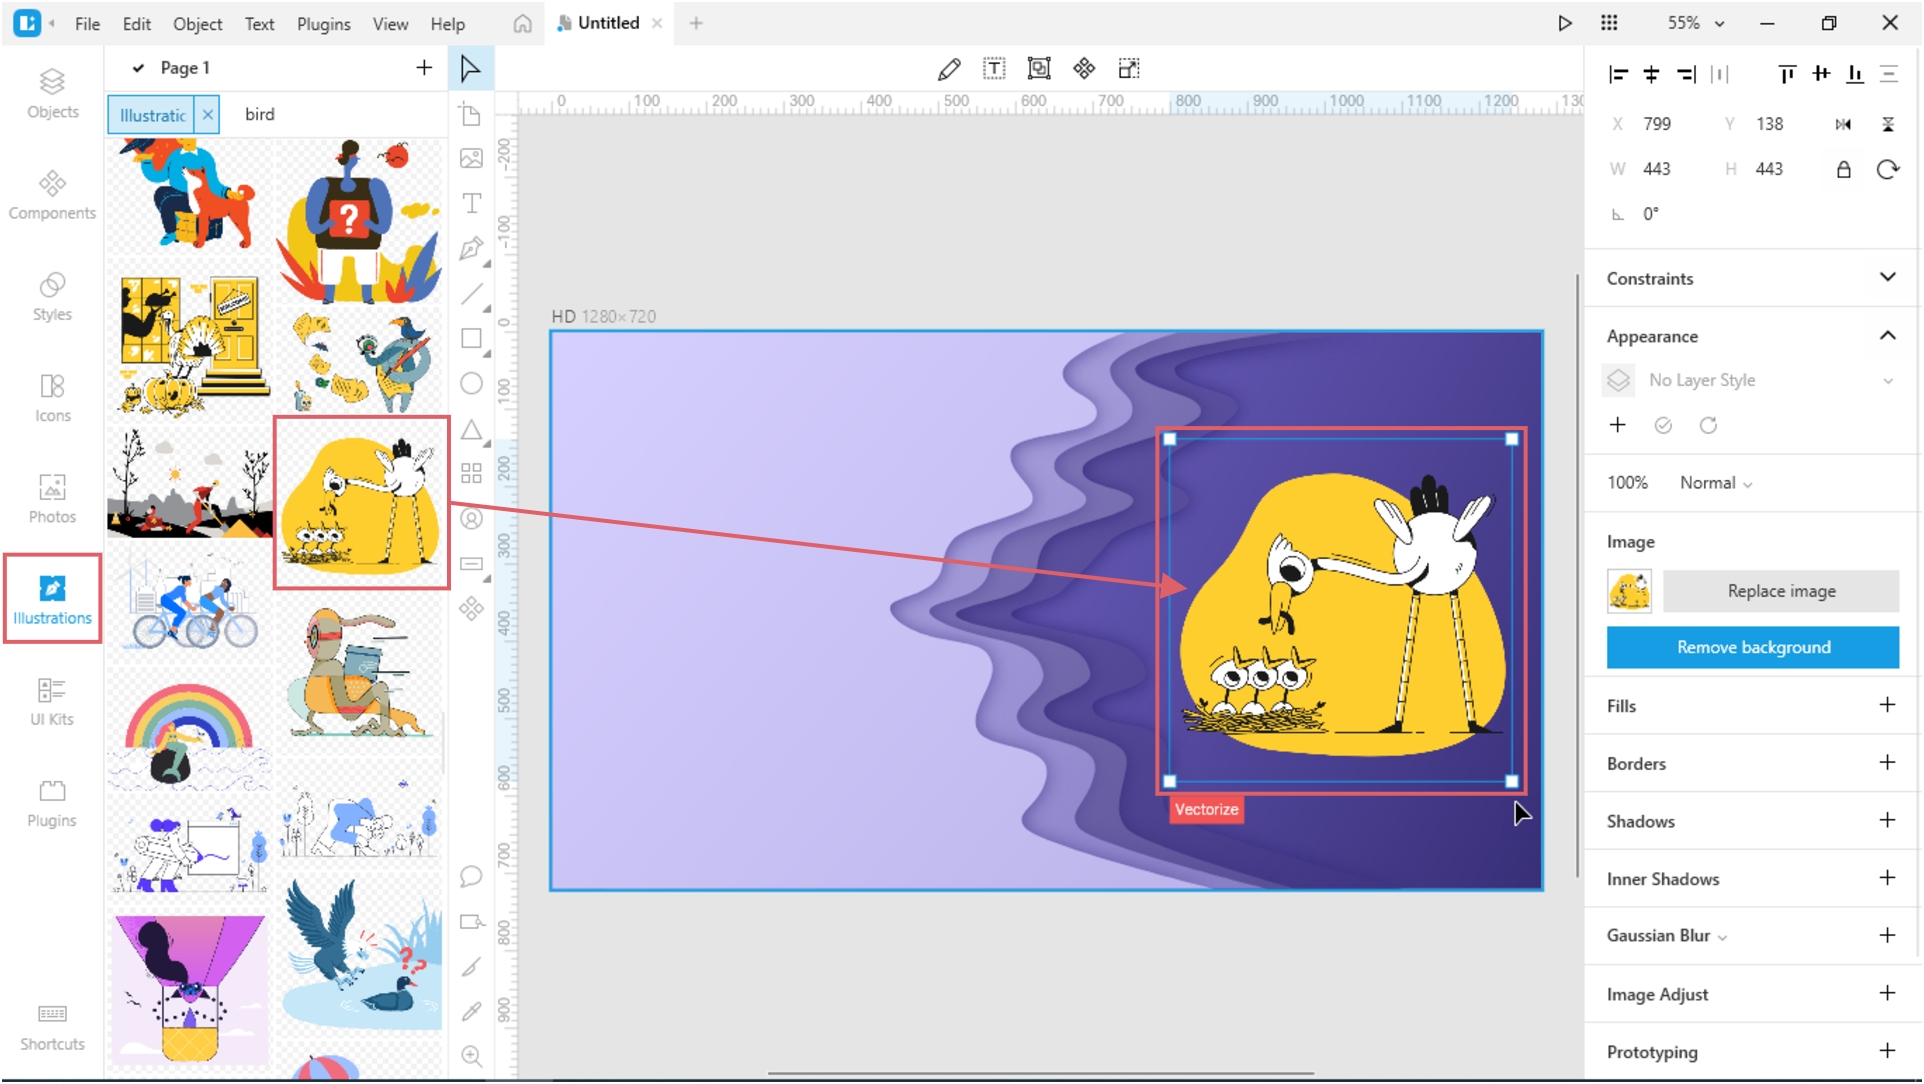
Add a bright illustration from our gallery.
Create the page header using text blocks.
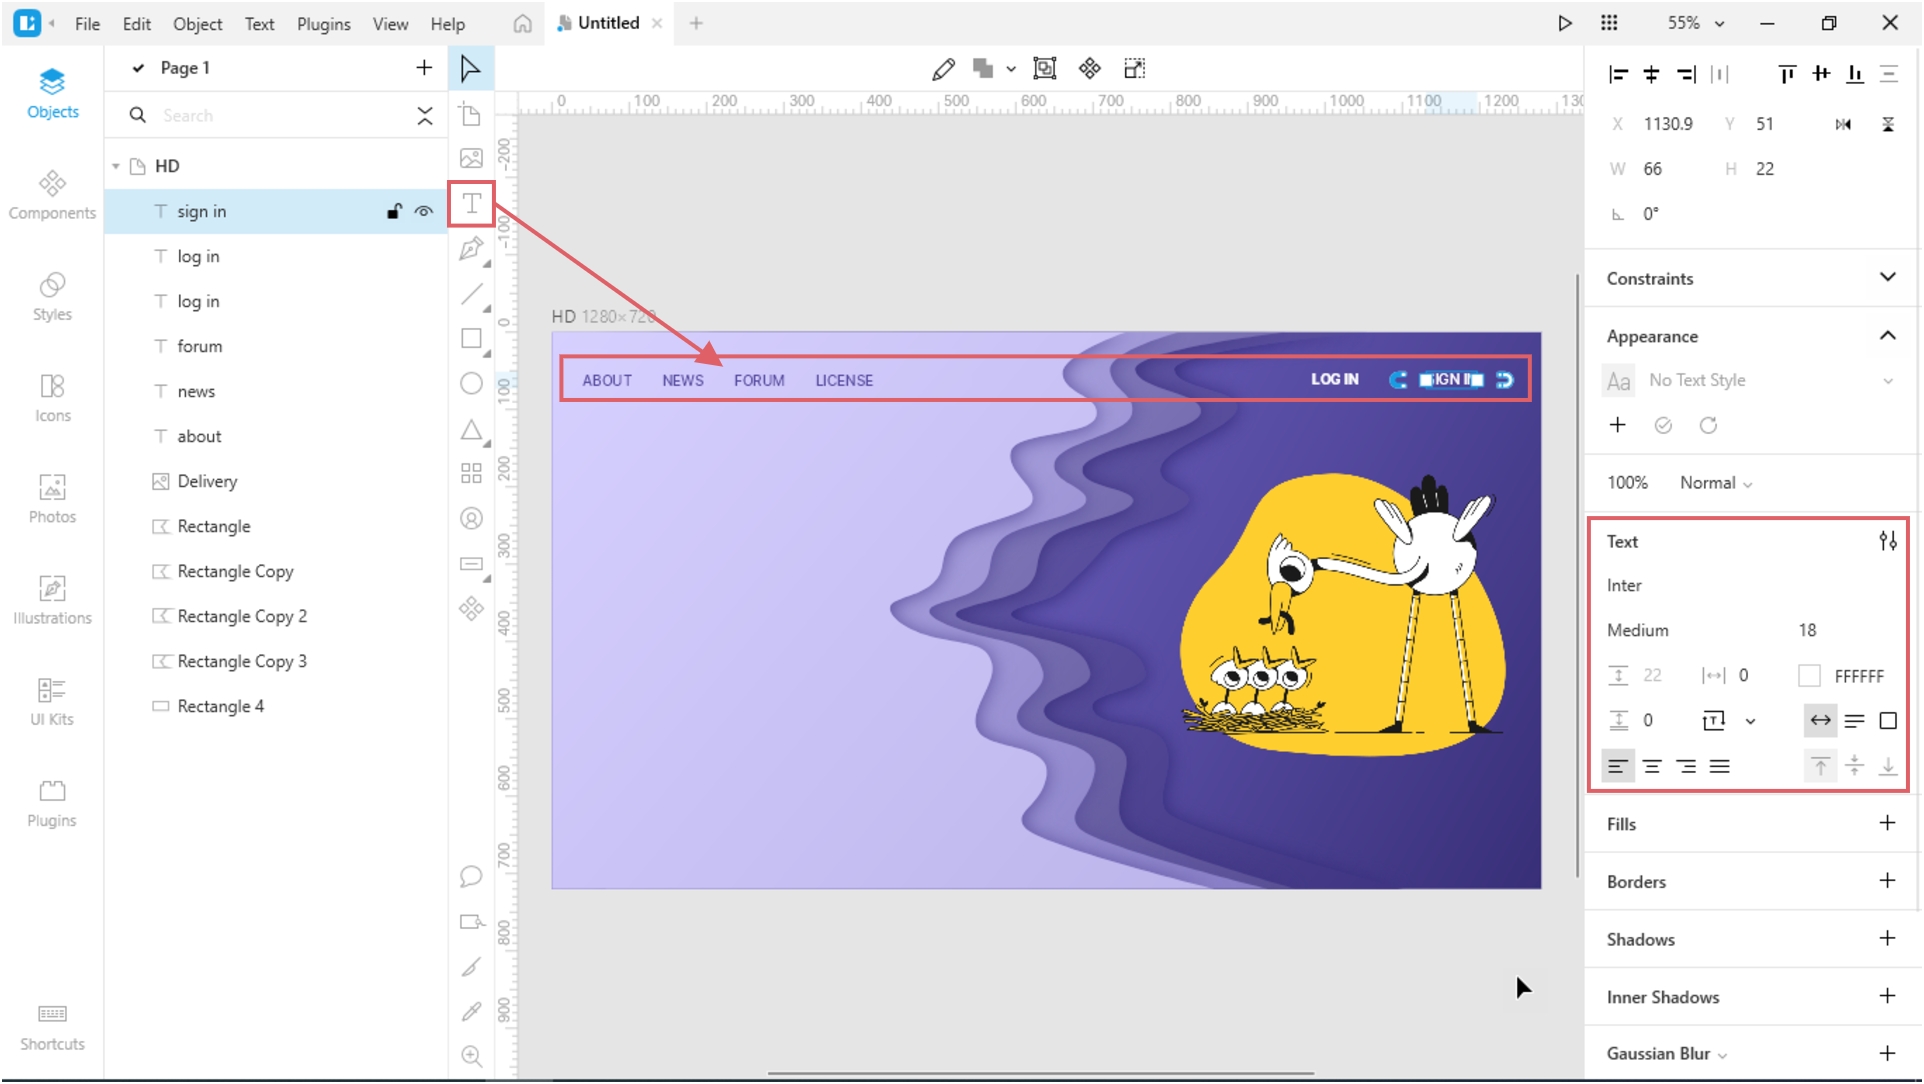
Add a heading and subheading and adjust them to match the color scheme of the project.
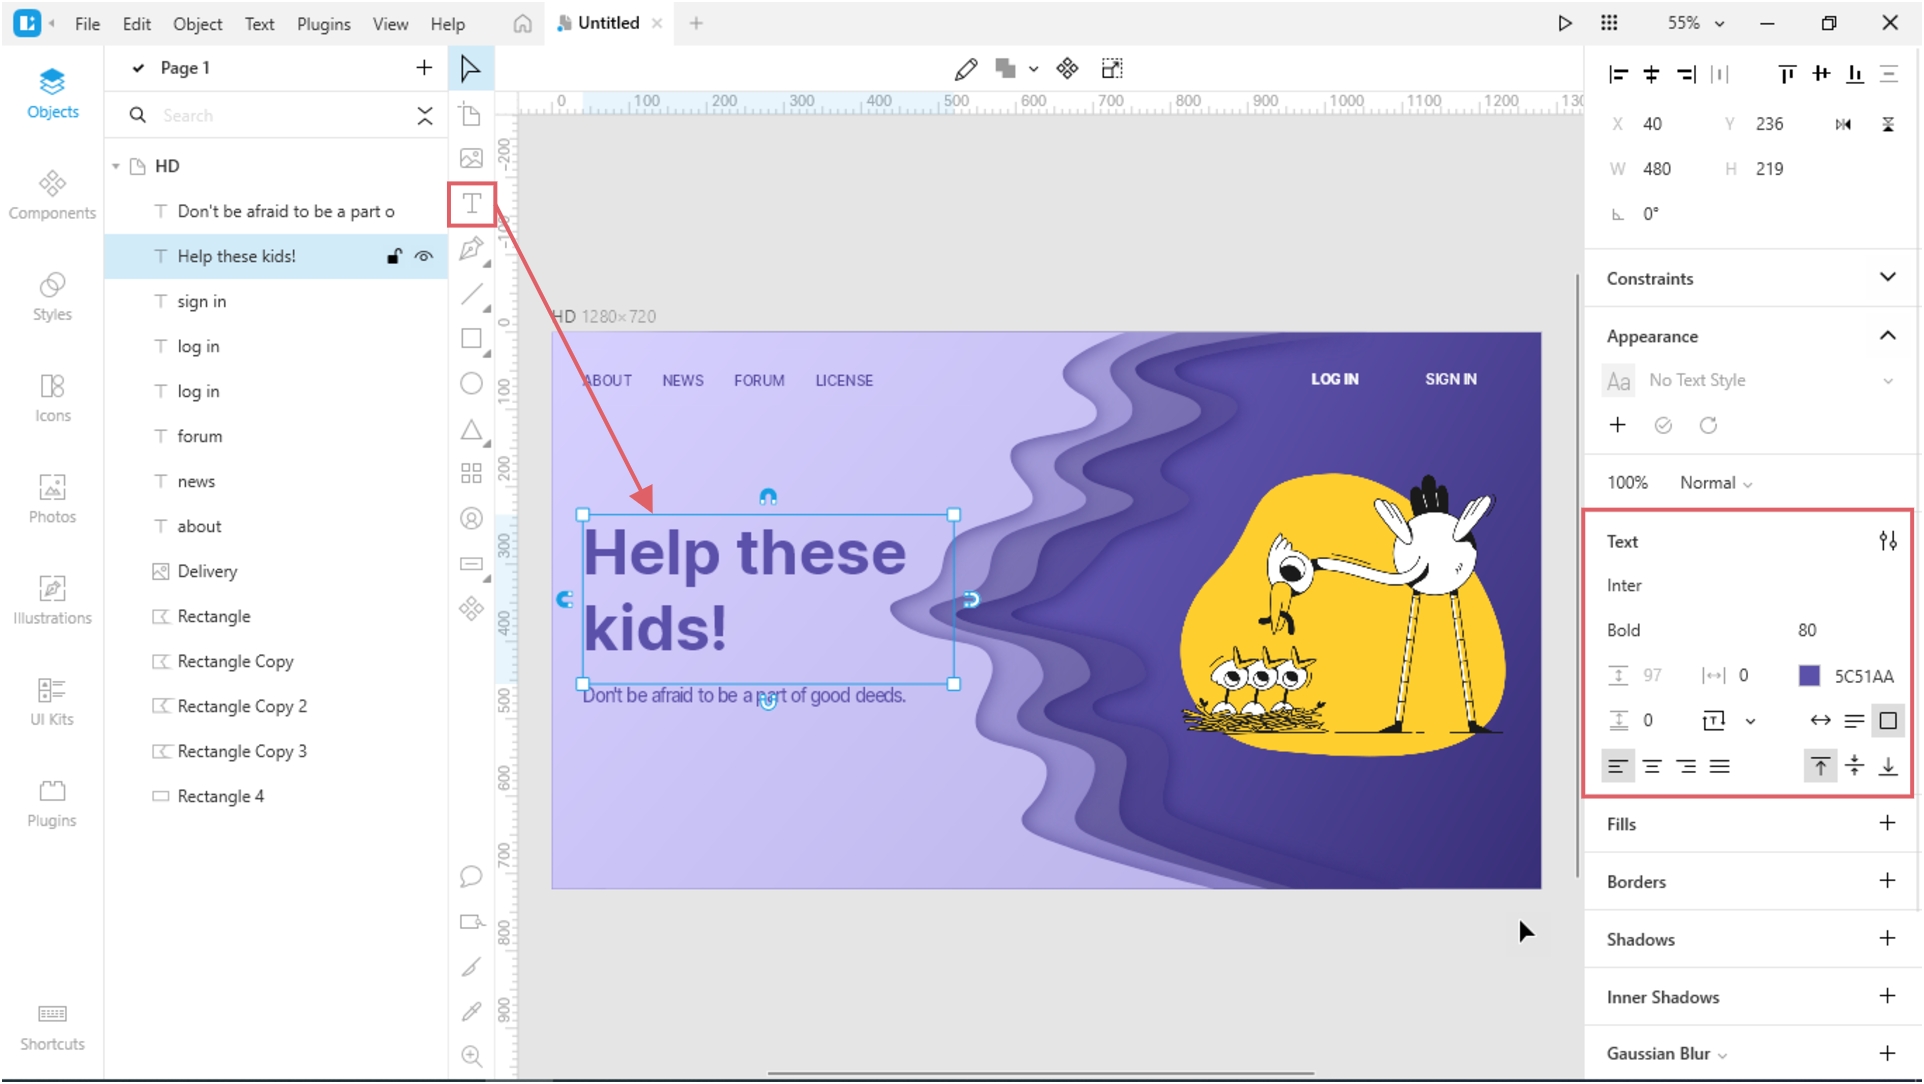
As a final stroke, let’s add a button with text and an icon.

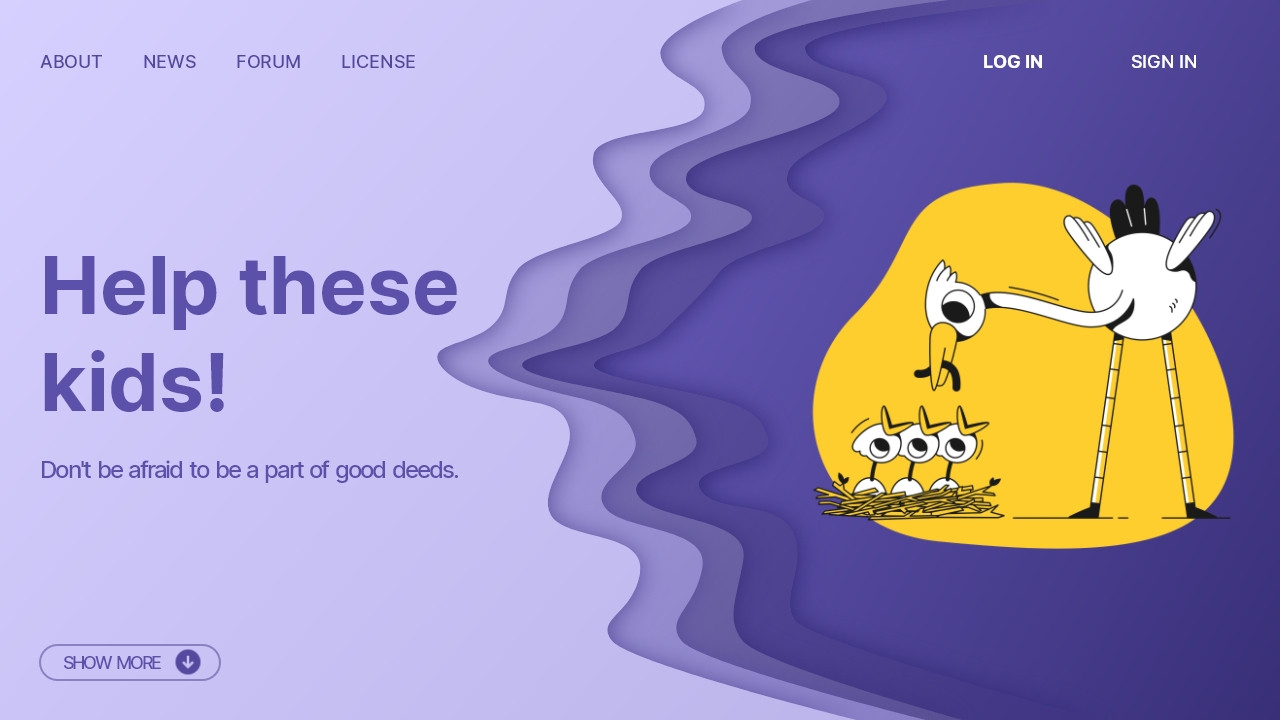
Here is the result:
Use this tutorial to create your own paper cut-out designs, and don’t forget to share your art with us on social media!
Check out the other Lunacy tutorials:
Also, try out real-time collaboration in Lunacy.
Follow the Lunacy team on social media and stay tuned for new tutorials:
About the author
Julia G, a wonderful creature responsible for QA and SMM at the Lunacy team.