There are three ways to recolor raster icons. A complicated way — 9 steps in Photoshop. This article describes it in detail.
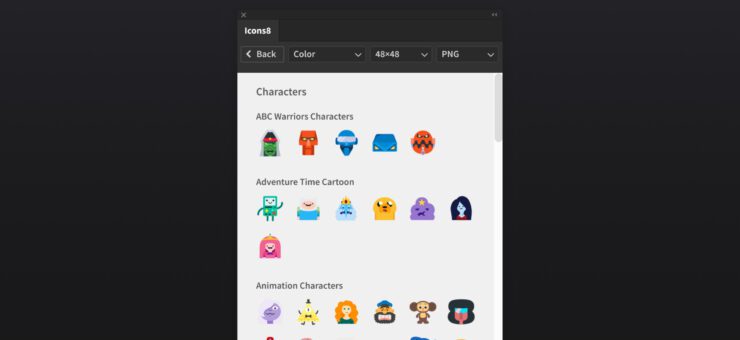
A simple way — one click in the Icons8 web app. Go to the Icons8 website, choose any icon you like, click on it, and change the color in the browser.
An even simpler way — get SVG icons instead of PNGs. Unlike raster PNG icons, vector SVG icons can be scaled to infinity with no quality loss. This makes them perfect for any and every type of graphic design project. Plus, SVGs are fully editable, and you can recolor them entirely or element by element using apps like Figma, Lunacy, and others.
Now let’s see what you can do if you already have a pack of icons you want to recolor. In this case, Photoshop is the way to go.
Getting Adobe Photoshop
You’ll need Photoshop (why bother with Photoshop? Keep reading to see why it is your best bet). If you don’t have one, an individual license starts at $22/month (when billed annually), but you could also:
- Download a fully functional 7-day trial. When expired, you can buy a license that suits your needs.
- Buy Photoshop Elements for $99.99. It has all the required functionality and much more.
The steps it takes to recolor a PNG icon in Photoshop are fairly easy:
- Open your file
- Set the color mode to RGB
- Activate the Layers window
- Click the fx icon
- Choose Color Overlay
- Click on the color picker box
- Choose a new color
- Press OK in all dialog boxes
- Export with the PNG-24 file preset
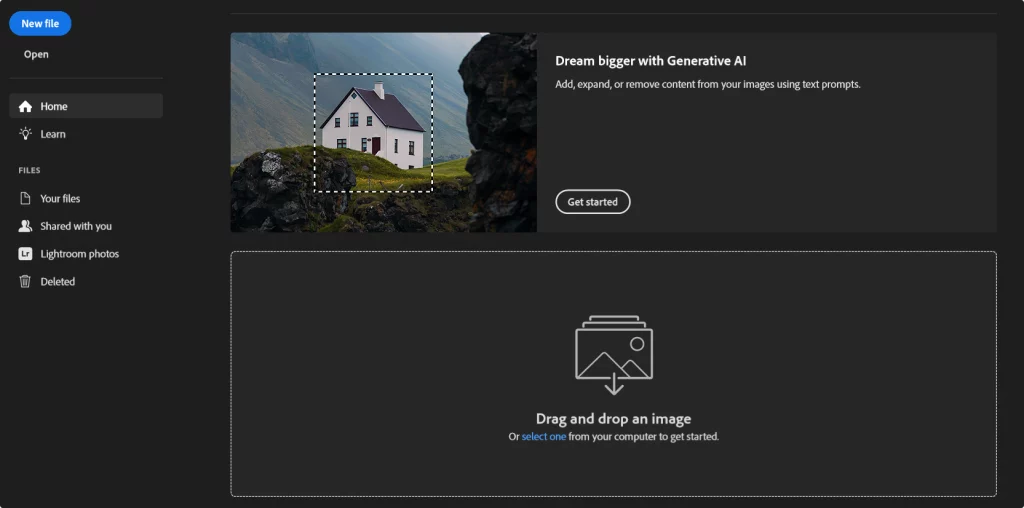
1. Open the file
There are multiple ways to open a file in Photoshop. You can click Open or press Ctrl+O (Cmd+O) to select a file from your device. You can also drag-and-drop it onto the canvas or the Home screen. Finally, you can drag and drop the image right onto the Photoshop icon if you haven’t opened the app yet.
2. Make sure the color mode is set to RGB
If it’s set to grayscale, the icon is going to be completely gray no matter what color you choose. To change the color mode, click Image → Mode → RGB Color.
3. Make sure you have the Layers window on the screen
Usually, your layers are in the bottom right corner of the screen. Here is where to find them:
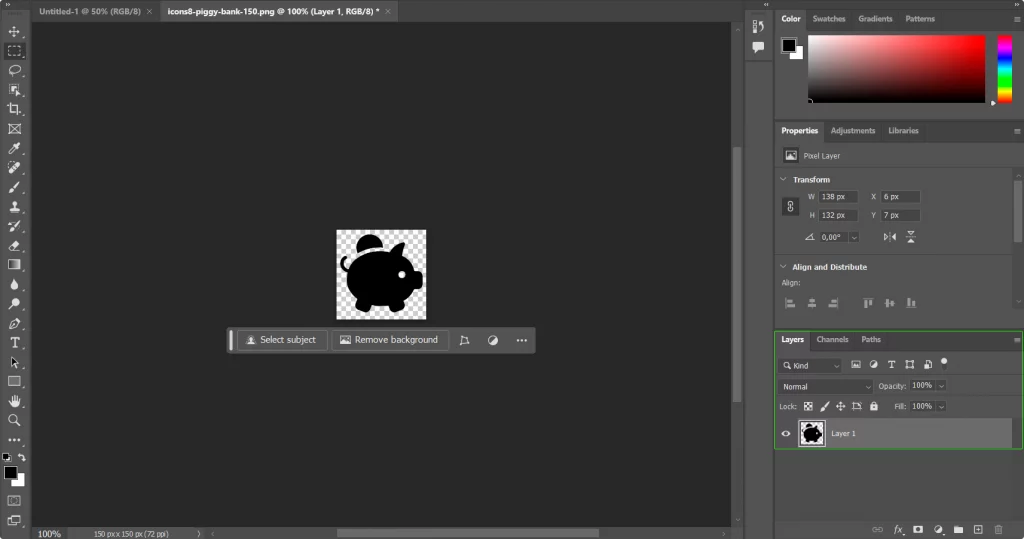
In case they’re not there, click Window → Layers to make them visible.
4. Click the fx icon to adjust effects
It’s right below the layers.
5. In the Effects menu, choose Color Overlay
A dialog box like this will open:
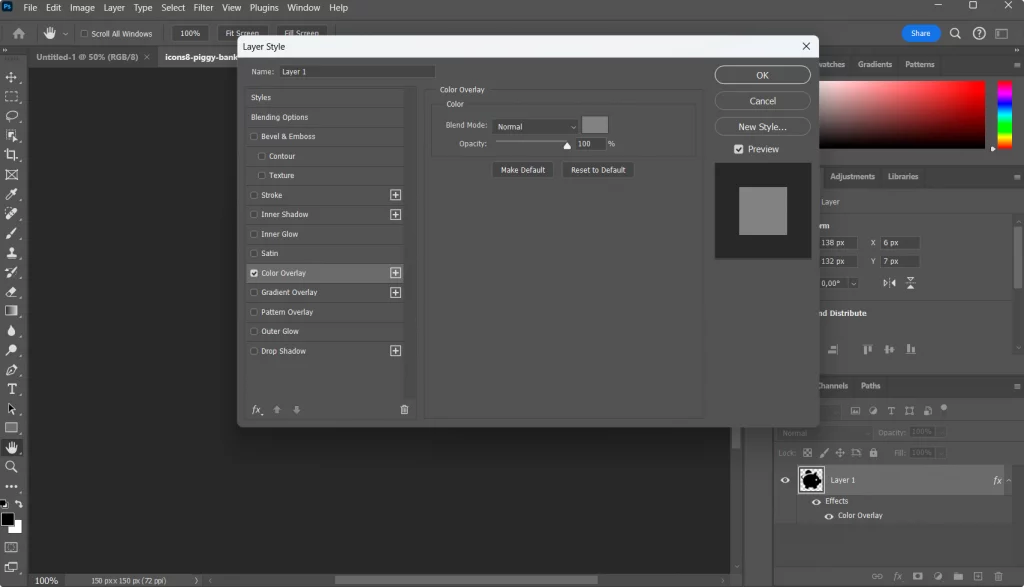
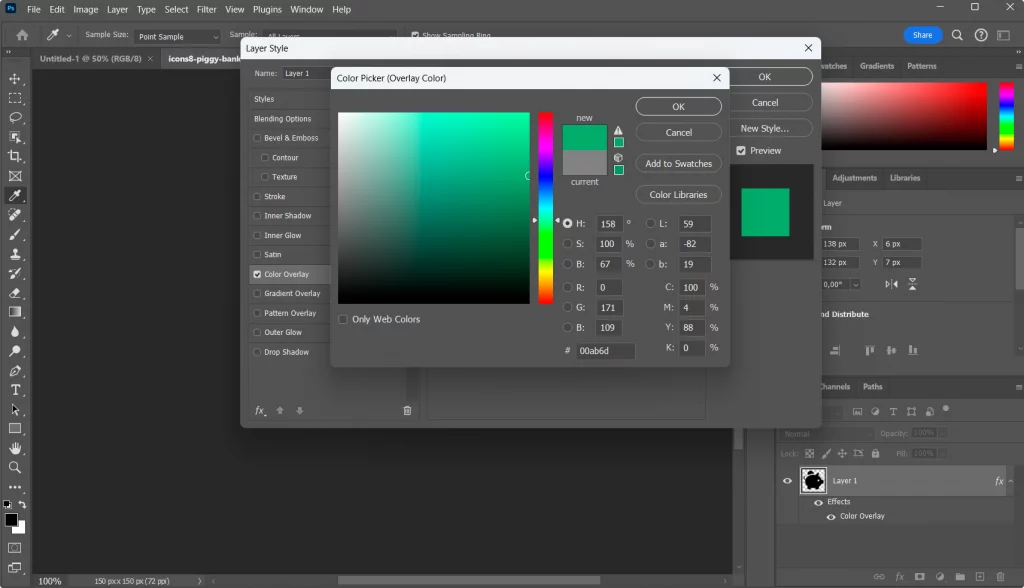
6. Click on the color picker box

7. Choose the desired color
Want to know how to pick the perfect color for your icons and create a consistent, visually appealing palette? Read our ultimate guide on color palettes in web design.
8. Press OK in all dialog boxes
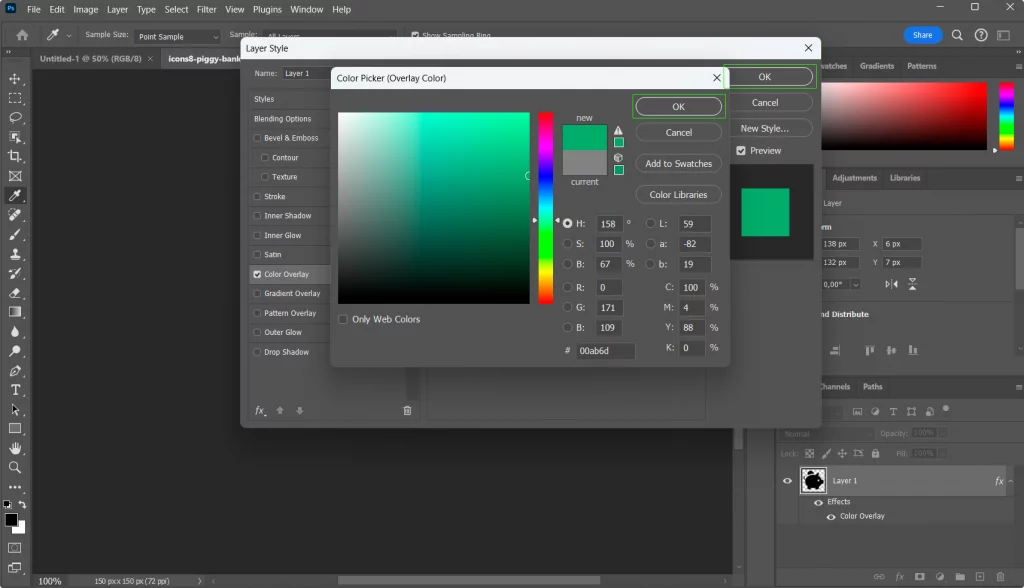
Enjoy the result! If it looks like what you wanted, save your new file.
9. Export with the PNG-24 file preset
Save your updated PNG file via File → Export → Save for Web. Make sure you set the color preset to PNG-24. Unlike PNG-8 that only handles 256 colors, PNG-24 can store 16 million colors.
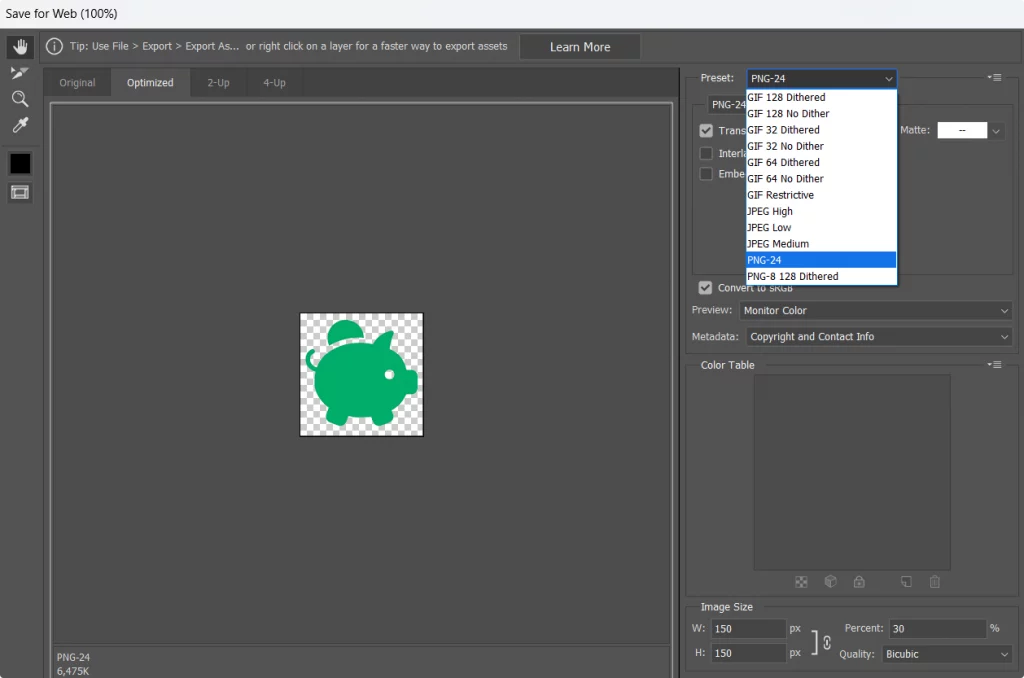
Once it’s all done, click Save, et voilà. Now you know how to recolor any icon!
Why Photoshop?
You may ask yourself why even bother doing it in Photoshop if there are easier tools. There are a number of reasons, here are just two:
- You’ll never have any compatibility issues. Same way as we did, you could open a PSD, SVG, AI, EPS, or any other file, and it would be just fine.
- You are learning a powerful industry-standard tool. If you ever want to color it with a gradient, or a pattern, or distort it in some way, you could do it all with an extra click or two. You already know where to look for the tools needed to do that, which is great.
Sooner or later a recolored icon becomes a sold icon. But what if people try to steal from you? Check out What to Do If Someone Steals From You 7 Times a Day
Get to know about one of the most spectacular Icons8 fails in How We Lost 47% of Our Users After a Redesign.
About the author
Mia Donovan. Marketing designer who weaponizes visuals to make people actually care about products. Archives competitor ads like rare artifacts, has lost friends over kerning disagreements, and analyzes color psychology with criminal profiler intensity.