
So, you found a perfect 3d illustration, and now you need to adjust the colors to fit the color scheme of your project or your brand colors. See how you can recolor 3D illustrations by icons8 in Photoshop in a few steps.
3D illustrations look great almost everywhere. However, recoloring them might be tricky for non-designers since they are not vectors. Let us guide you through the shortest way to do it with the help of Photoshop.
5 simple steps to edit colors:
- Get the masks of the illustration
- Open files in Photoshop
- Select the area to recolor
- Create a Gradient map
- Set a new color for the area
1. Get the masks of the illustration
For this, download the 3d illustration you need from the library in the “Masks” format.
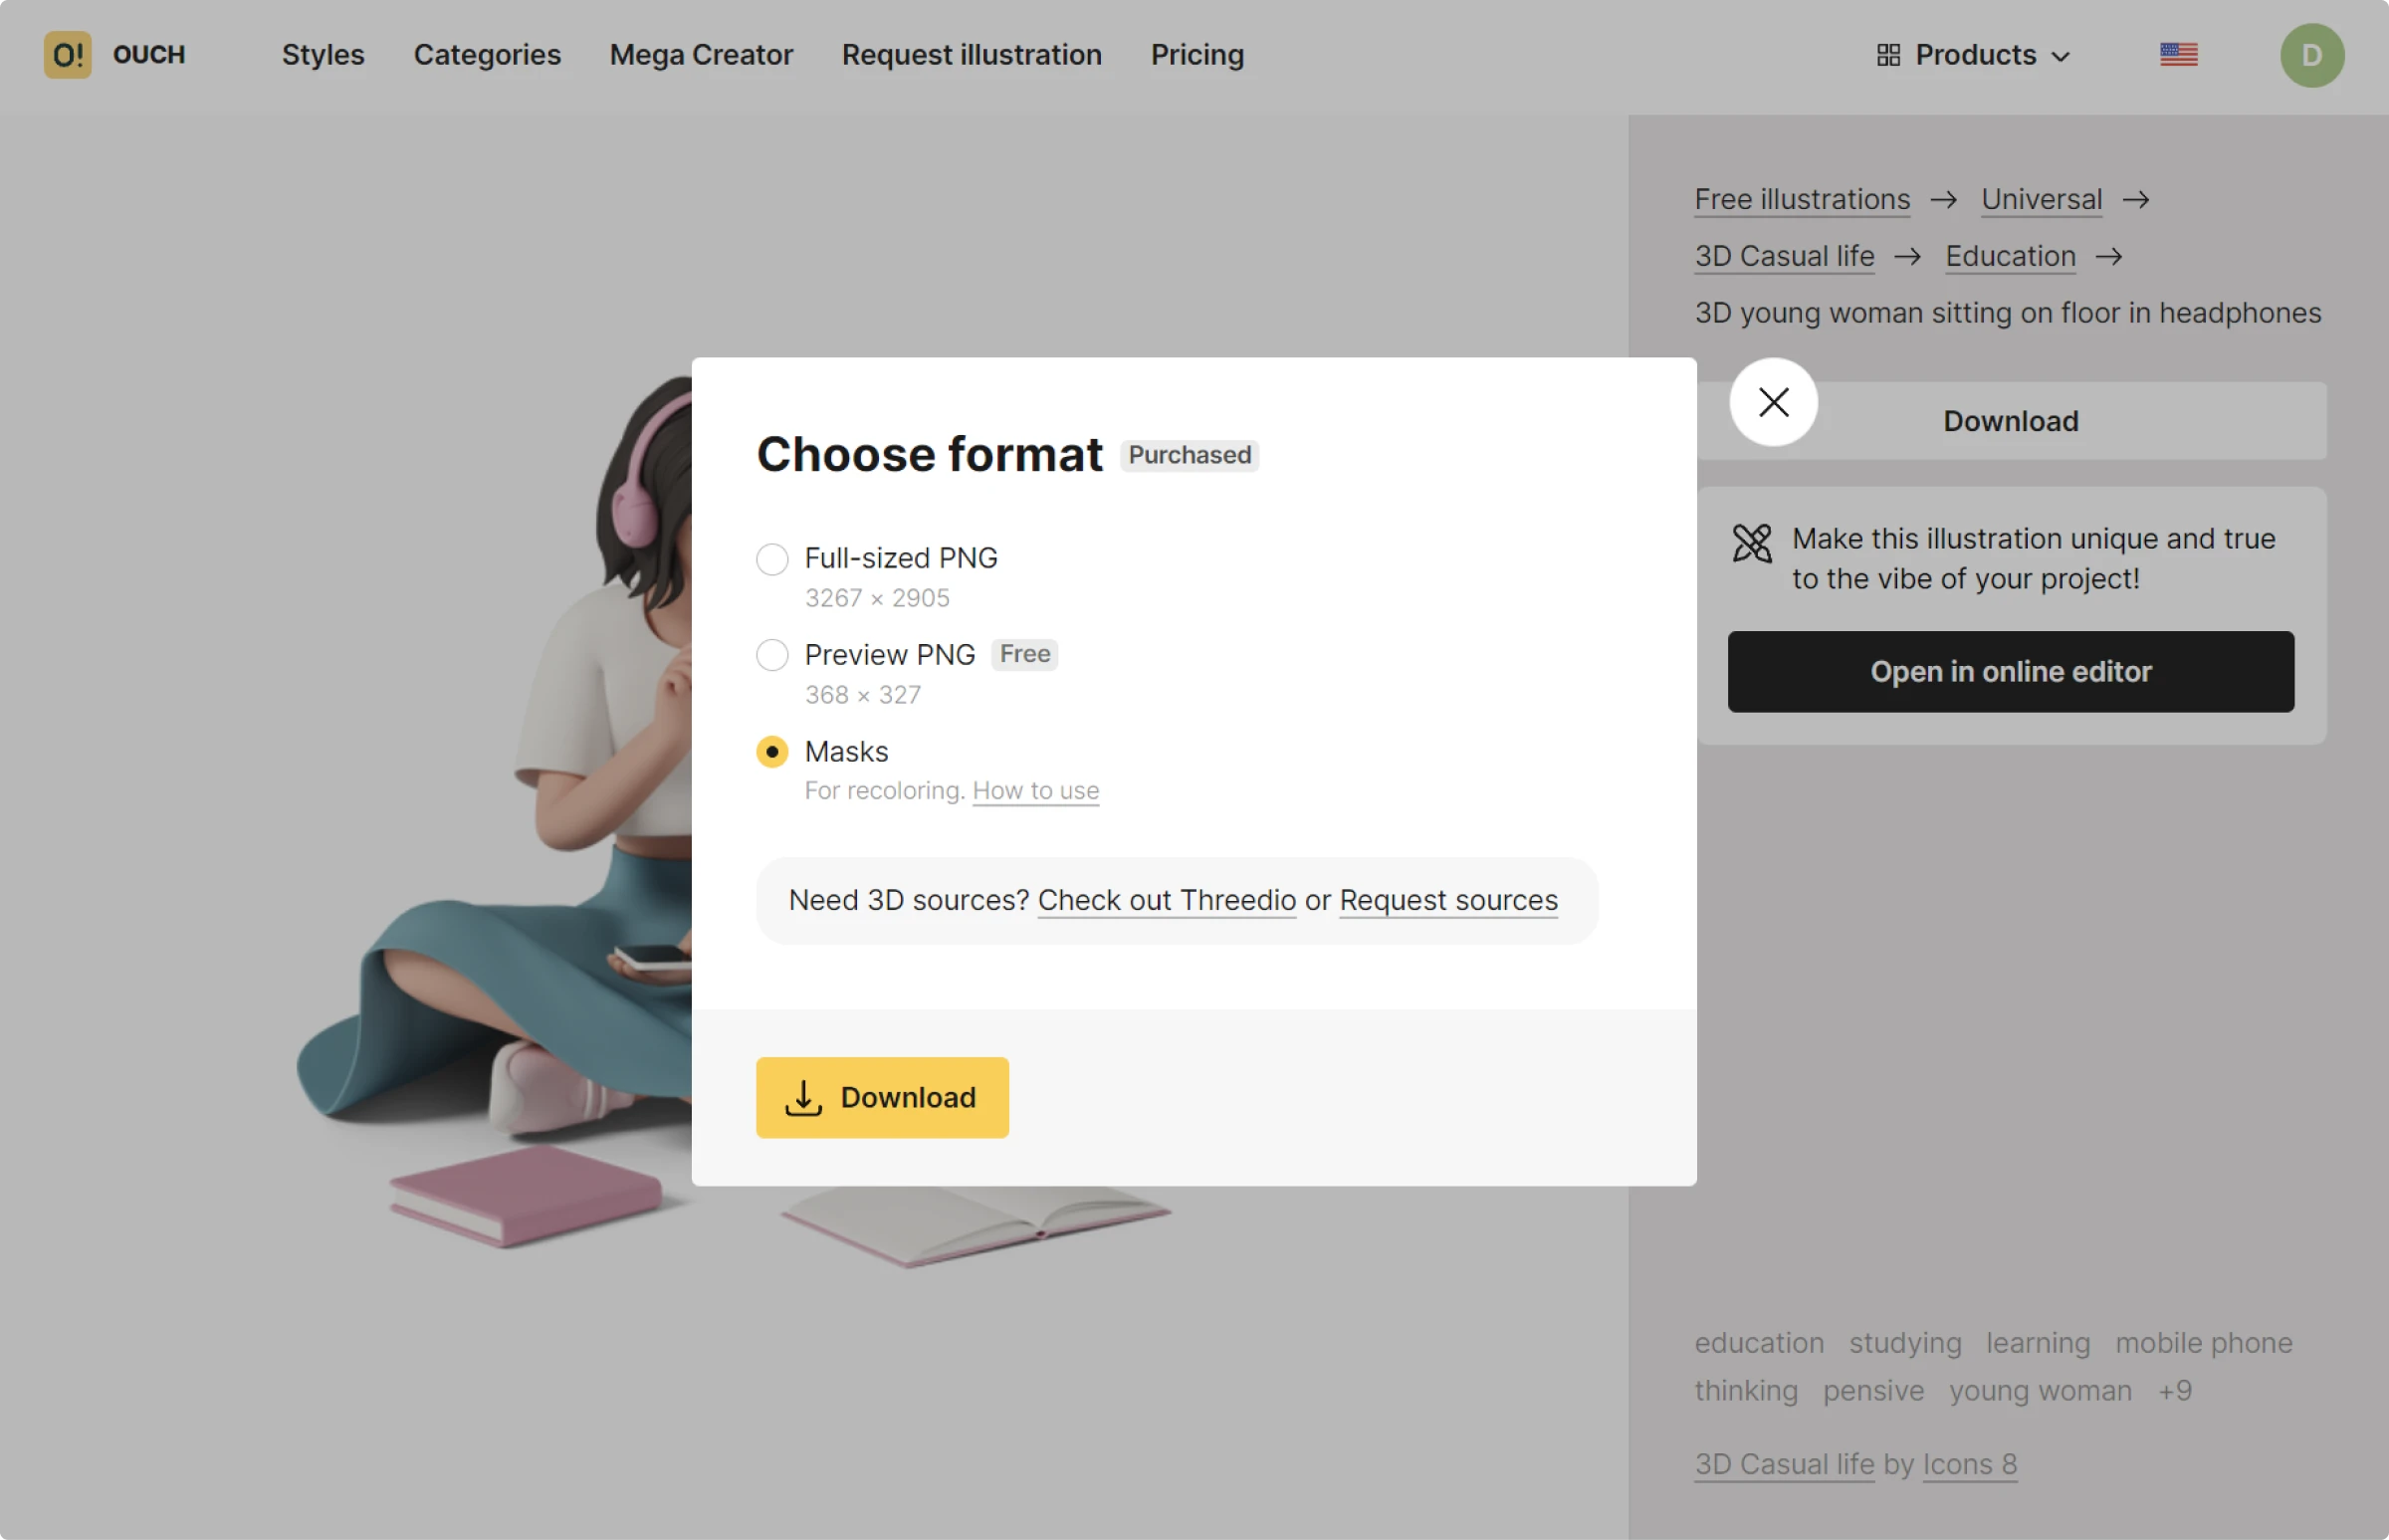
You will get the *.zip archive with three files:
- The illustration itself
- Shadows
- Masks file
2. Open files in Photoshop
First, open the illustration file in Photoshop as a new project.
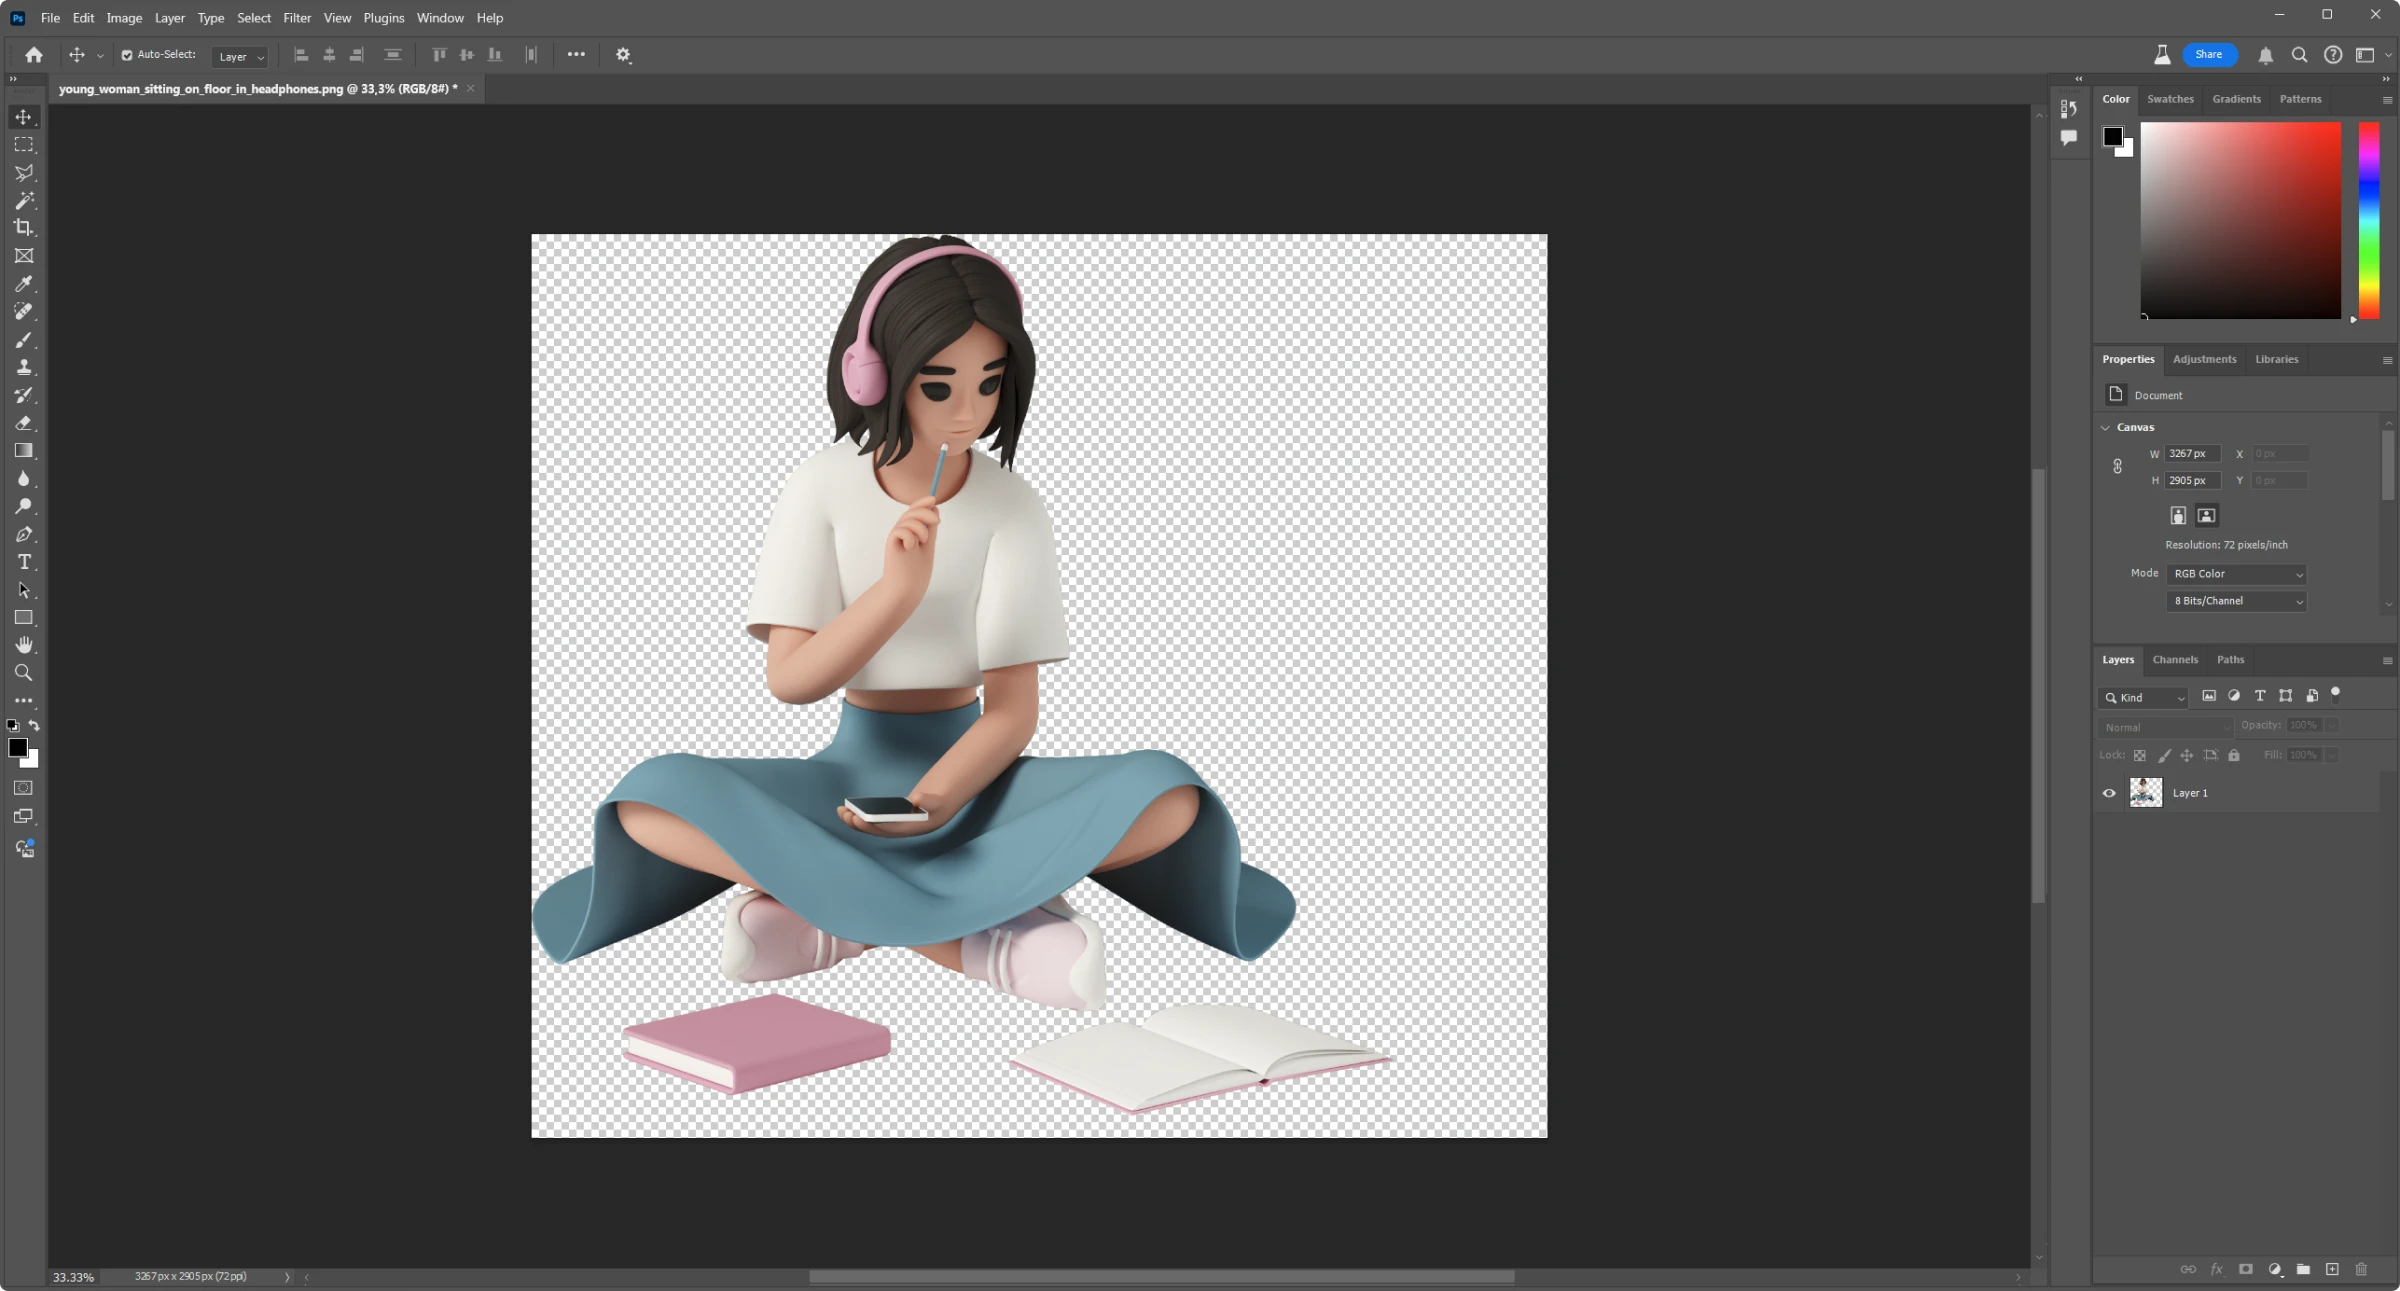
Next, open the mask file using File → Place Embedded and click ⏎Enter.
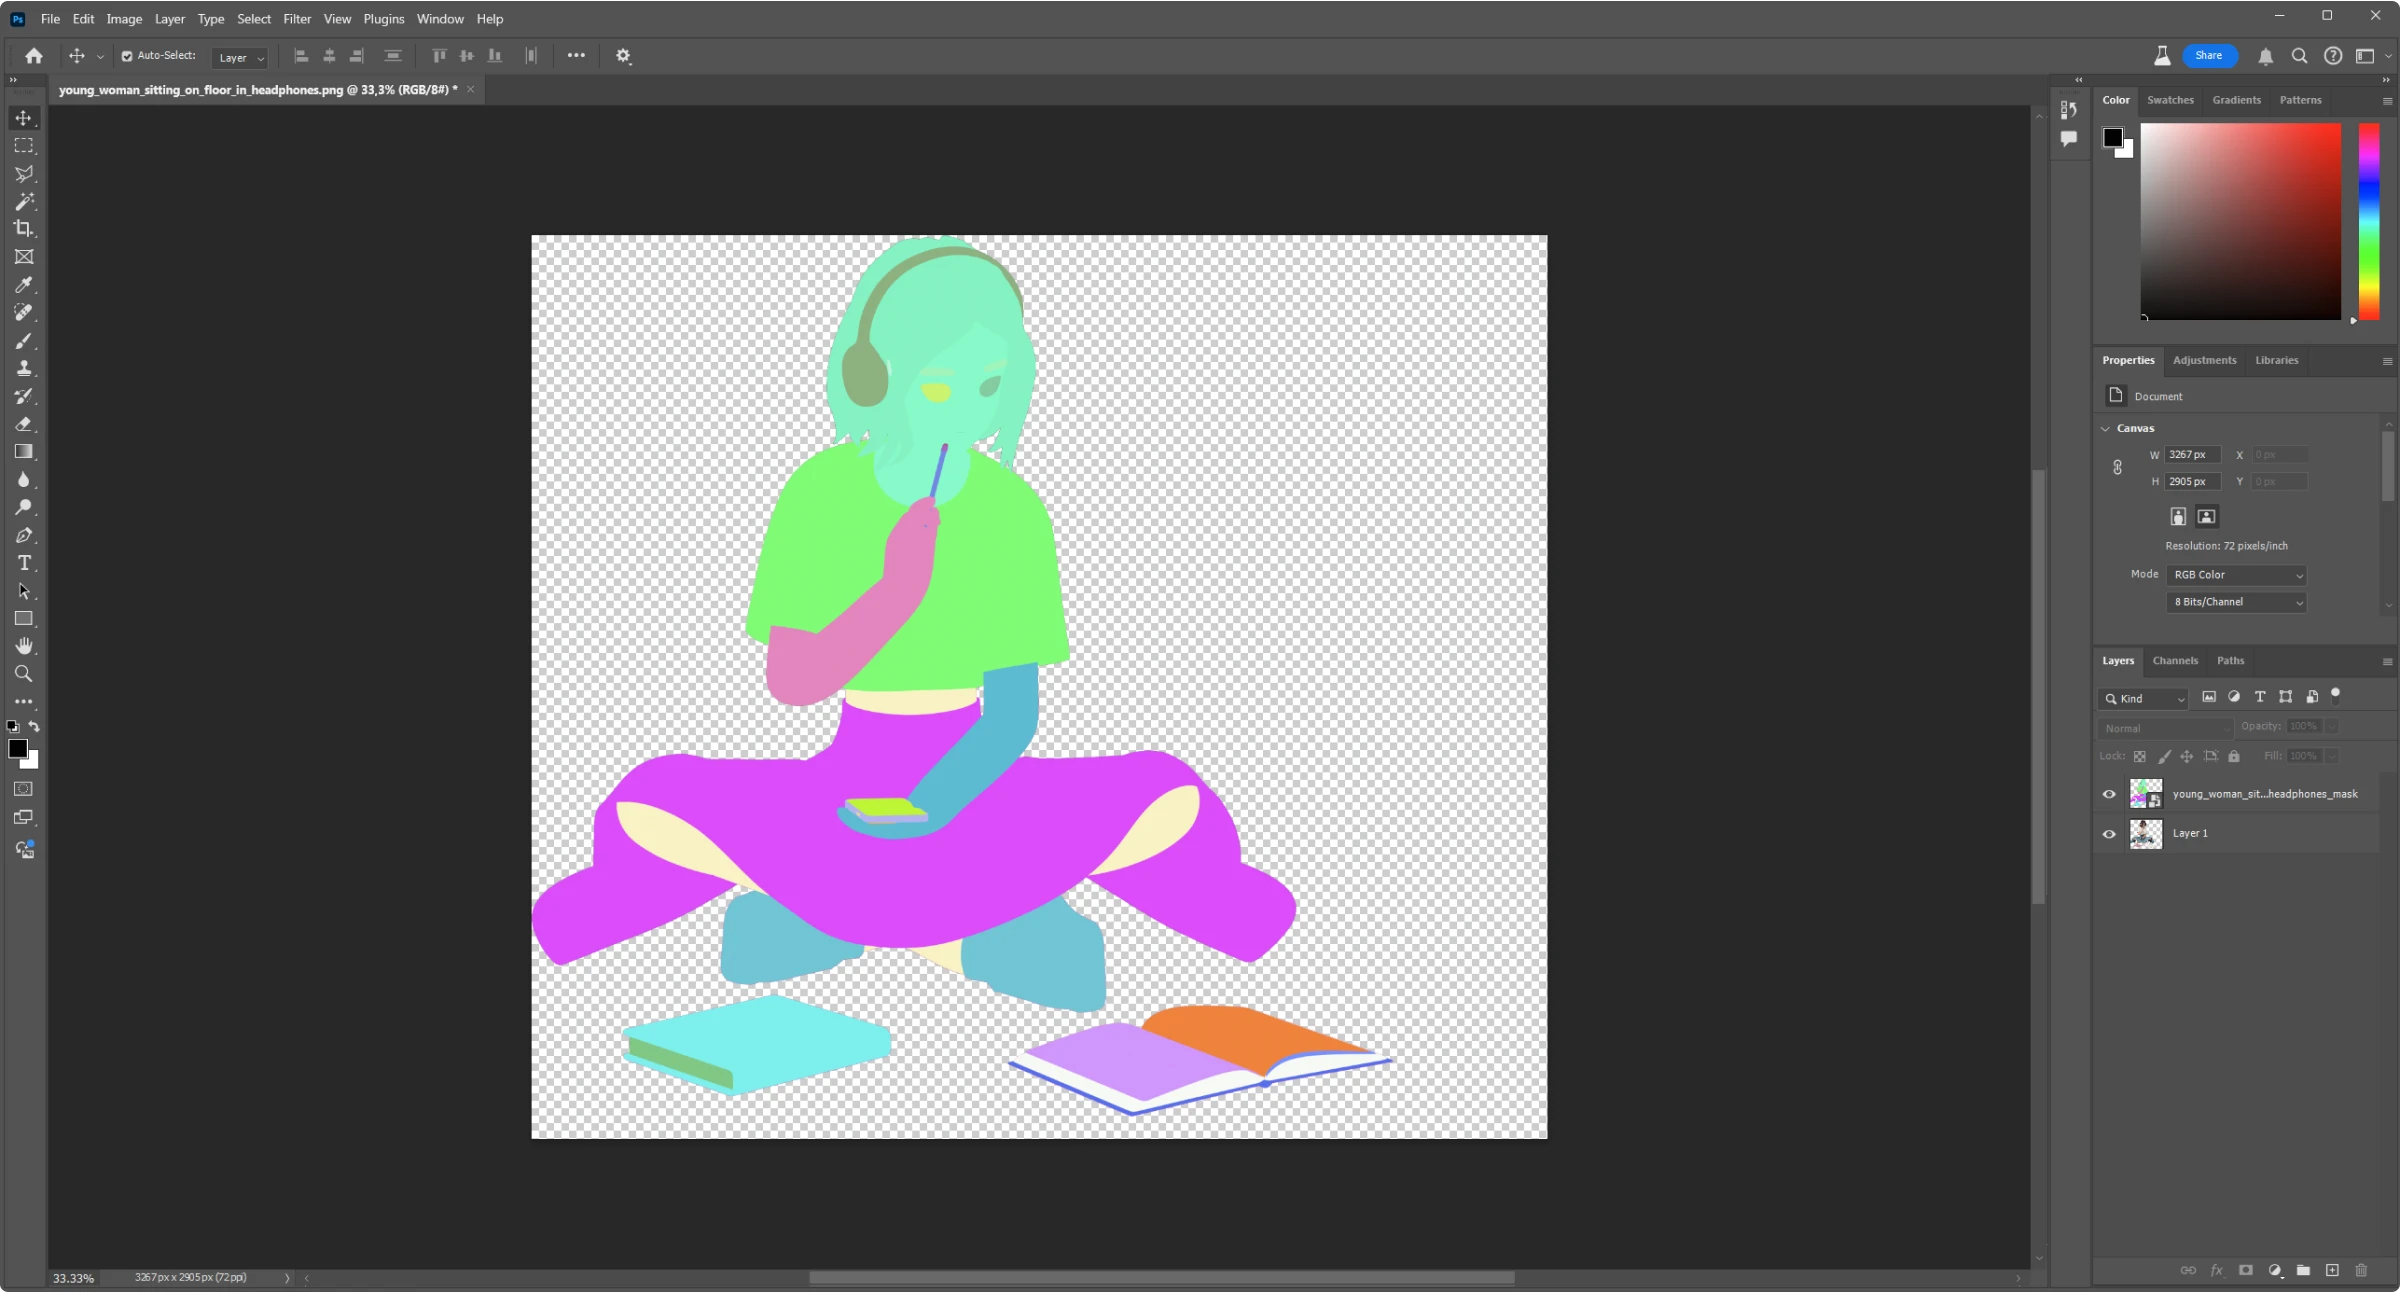
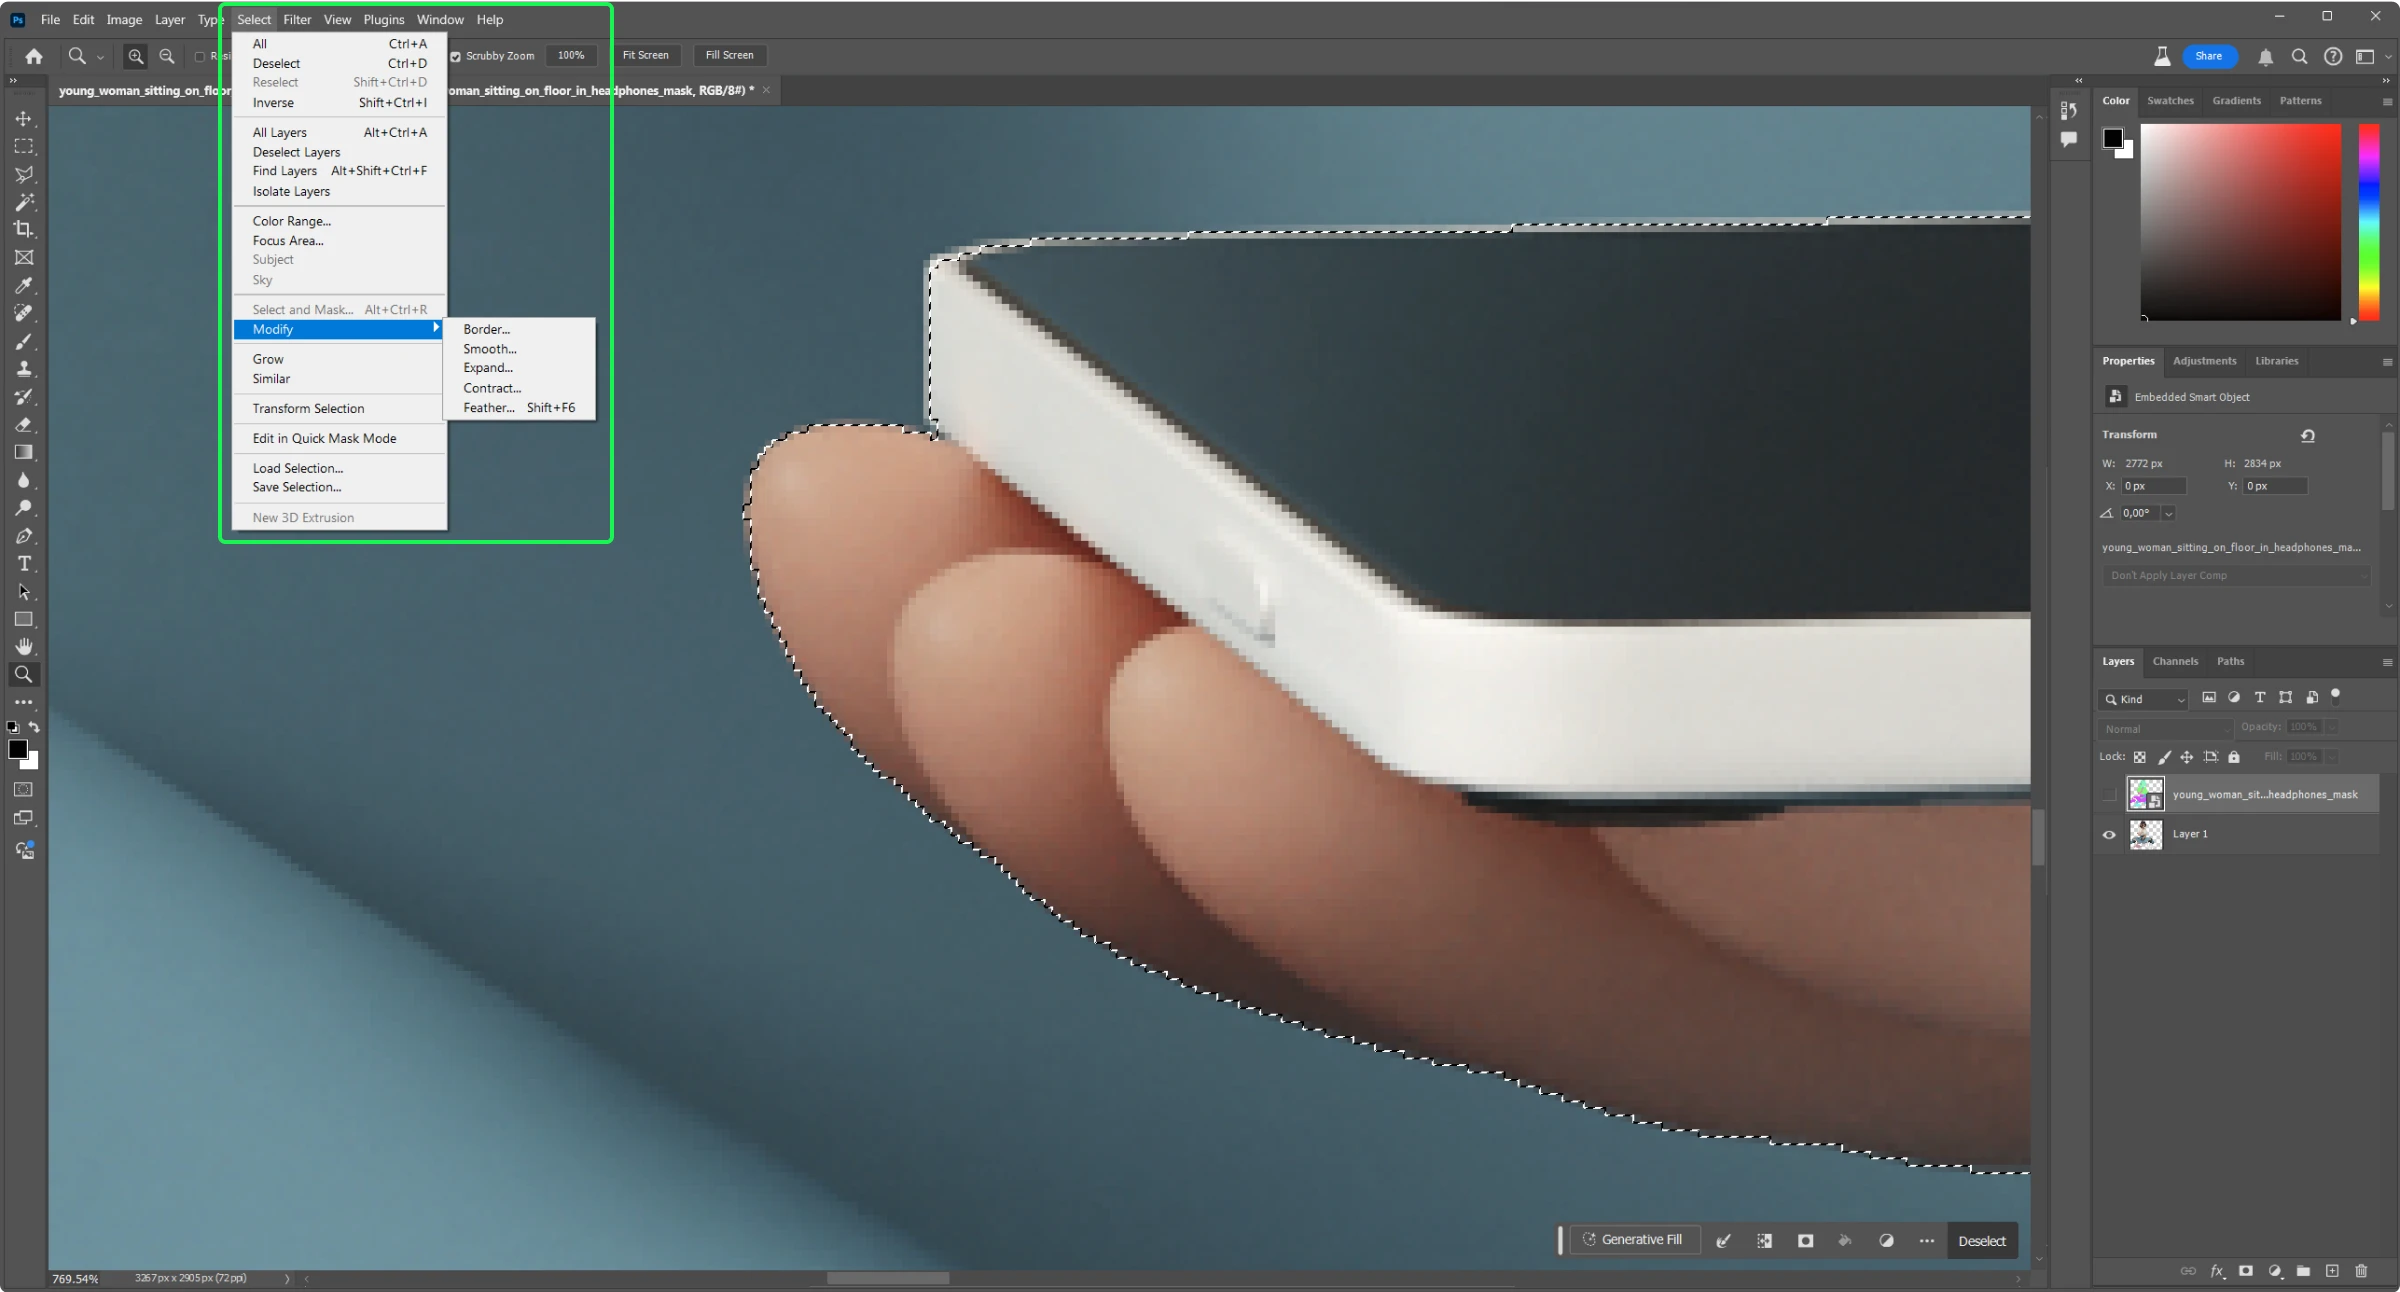
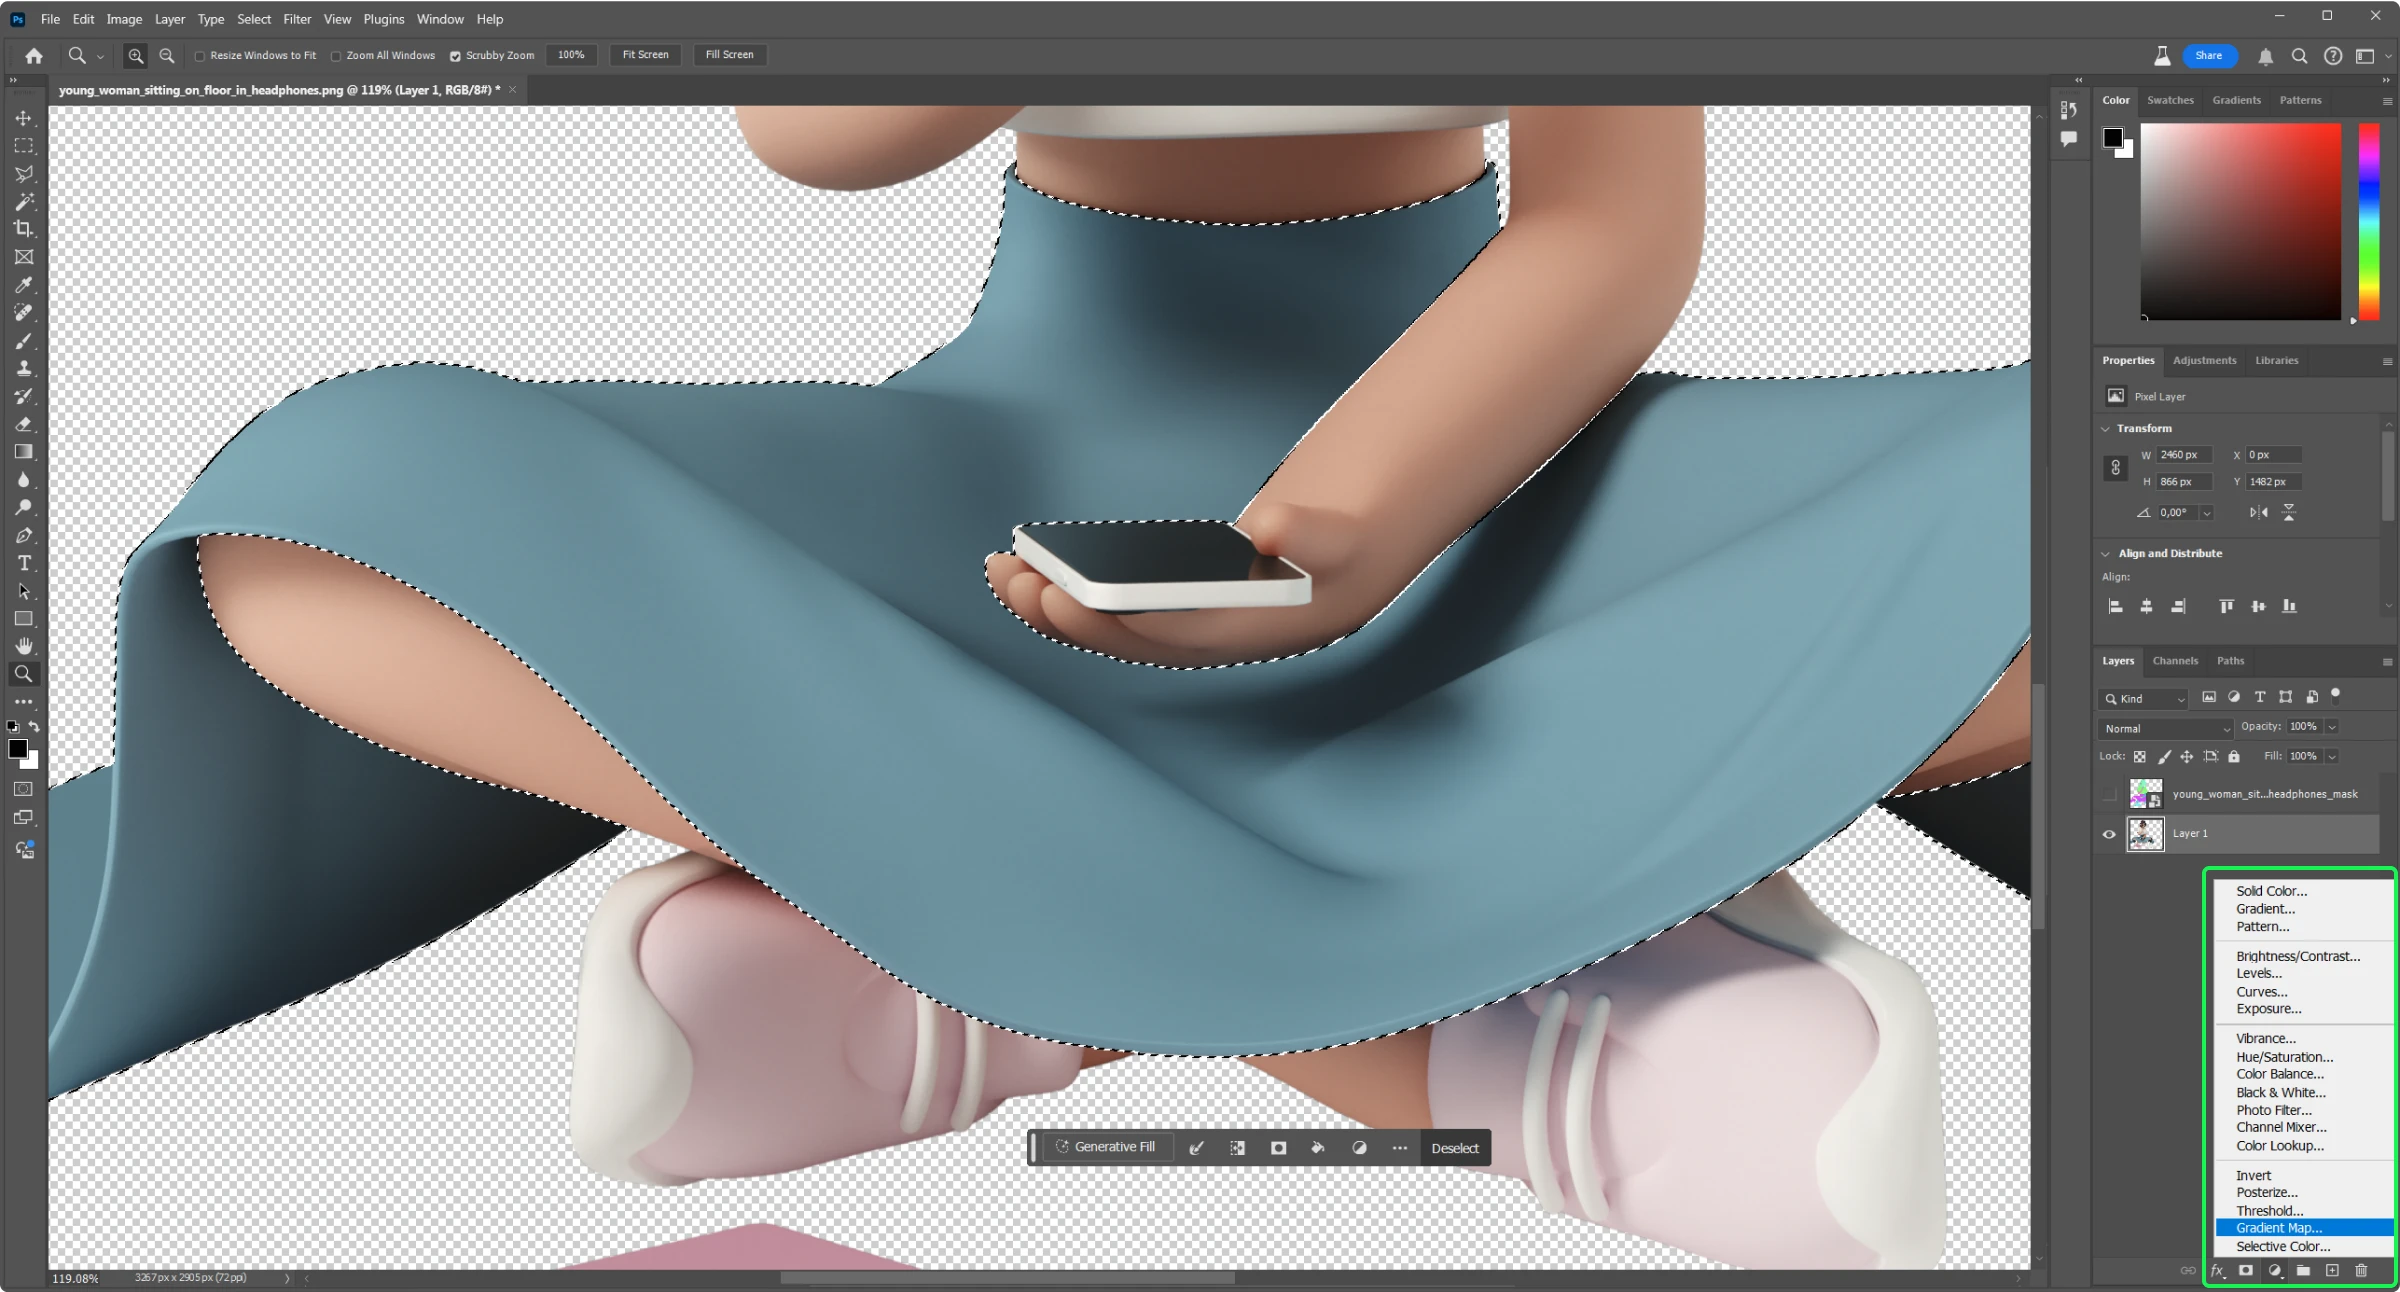
3. Select the area to recolor
Press W to choose the “magic wand” tool. Click on the object you want to recolor. If you want to recolor several areas in the same color, choose them all while holding the ⇧Shift.

Hide the mask layer by clicking on the eye icon next to it in layer three.
Pro tip: zoom in to check if the selected area fits the area you want to recolor perfecly. If it is not, go to Select→Modify→Expand…/Contract… “Expand” command will make the selected area bigger, while “contract” will shrink the area smaller proportionally.
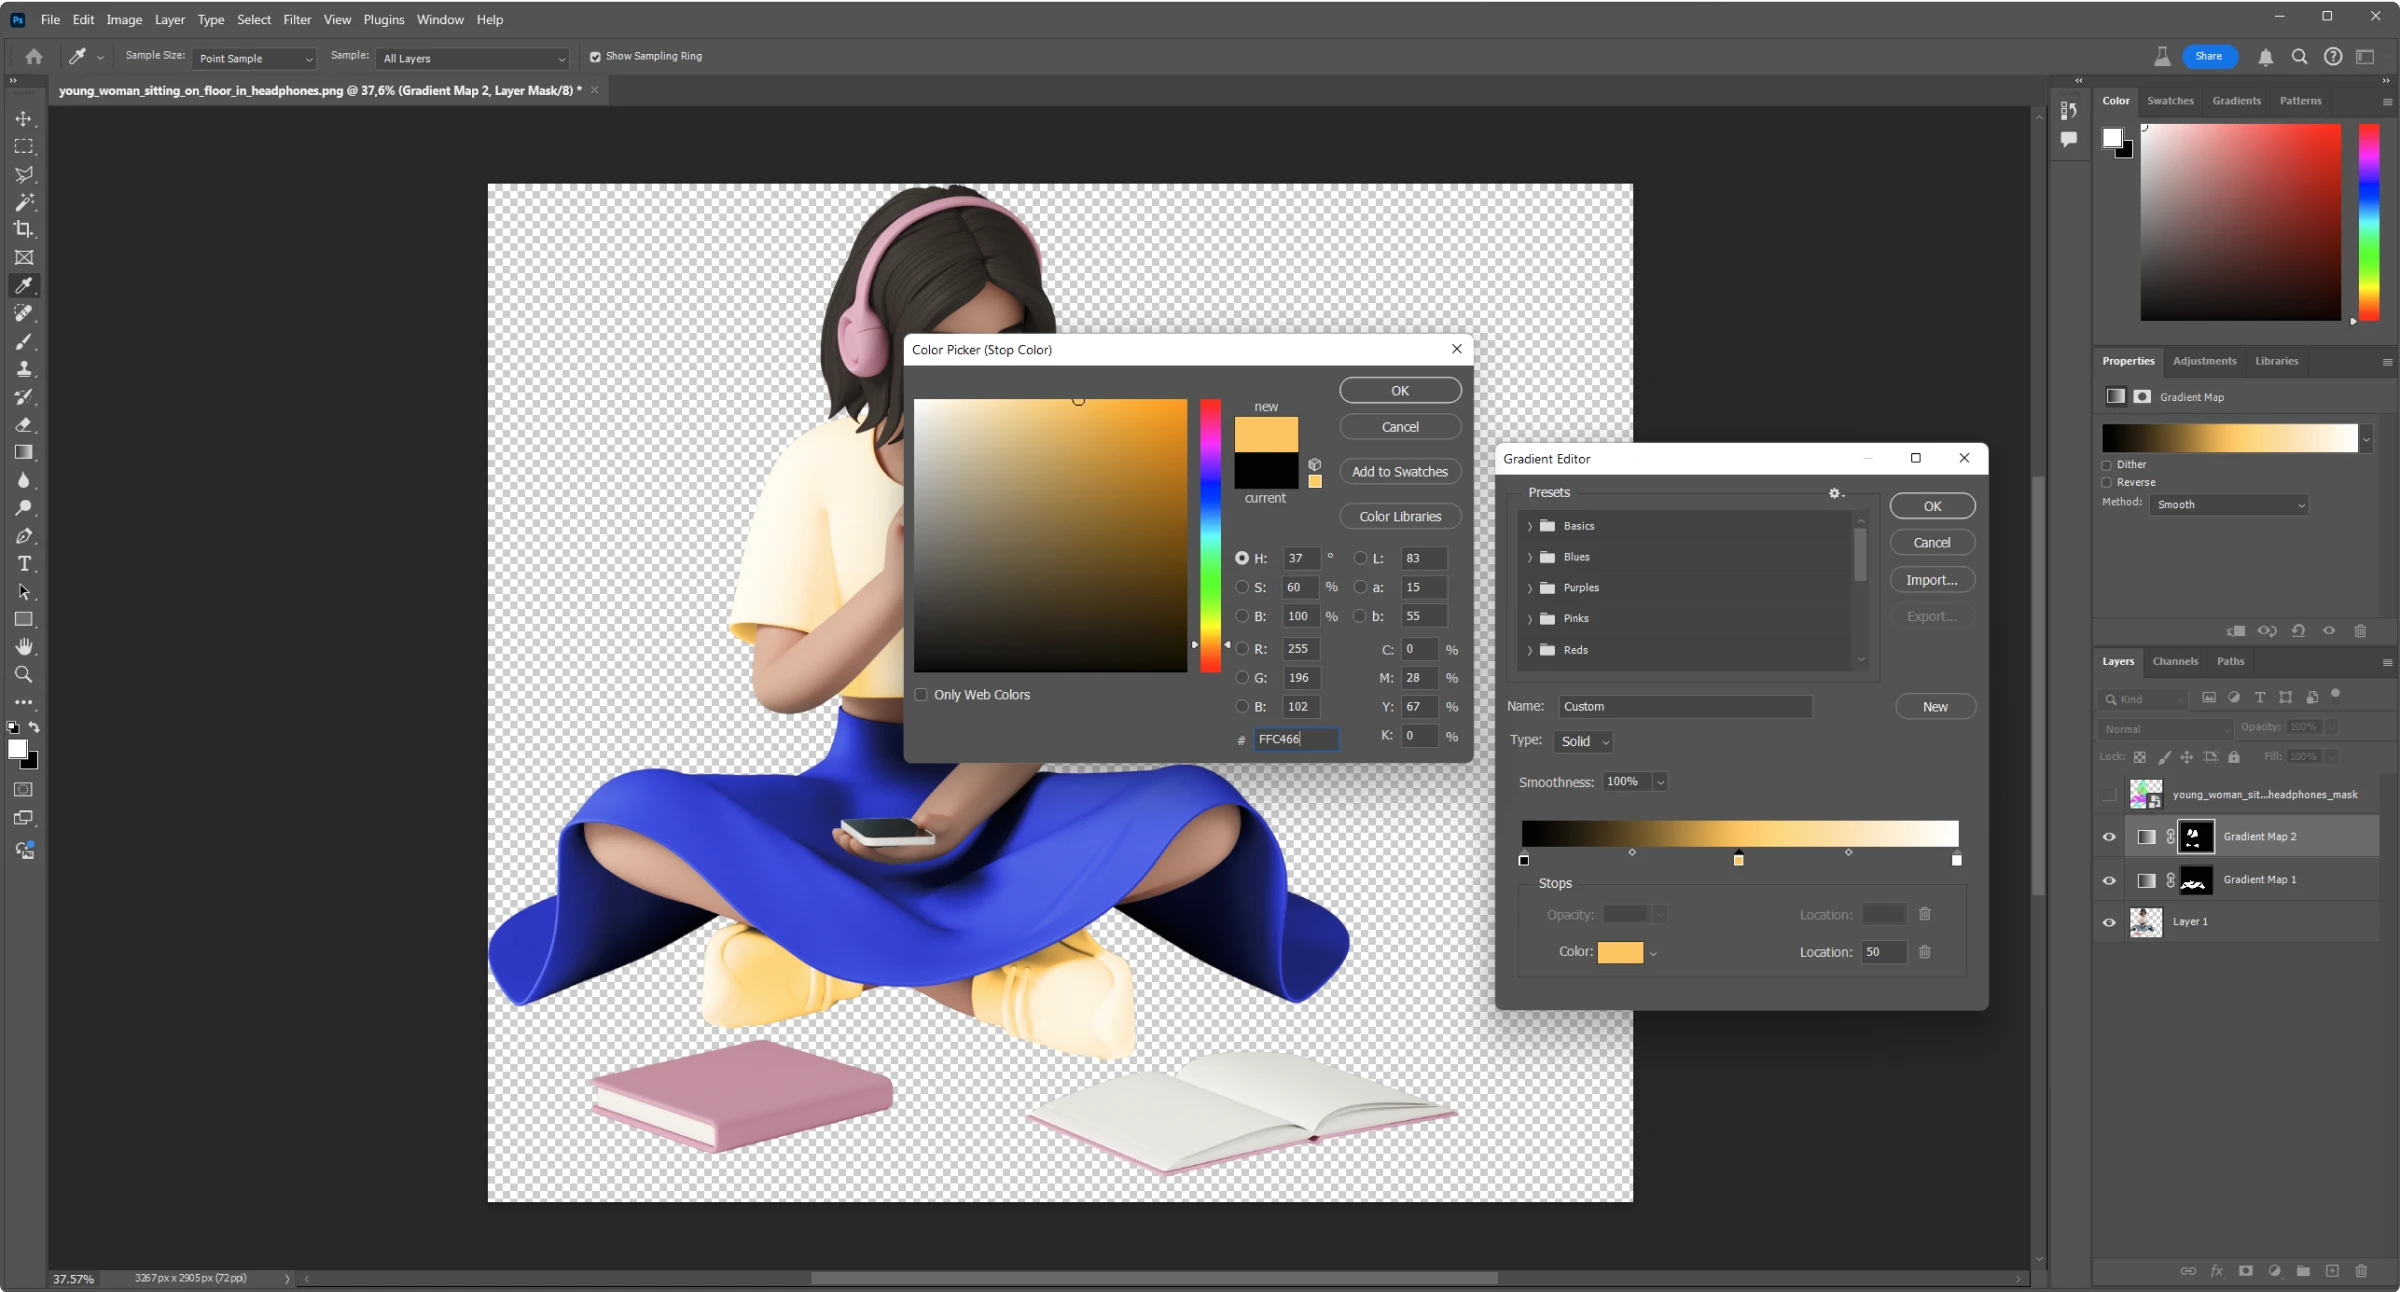
4. Create a Gradient map
Go to the bottom ring corner of the screen and click the ◒ icon. In the dropdown menu, select the gradient map.
5. Set a new color for the area
Select the Gradient map layer and click on gradient stretch in the Properties panel.
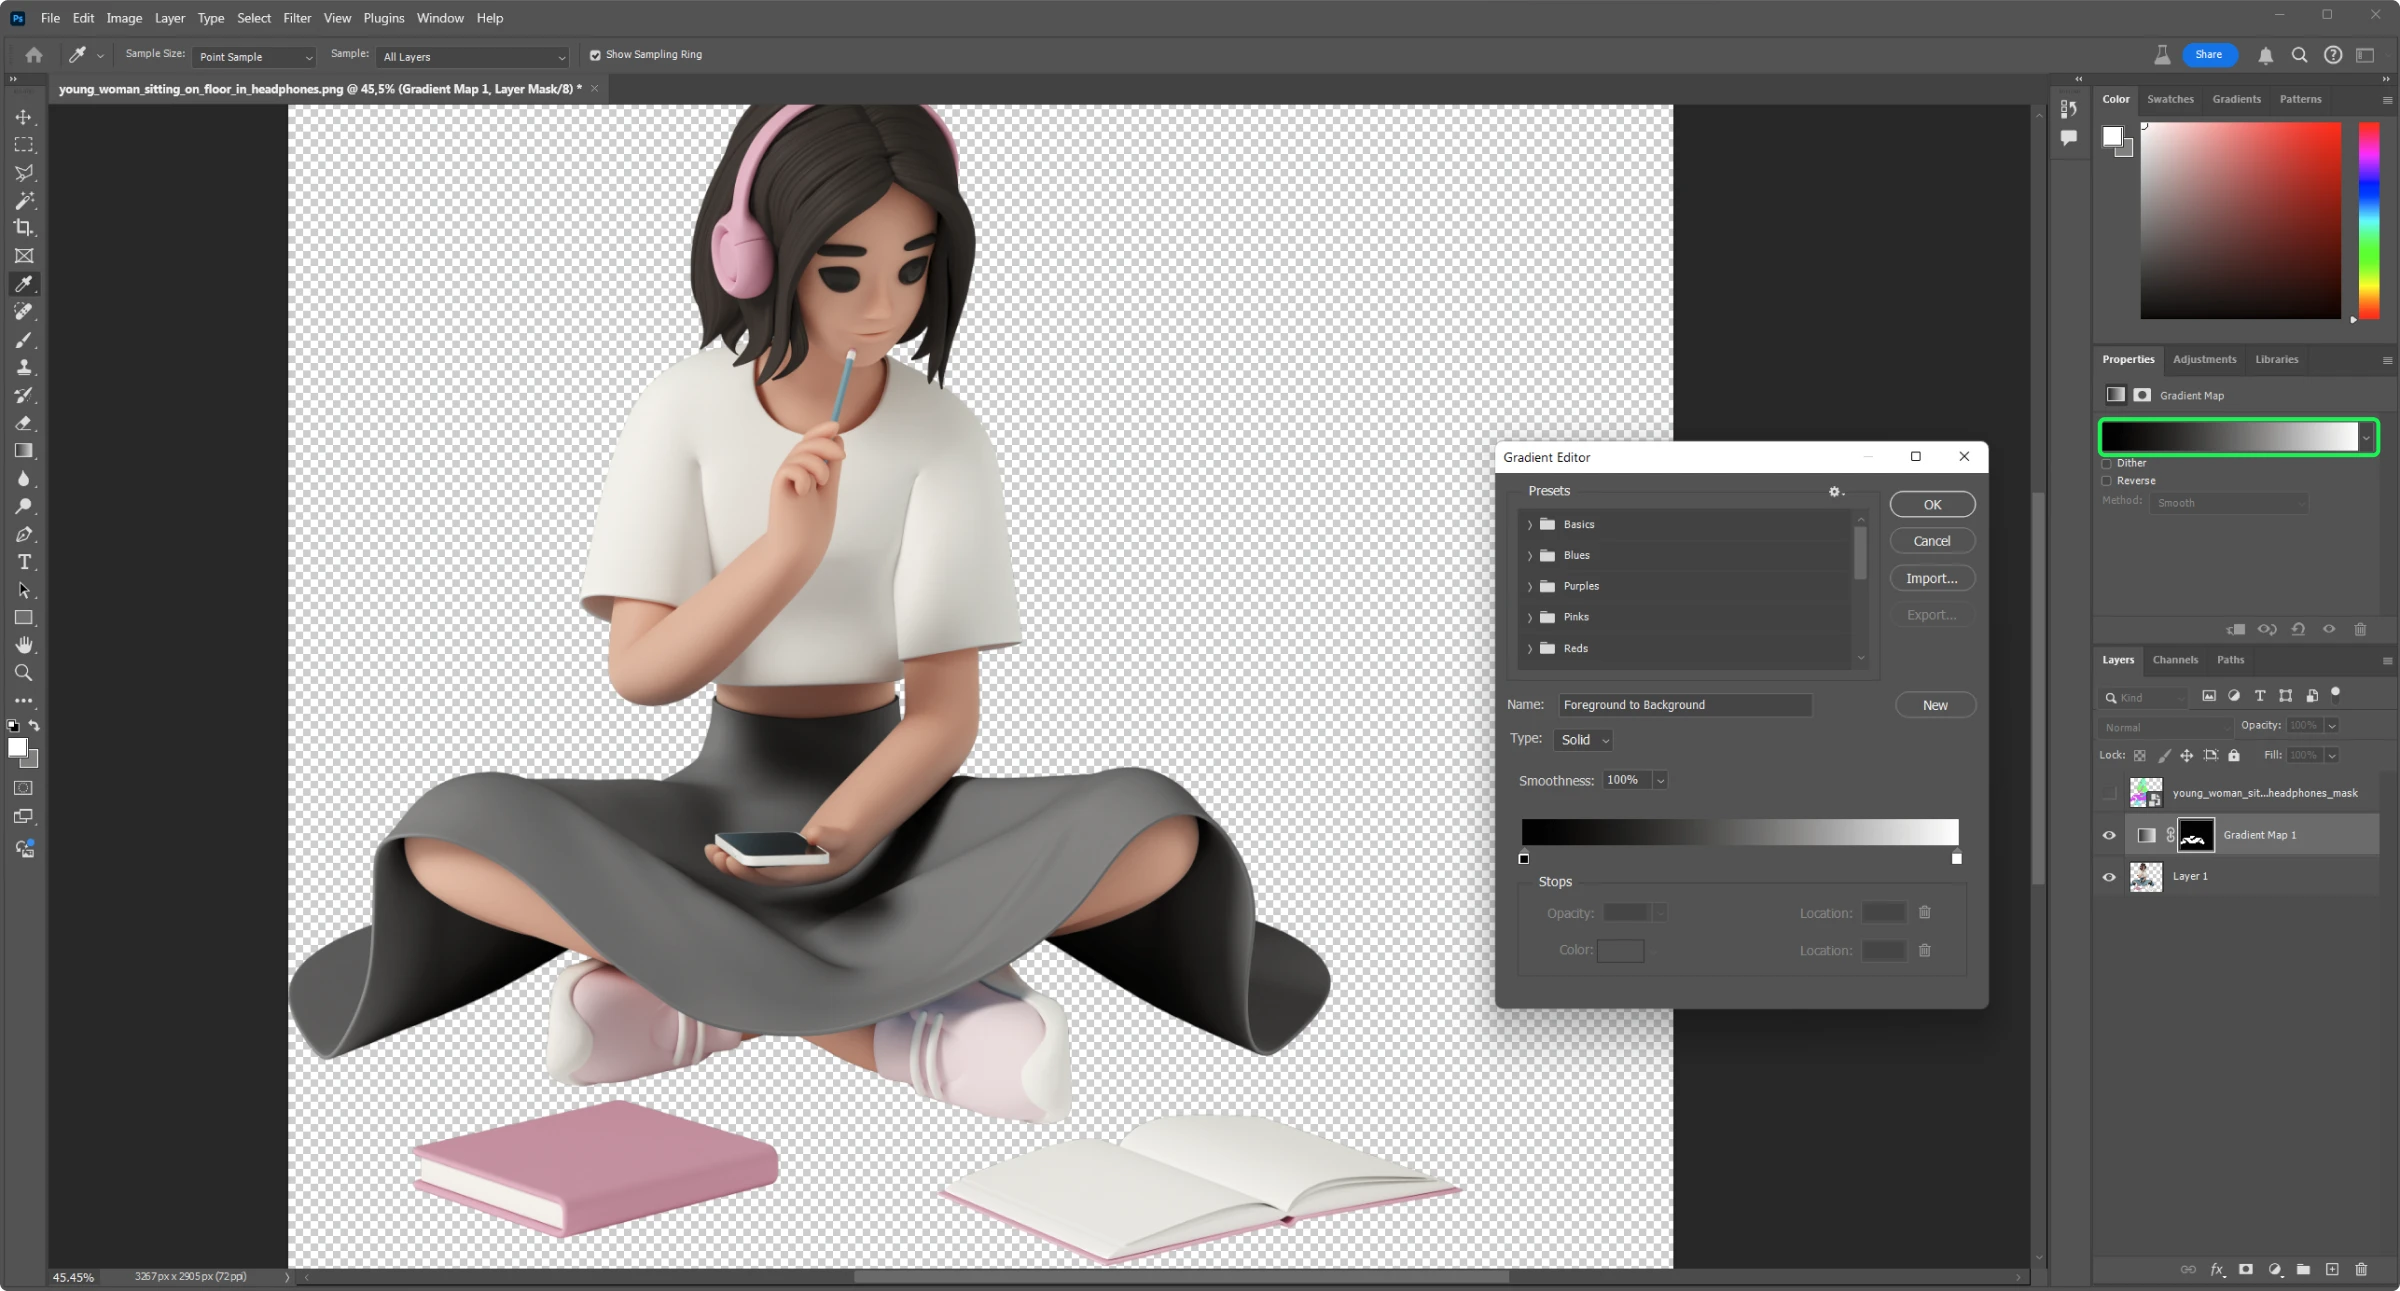
Add to the gradient stretch a new point by clicking in the middle on it and clicking on the “Color” window.
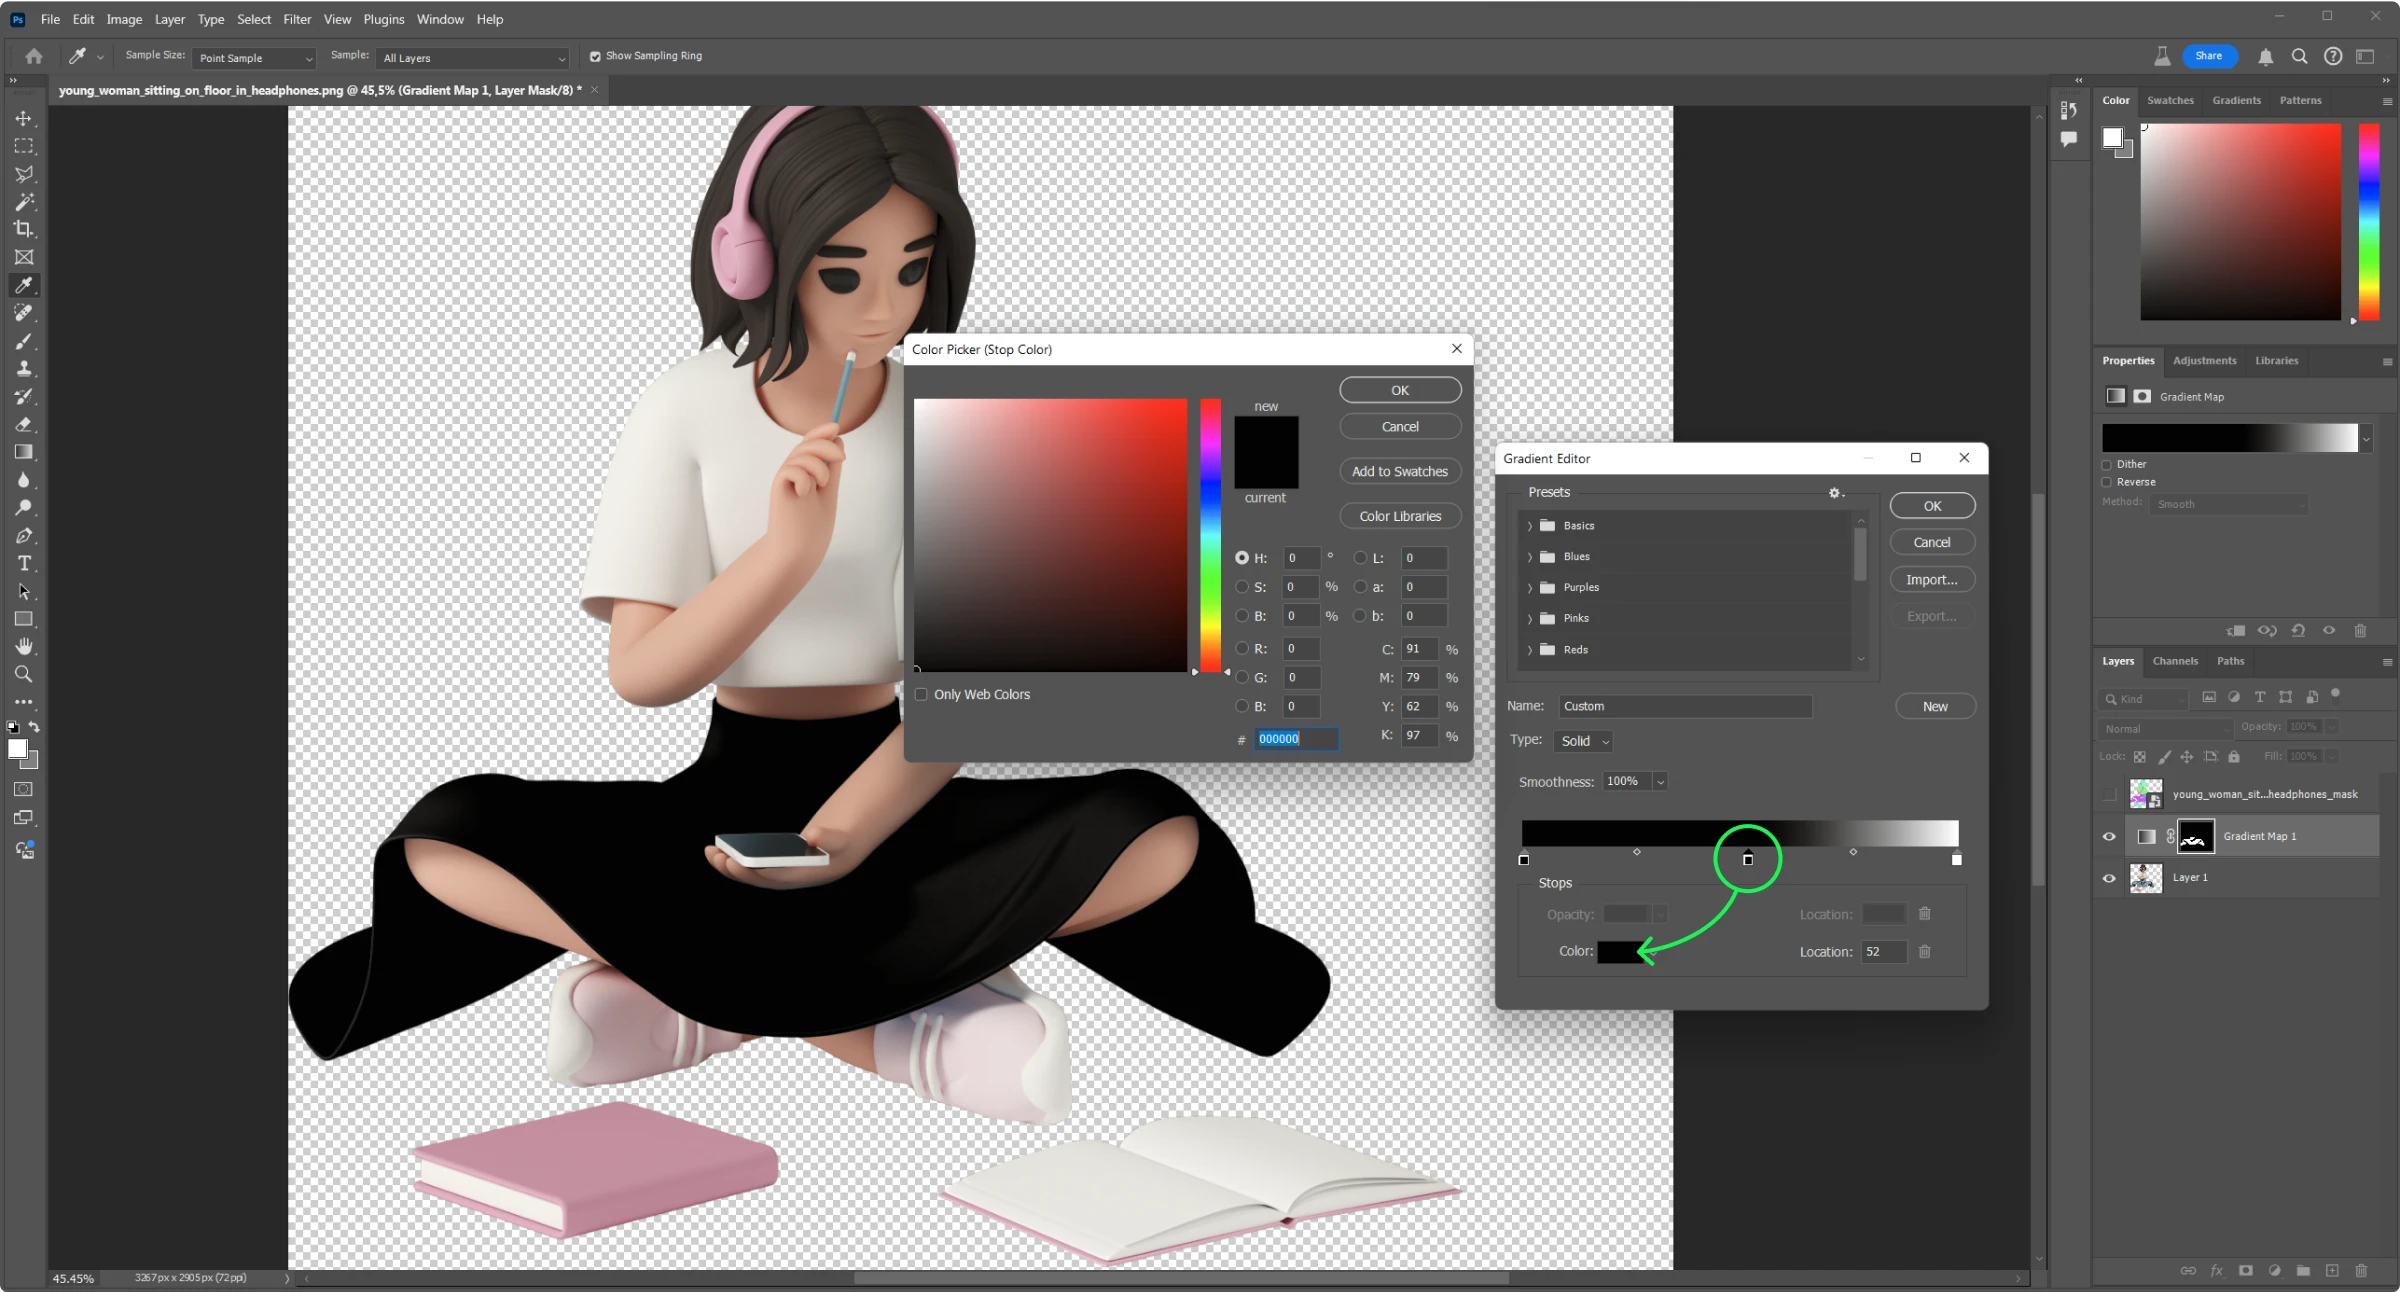
Paste your brand color’s code (in our case, 3843D0) into the # hex field and press OK.
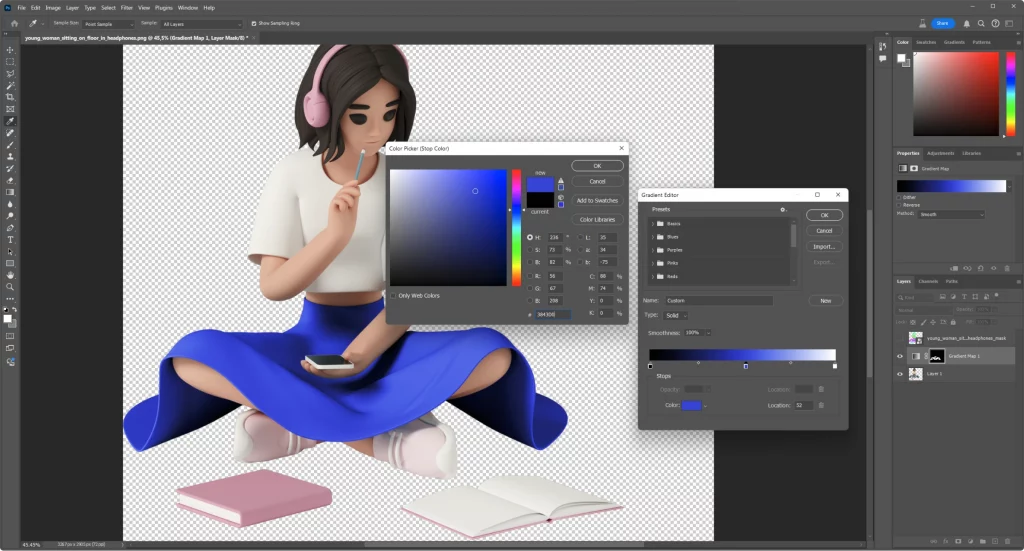
Pro tip: if the color looks too bright or too dark, move slightly your color point on the gradient stretch to get the best result.
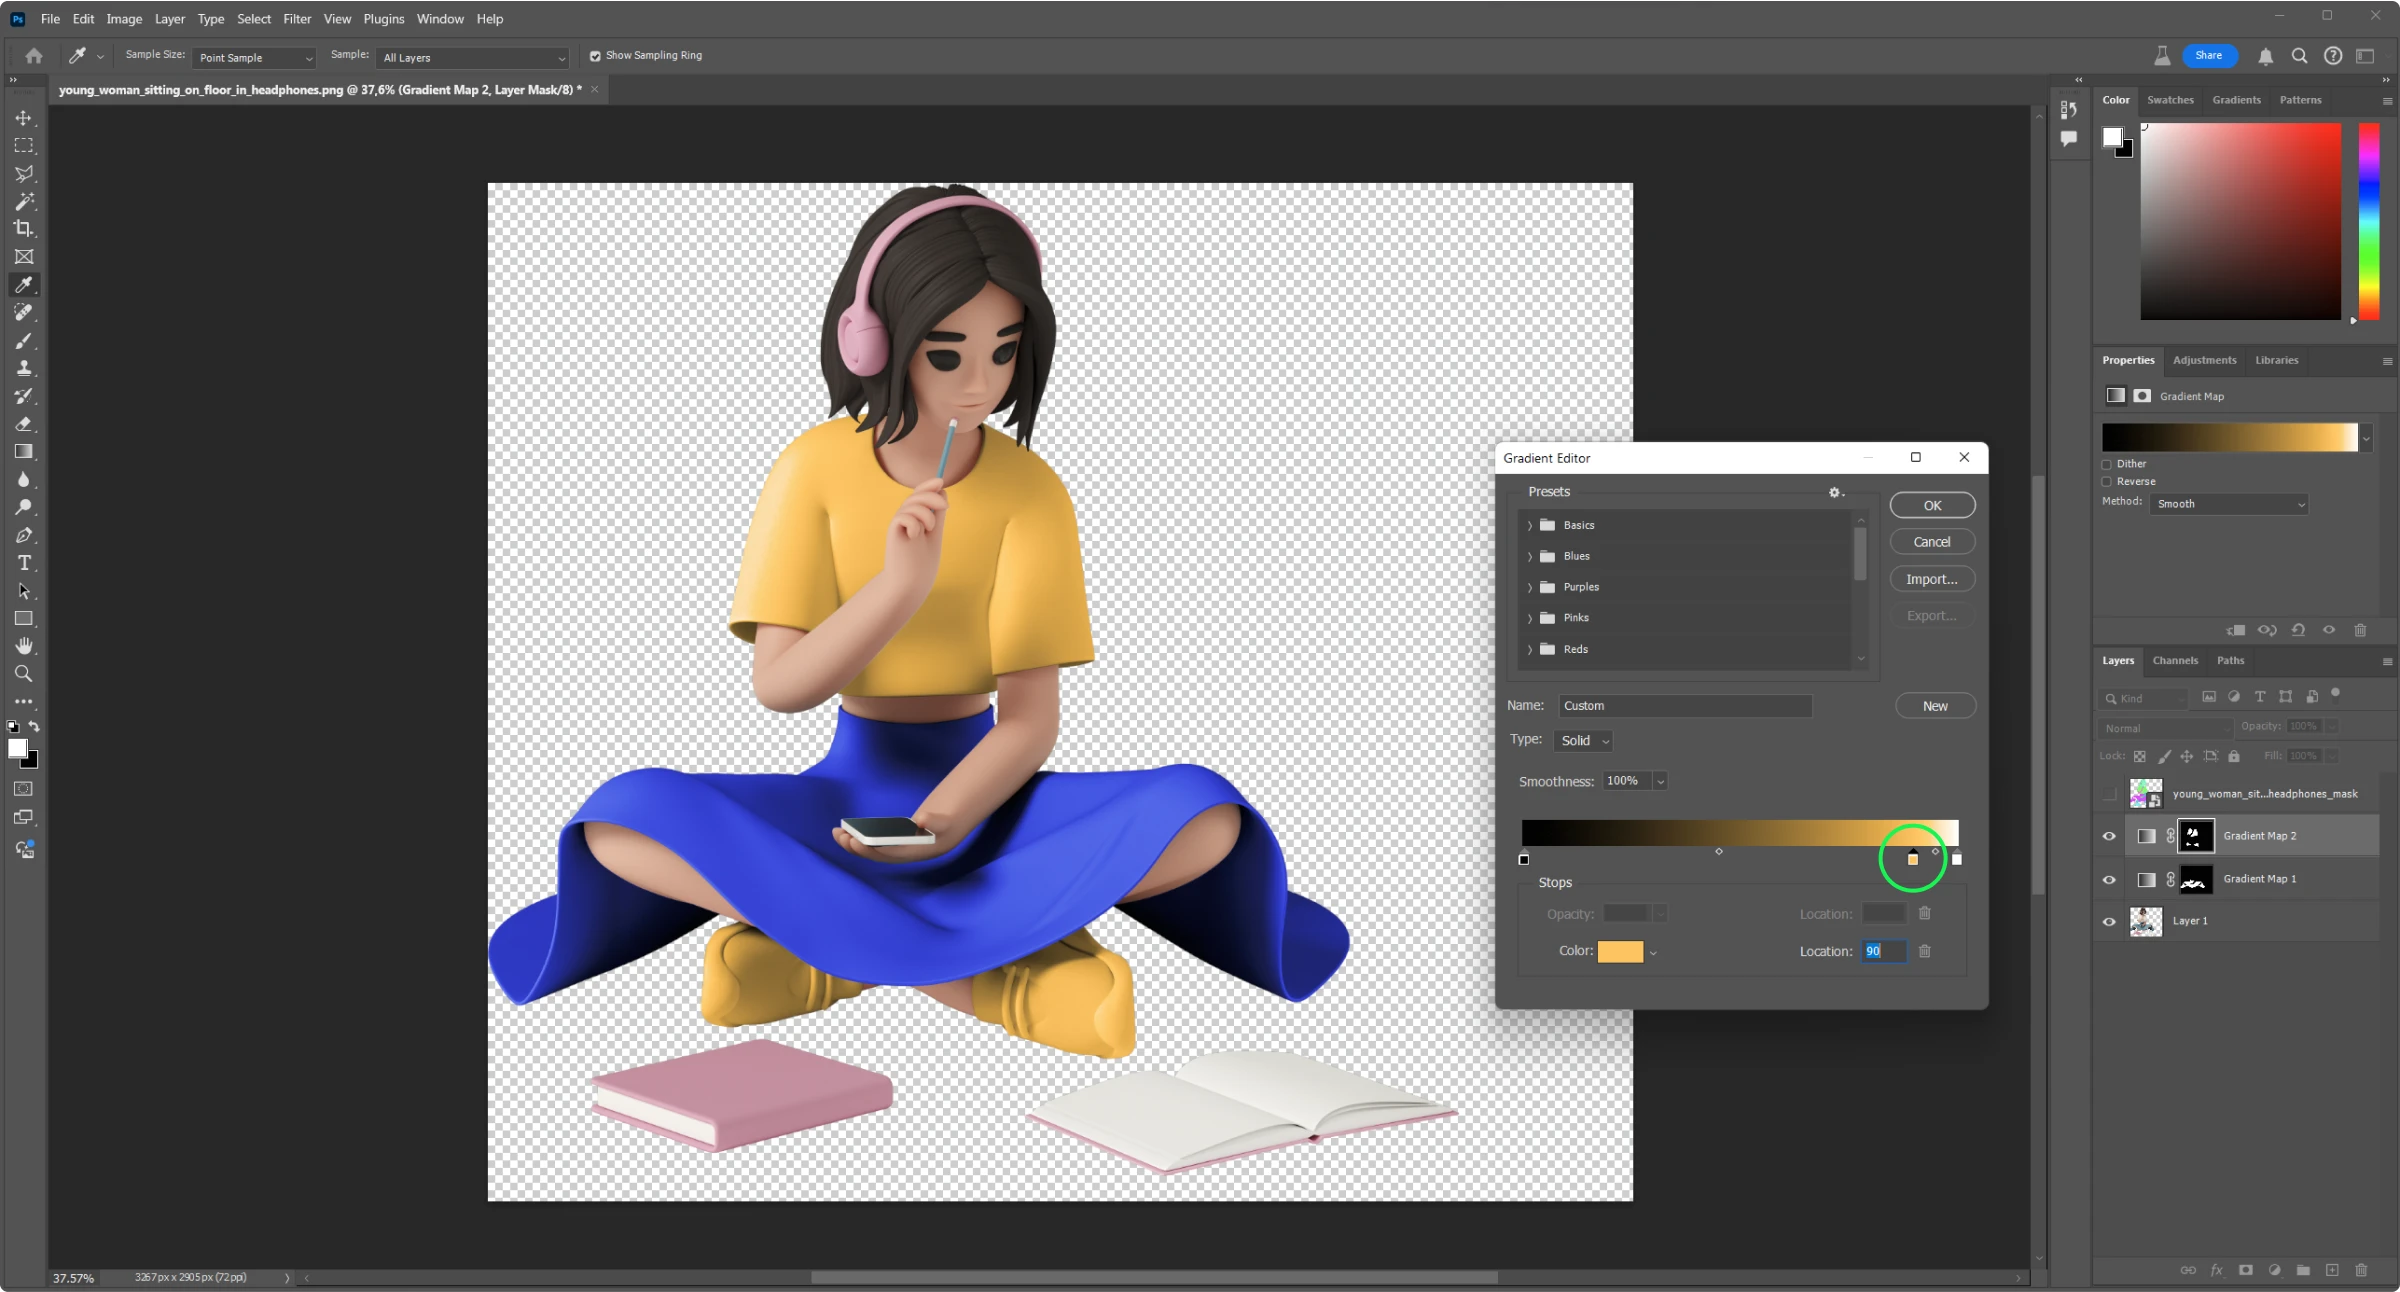
Bonus: holographic effect
For more interesting results, you can add more than one color to the gradient map. This will make the area appear more radiant and holographic.
Go back to step 4 and add the second color’s code to the gradient stretch. In our case, to the 3843D0 blue, we add FF7CDF pink to make the color transition richer.
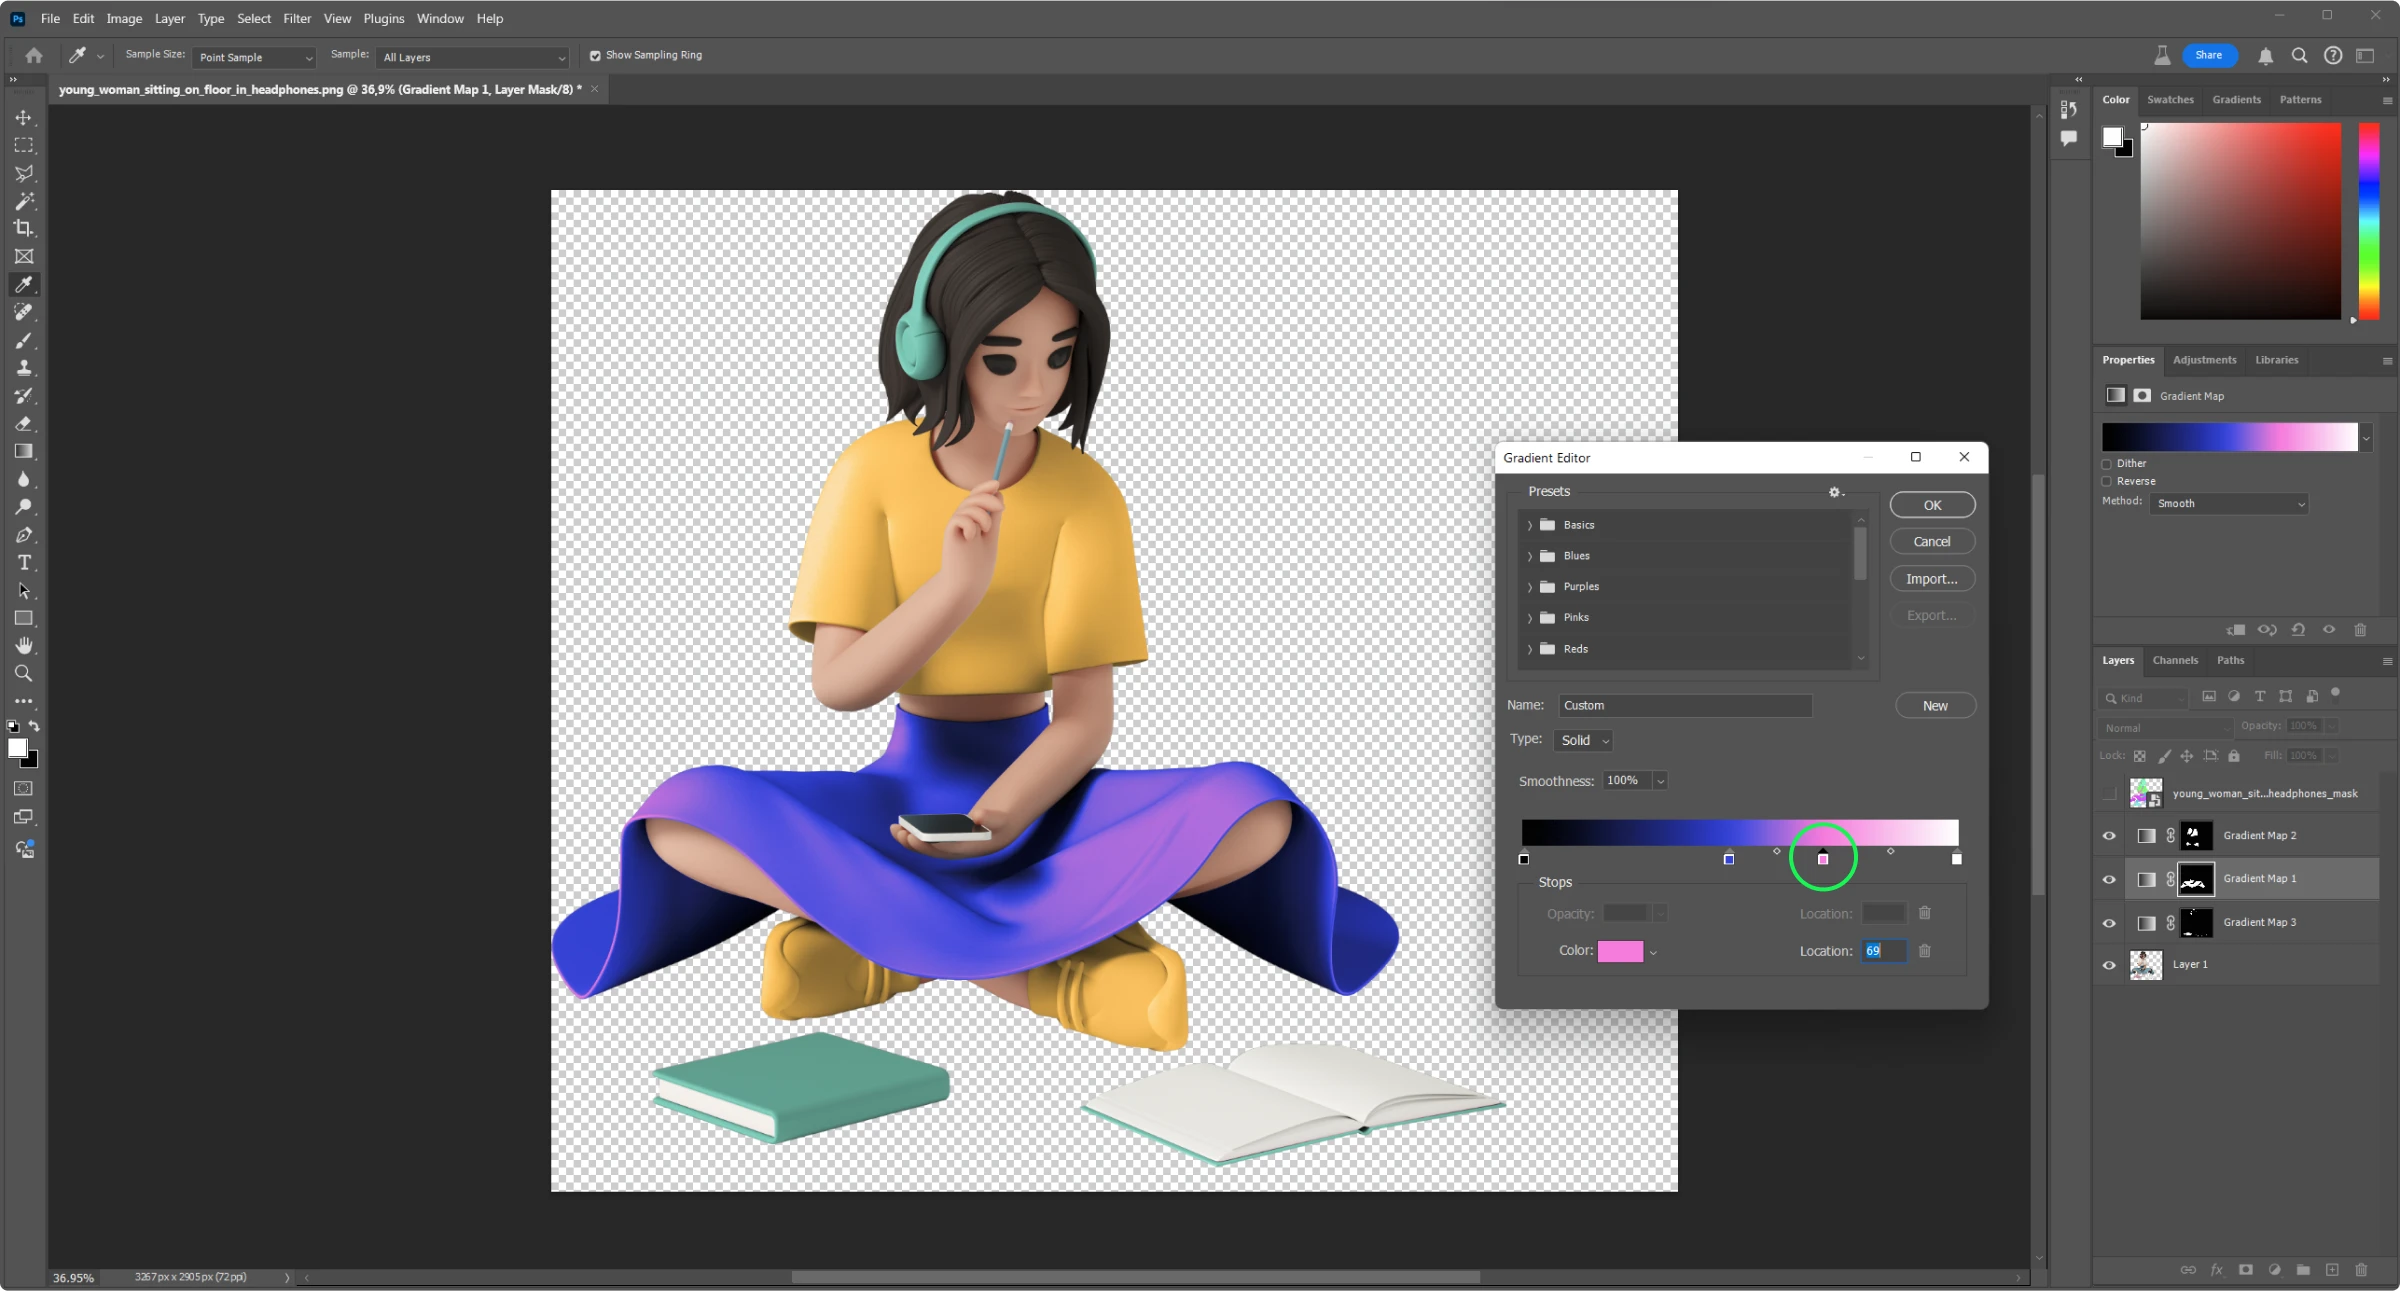
If you want, you can add more than two colors to the stretch.
Finishing up
To recolor the whole illustration, make the mask layer visible again by clicking on the eye icon area next to the layer in the layer tree and repeat steps 4-5.
Now, your image fits your brand’s color scheme!


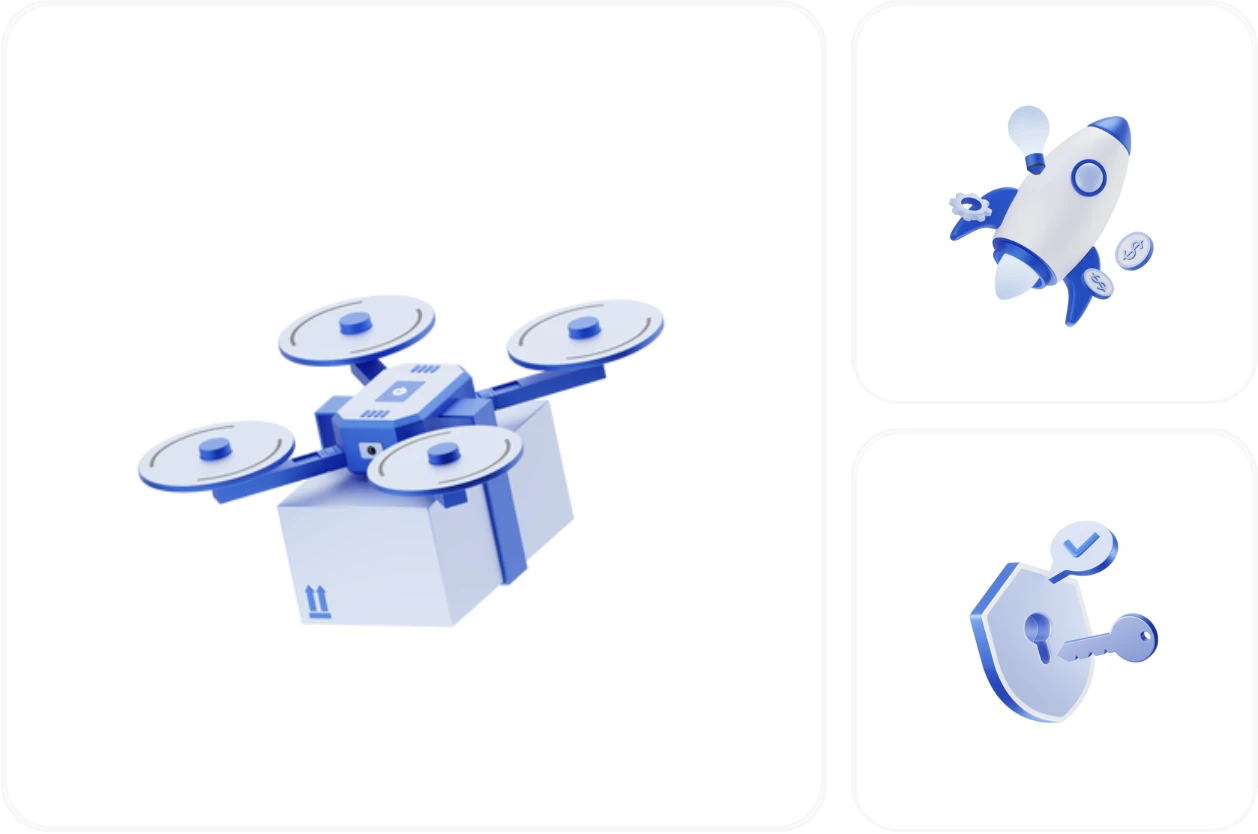
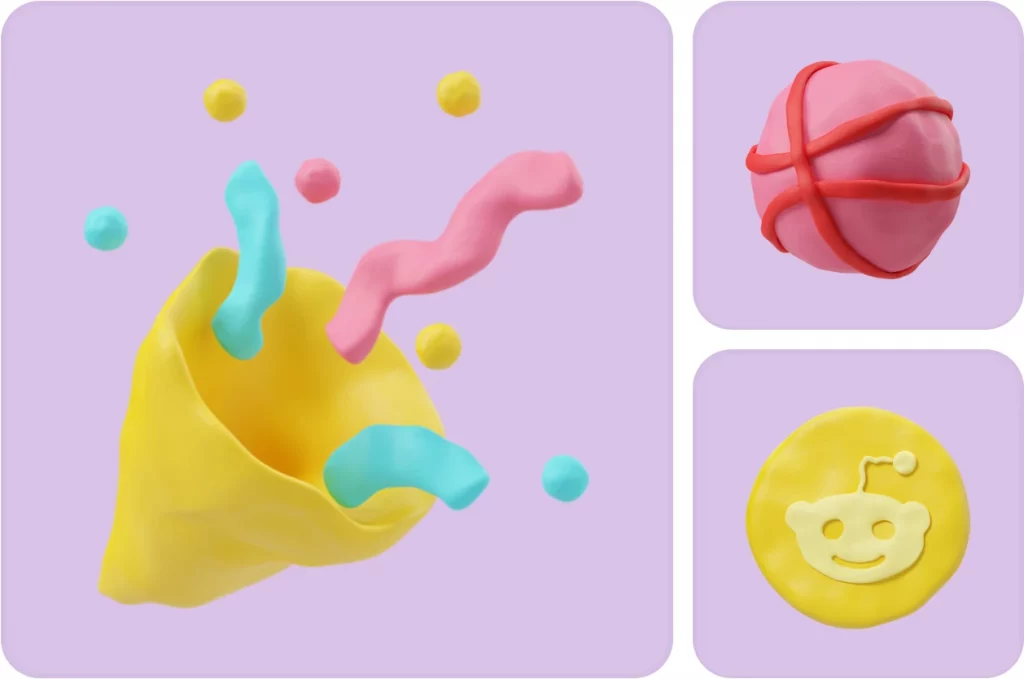
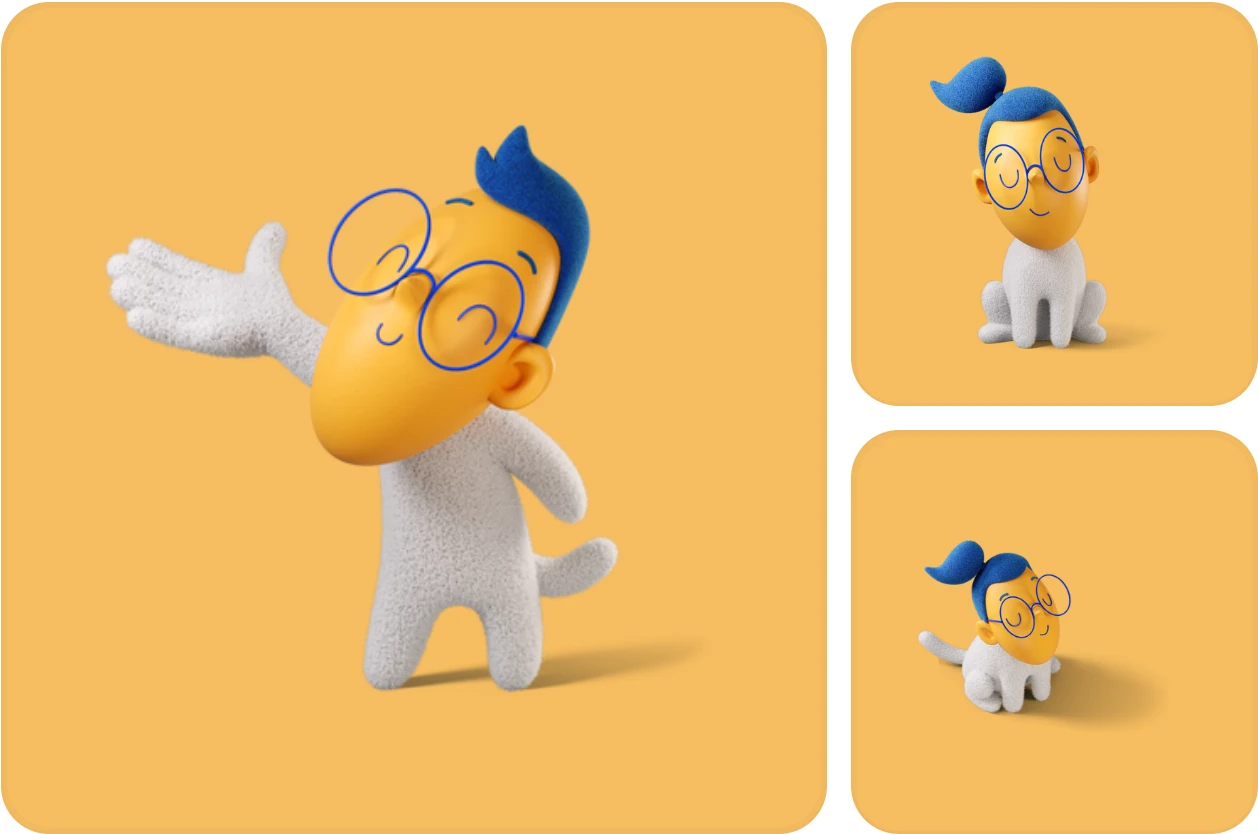
You can do the same with any of our 3D illustrations:


Learn also: