Let’s see how to create a layout and combine illustrations that perfectly visualize complex concepts or topics and don’t confuse the audience.
In this piece, we’ll explore how to create a nice set of digital windows for your animated compositions using Adobe Illustrator. See how they can build upon each other and help make your videos (learn more about making effective animated videos with this guide) not only understandable but also visually captivating in just a few steps.
Pick the colors and elements
It’s important to set a cohesive style from the beginning. For that, you’ll need to determine your color palette and decide whether you’ll be using outlined or solid elements (or both!).
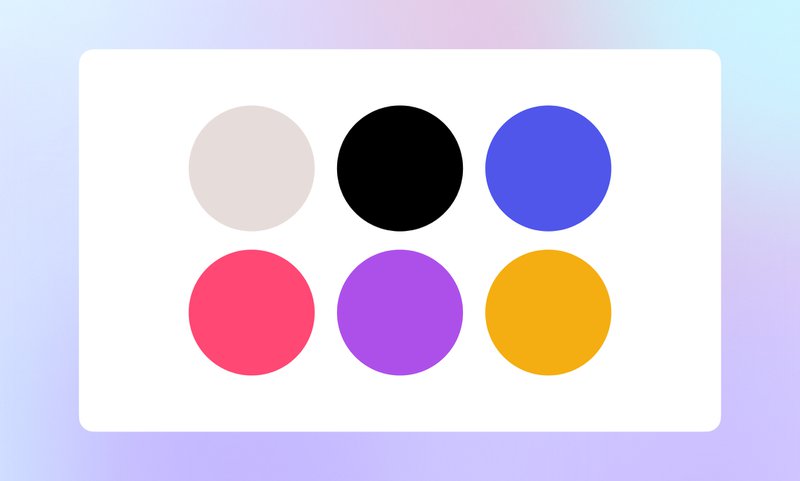
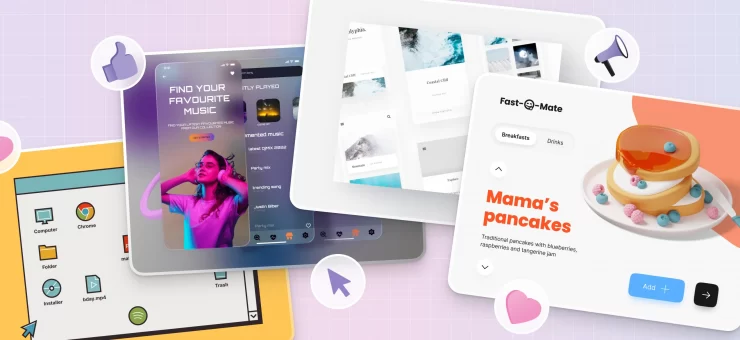
Start with a number of miscellaneous elements that are in tune with your brand identity (see a short guide on how to create your own brand identity here) and the graphic style you’ll be using in your project. You can create a set of multiple shapes or vectors that can share the same visual language, such as “round corners,” “thin lines,” etc.
Create the layout
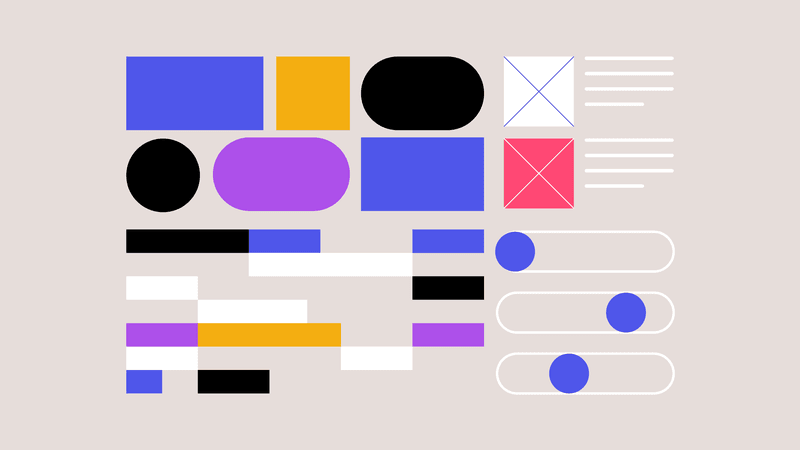
Use these elements to form layout variations for your screens. You can scale them up and down, switch colors, play with the outline thickness, and arrange them in many different compositions.
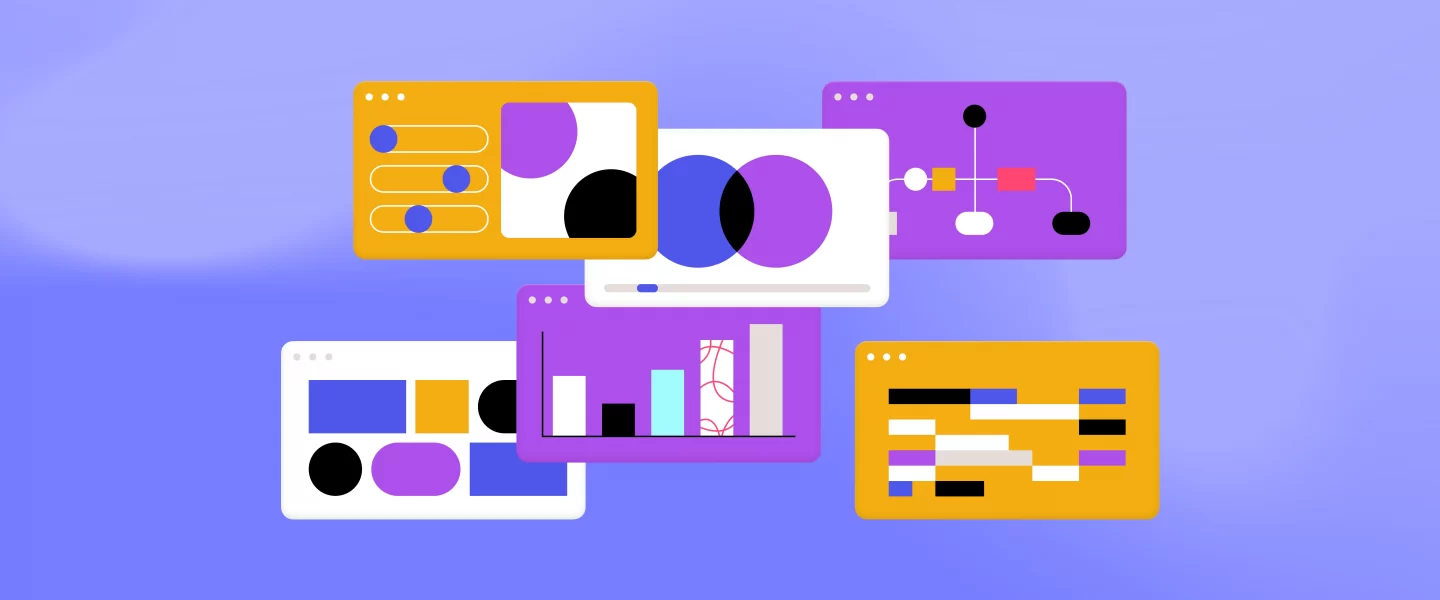
This is a quick example of how you can use the same set of geometric shapes in 2 different contexts:
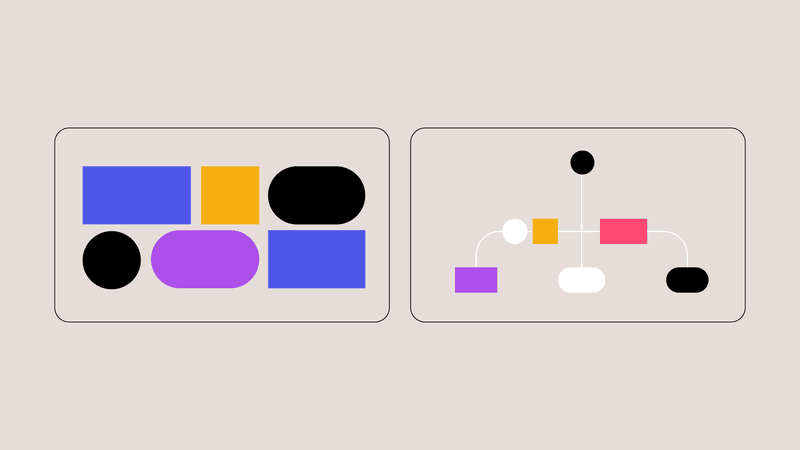
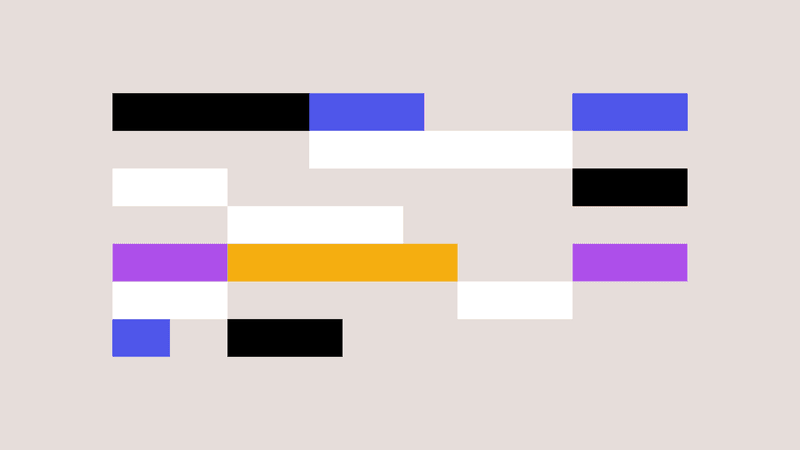
By playing with different layout variations based on the same shapes, you can expand your compositions to a wider list of options and even pack complex concepts into clear geometric patterns. For example, you can use multiple rectangles to represent the idea of a project’s timeline:
Compose the setting
Once you get the hang of variation and conceptualization, you’ll be ready to create a set of up to 8 different content layouts for your screens. Playing with shapes and compositions is an incredibly stimulating exercise. By doing it, you can generate a variety of visuals like graphic bars, charts, diagrams, and more. The possibilities are almost endless!
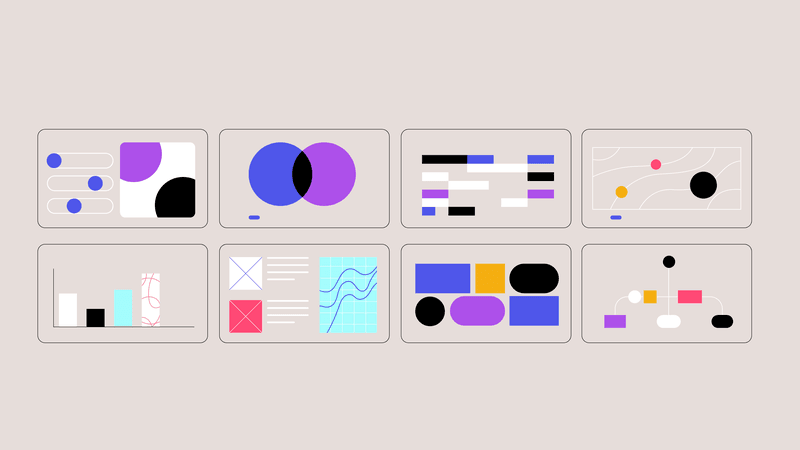
You can also experiment with background colors, add details such as tiny circles at the top that simulate interface icons, and even play with transparencies (if that’s part of your project’s visual style, of course). Once you’re happy with the set of screens you’ve created, you can arrange them in a symmetrical group.

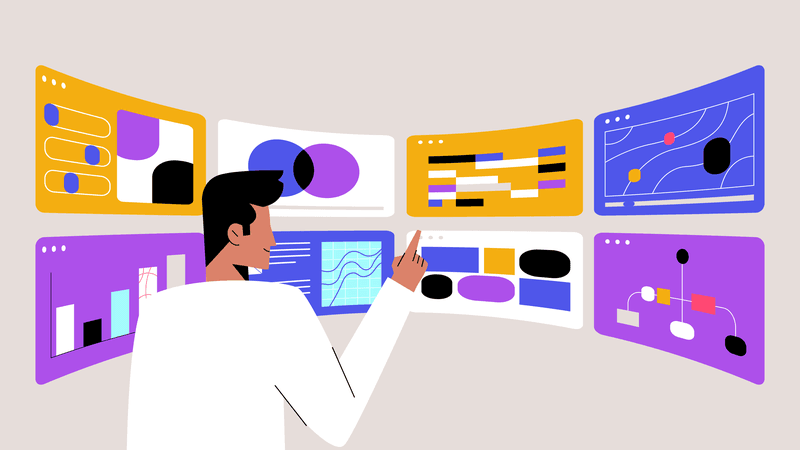
Add the volume and perspective
Make a copy of the group in a different layer and go to Effect > Warp > Bulge. This will open the effect window settings. There, you can set up your composition and establish the depth you wish to achieve.
(We always recommend keeping the original flat group on a different layer, so you can import those assets to your animation software and add the depth effect directly into the animation).

And done! Now you have an eye-catching composition of multiple screen windows, simulating a 3D environment that would be very useful for an animated scene with characters interacting with them.
Here is an example of such an animated scene:
About the author:
Victor Blasco is a digital marketing expert, Co-Founder & CEO of Yum Yum Videos and Yum Yum Digital.