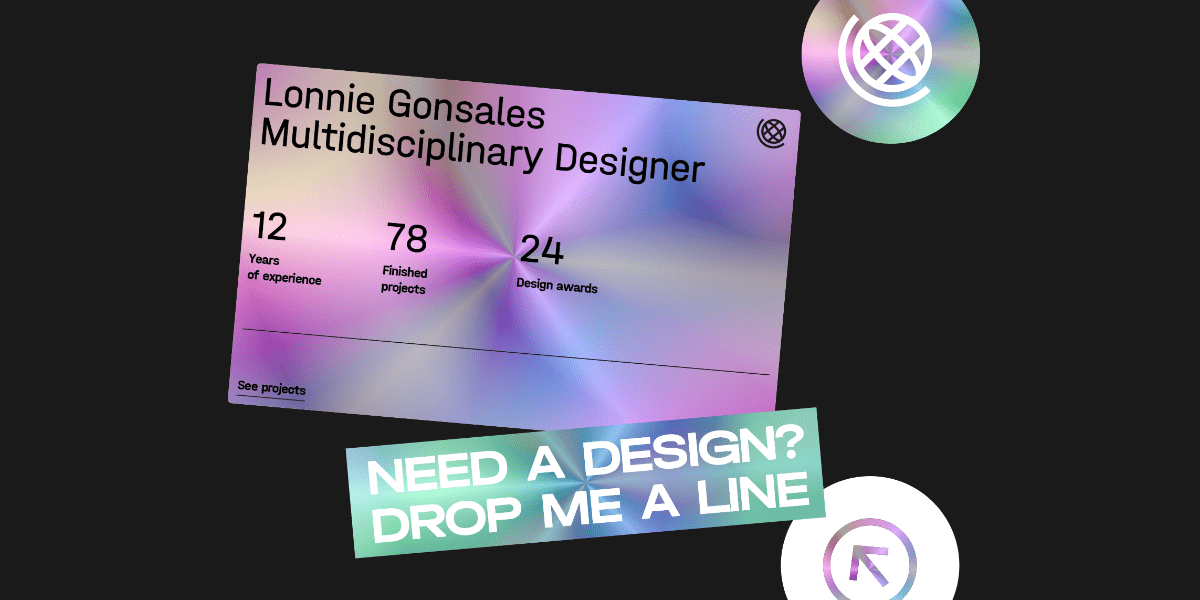
In this tutorial, you’ll learn how to create a holographic effect in your designs.
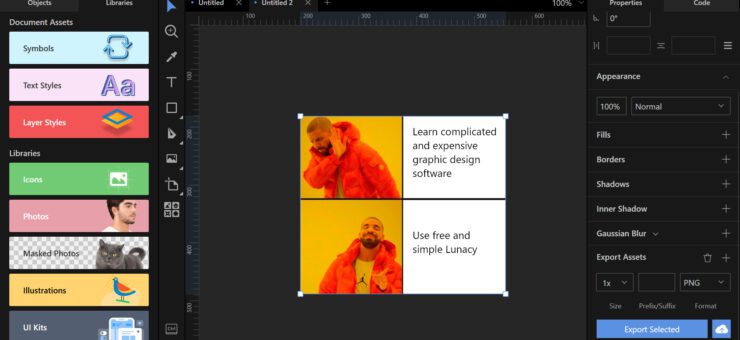
We’ll be using Lunacy, a 100% free collaborative design app with built-in graphics.
You can watch this video with the full version of the tutorial or follow the step-by-step guide below.
Launch Lunacy and create a new document.
Create an artboard. I selected the HD option from the list of presets in the right panel. Adjust the zoom so that the artboard fits the canvas. Increase the artboard height to 800px.
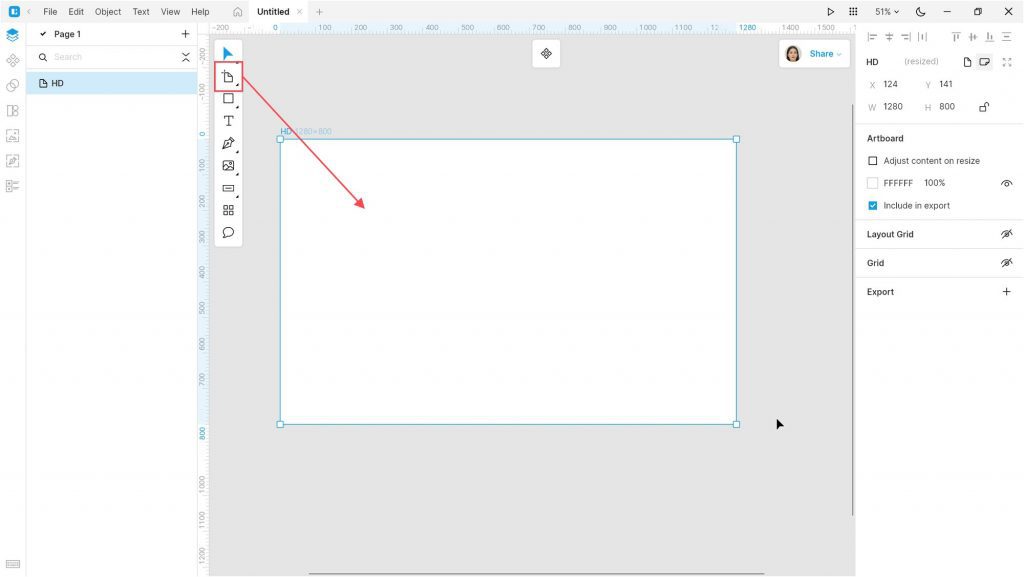
Add a rectangle (R) the size of the artboard.
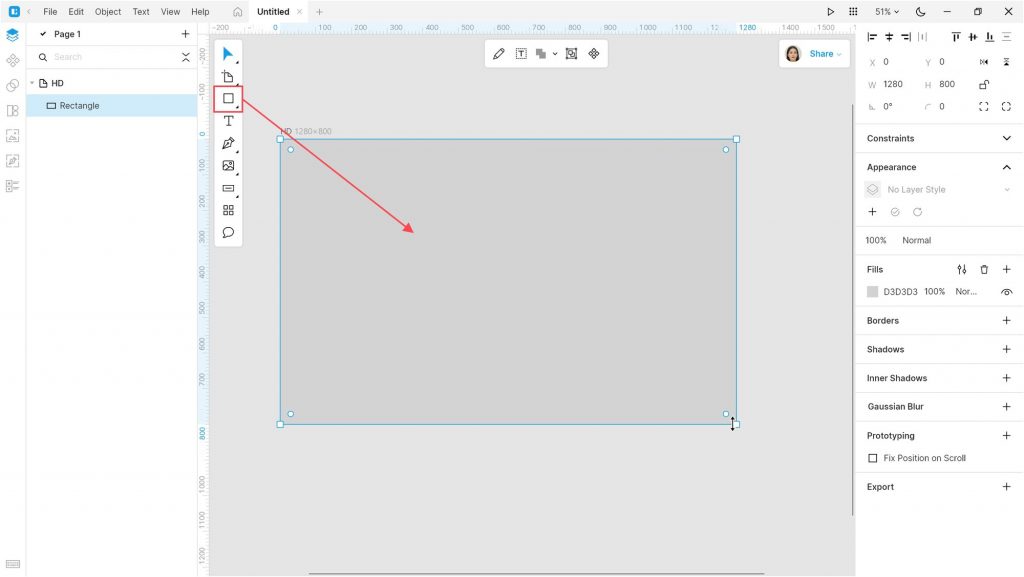
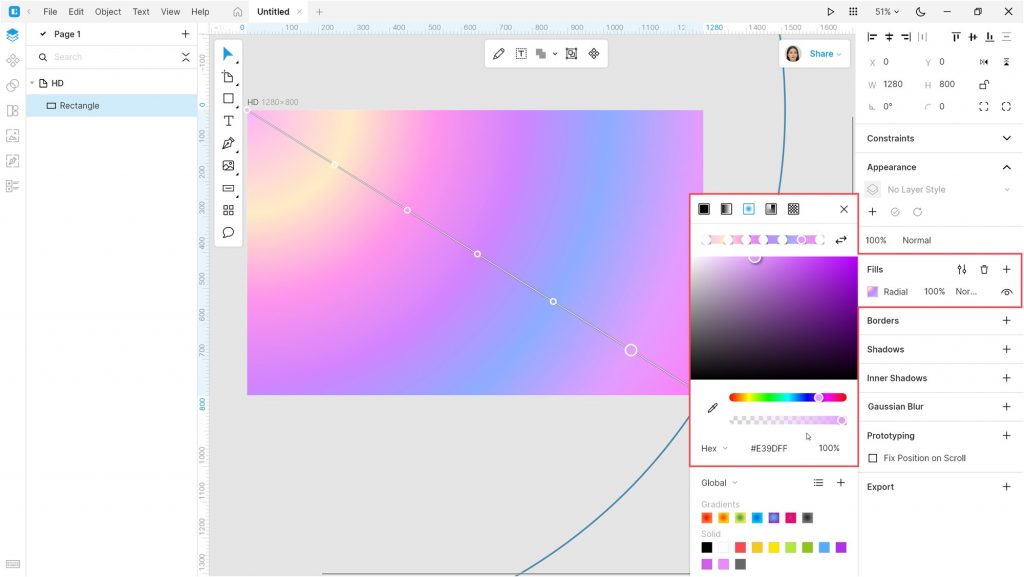
Change the Fill of the rectangle to Radial gradient with the following colors: #FFB4F7 > #FFECC6 > #FF95EC > #D384FF > #8EADFF > #E39DFF > #FF7EF6.
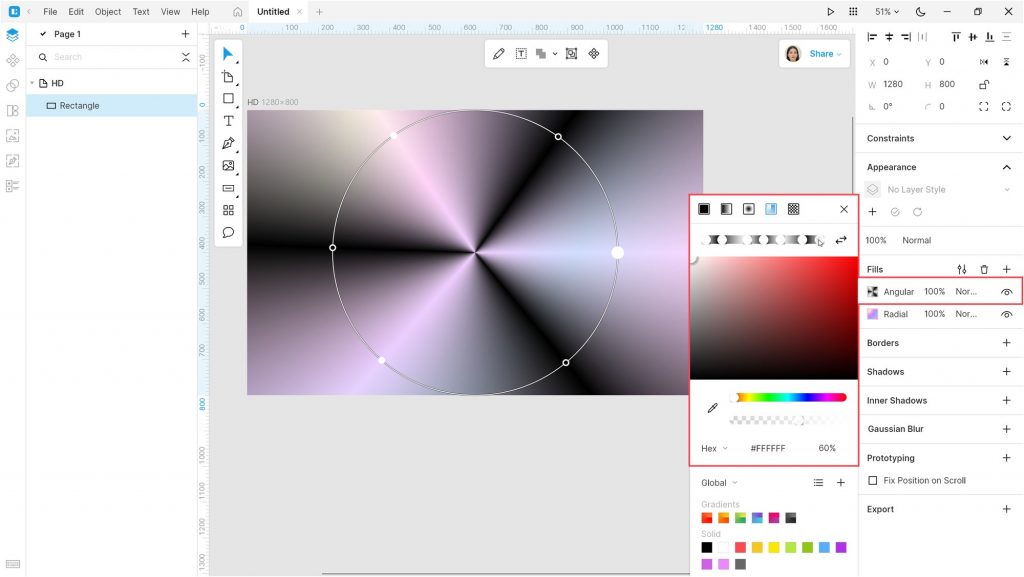
Now create the second fill layer. Change the fill type Angular gradient. Add 3 rays with color #000000 and opacity 100%, and 4 rays with color #FFFFFF and opacity 60%.
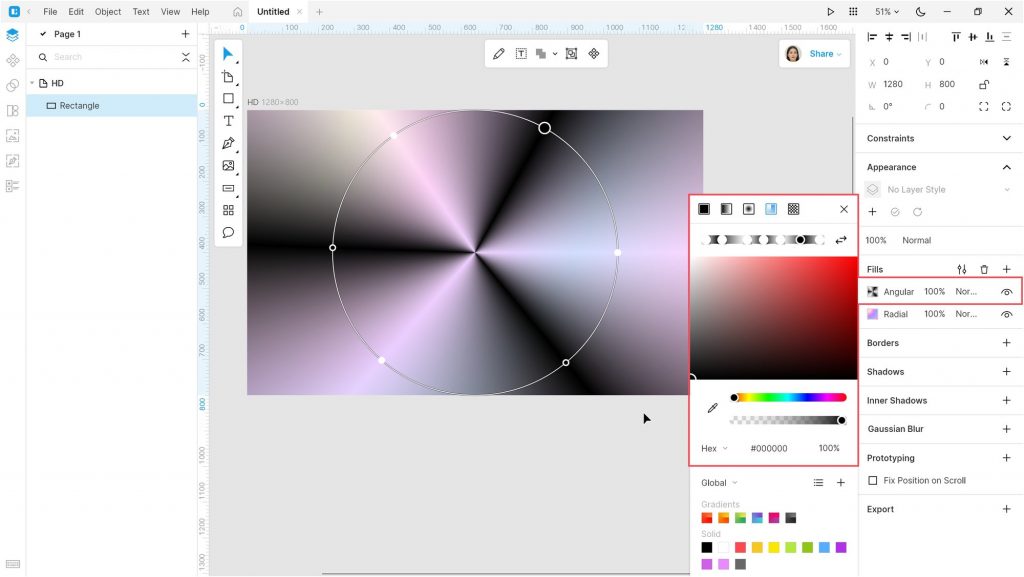
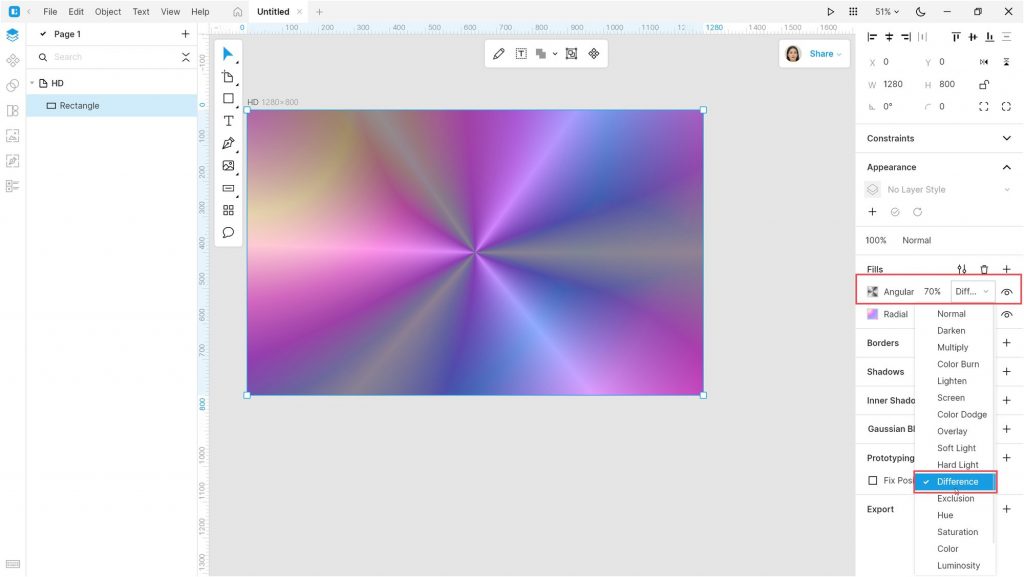
Change the blend mode to Difference.
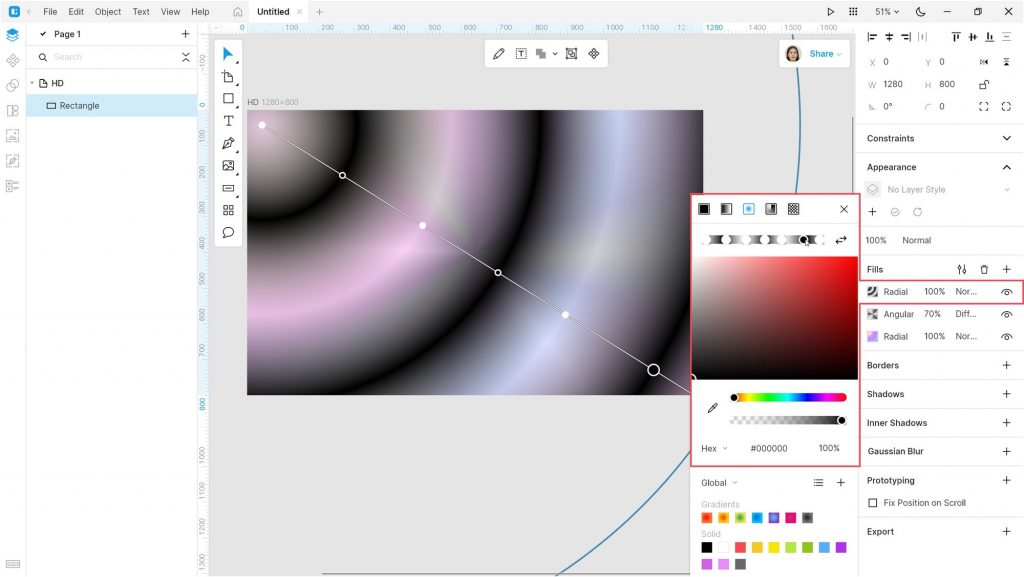
Create the third fill layer with a Radial gradient. Add 3 points with color #000000 and opacity 100%, and 4 points with color #FFFFFF and opacity 60%.

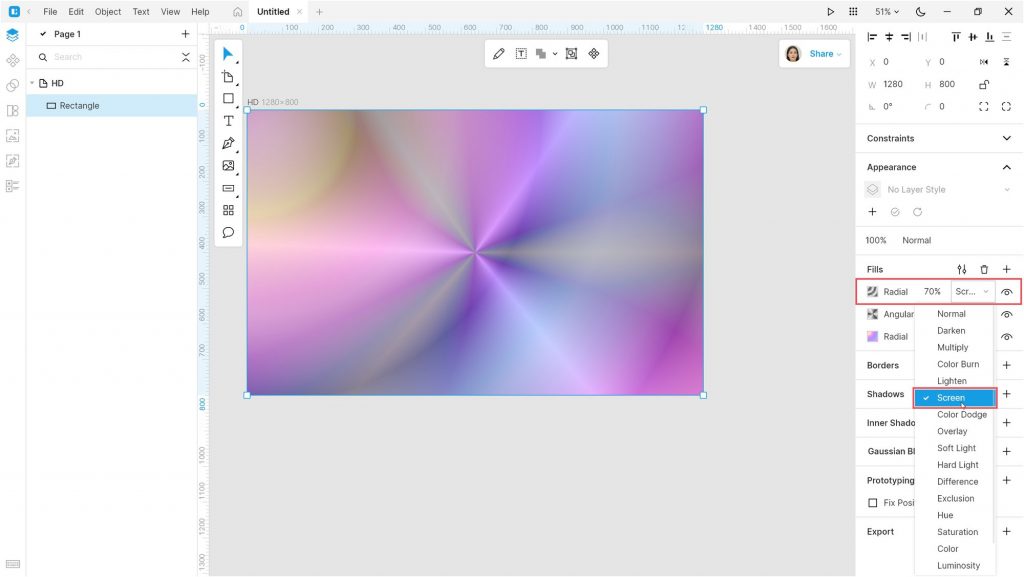
Change the blend mode of the layer to Screen. The background is ready. Let’s start adding elements.
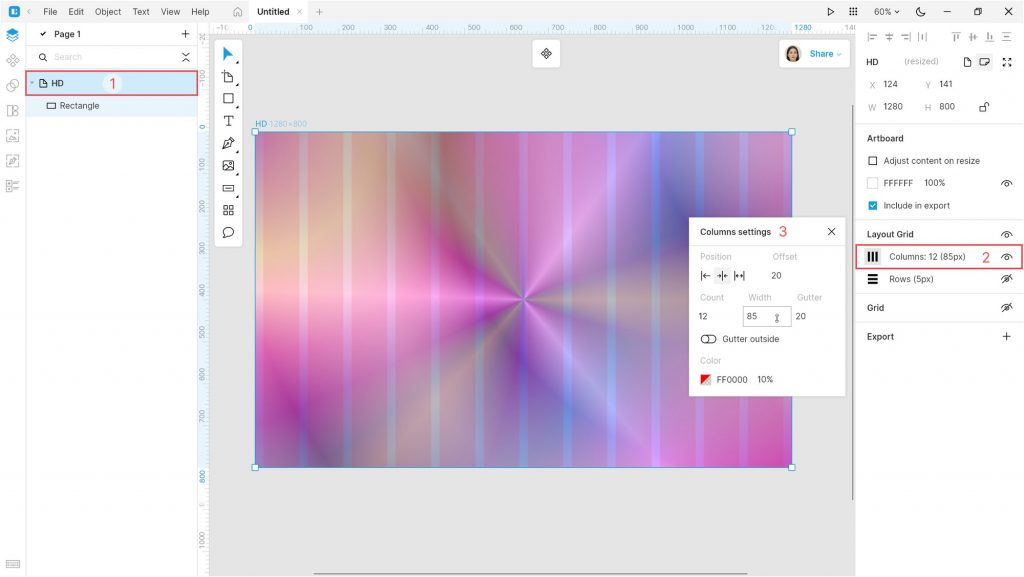
Select the artboard and enable the Layout grid (Ctrl+ or ⌃ G). Adjust the columns settings: select the center position and set the width to 85.
Now let’s add some elements to the canvas.
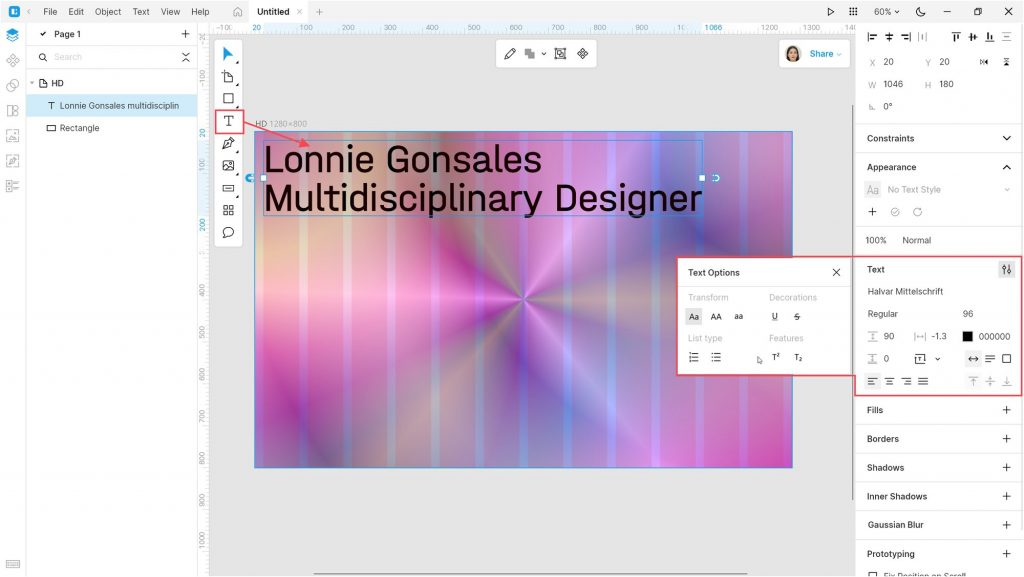
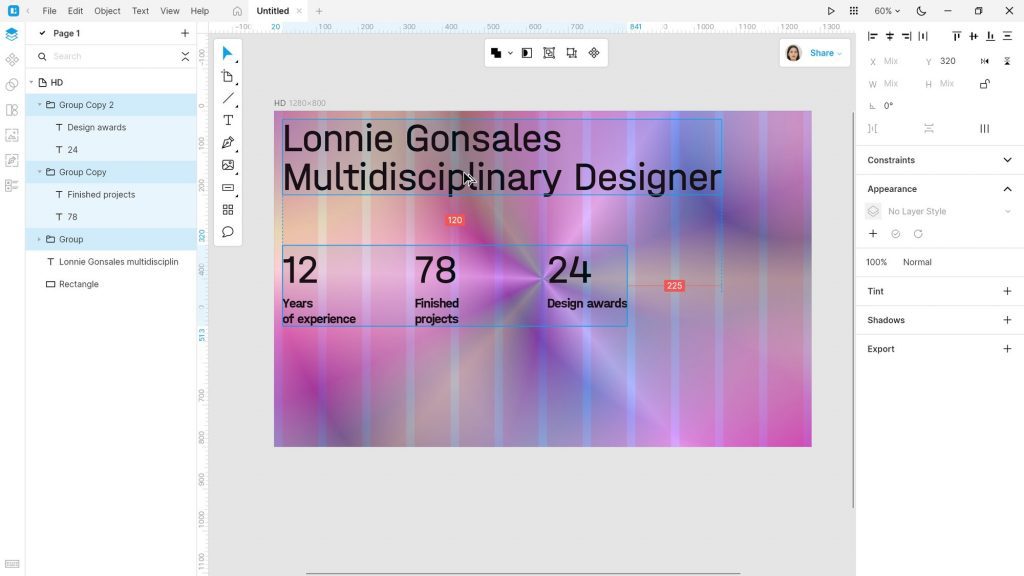
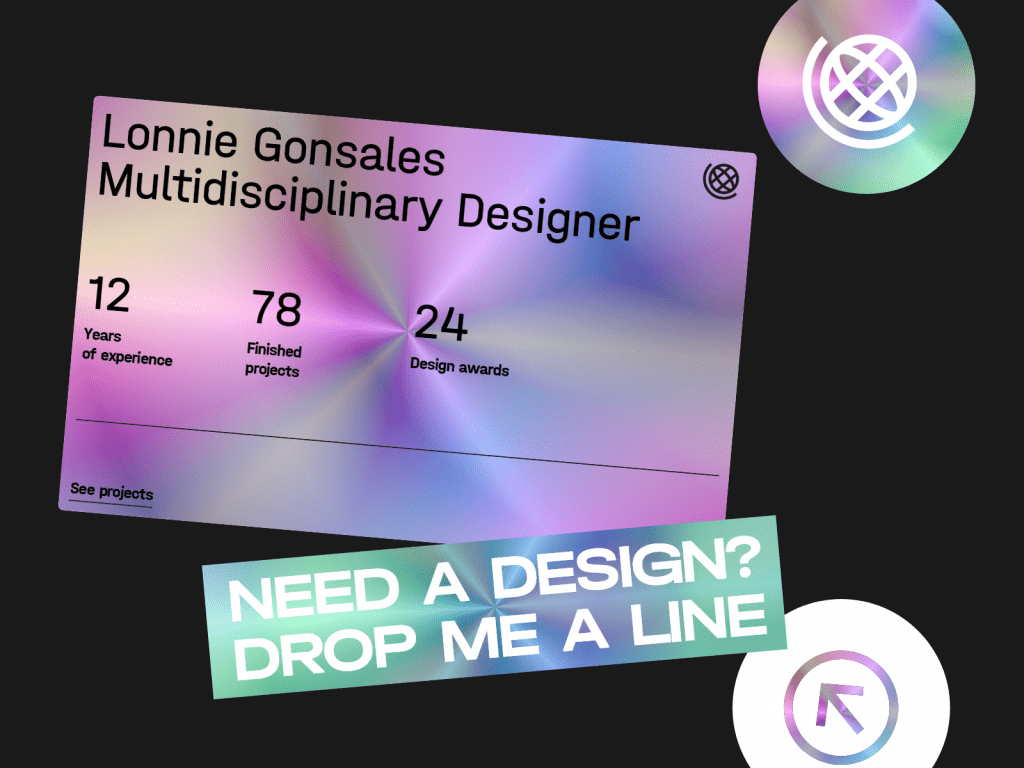
Select the Text tool (T) and add a text block. I used the following text settings: Halvar Mittelschrift, size 96px, line spacing 90px , Text Options > Title case.
Add the second text block with the same settings.
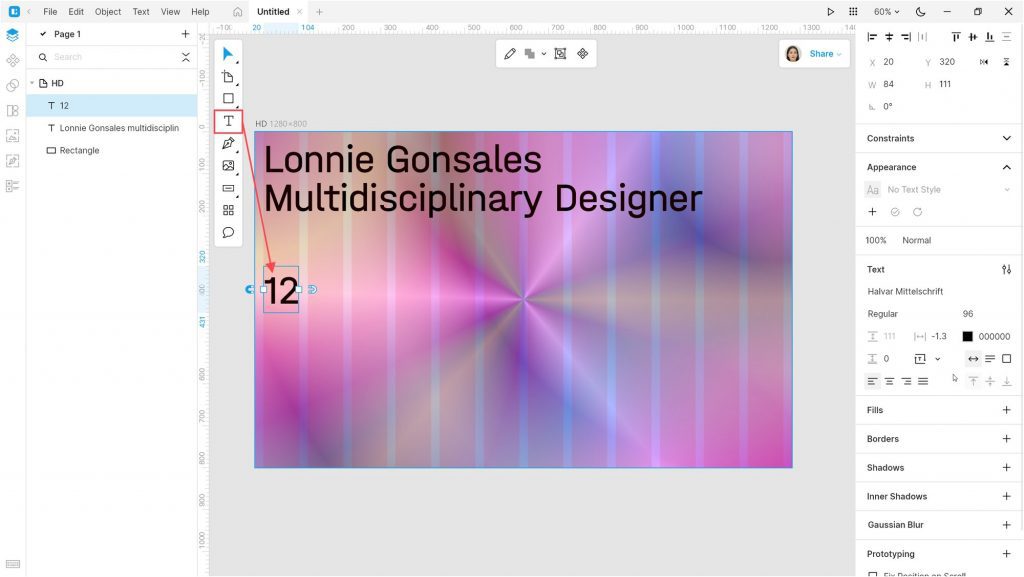
Add the third text block. Change the size to 32px and turn off the Title case option.

Select the last 2 text blocks and group (Ctrl+G / ⌘ G) them. Duplicate (Ctrl+D / ⌘ D) the group 2 times.
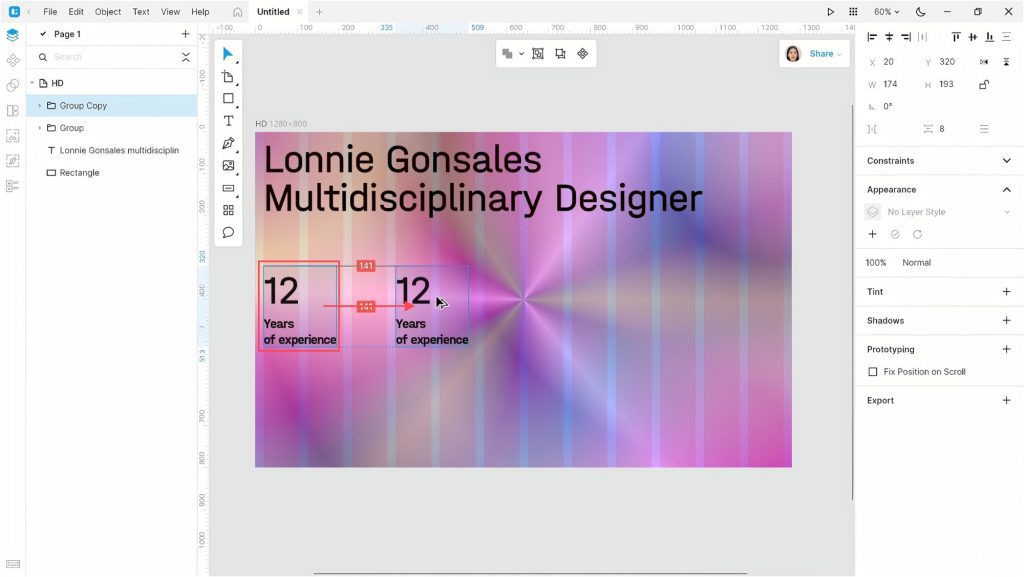
Change the text of the duplicates and align the three text blocks.
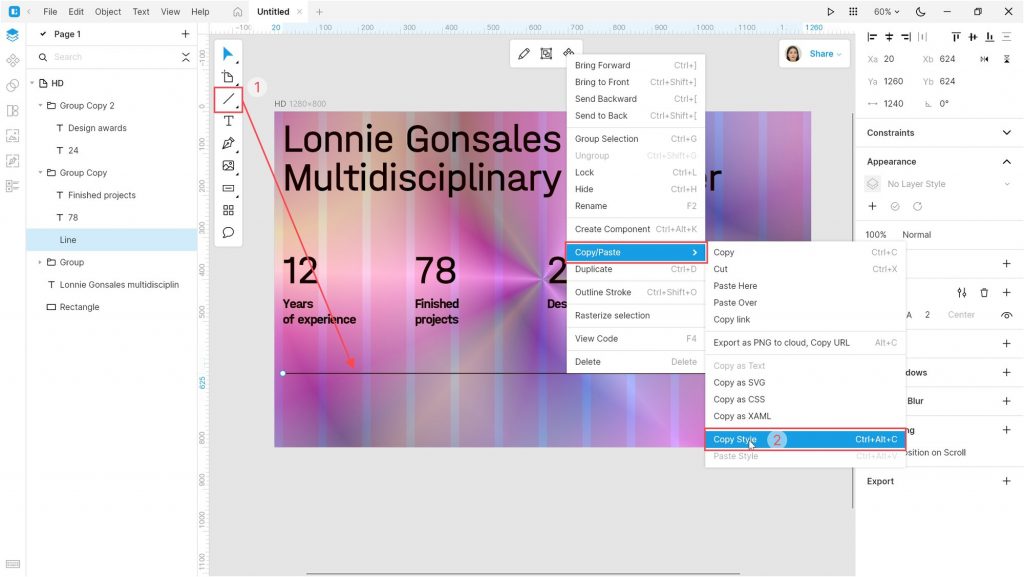
Enable the Line tool and draw a line under the text blocks. Set the line color to #1A1A1A and thickness to 2px. Copy the style (Ctrl+Alt+C / ⌘ ⌥ C) of the line.
Create a small text block at the bottom of the artboard.
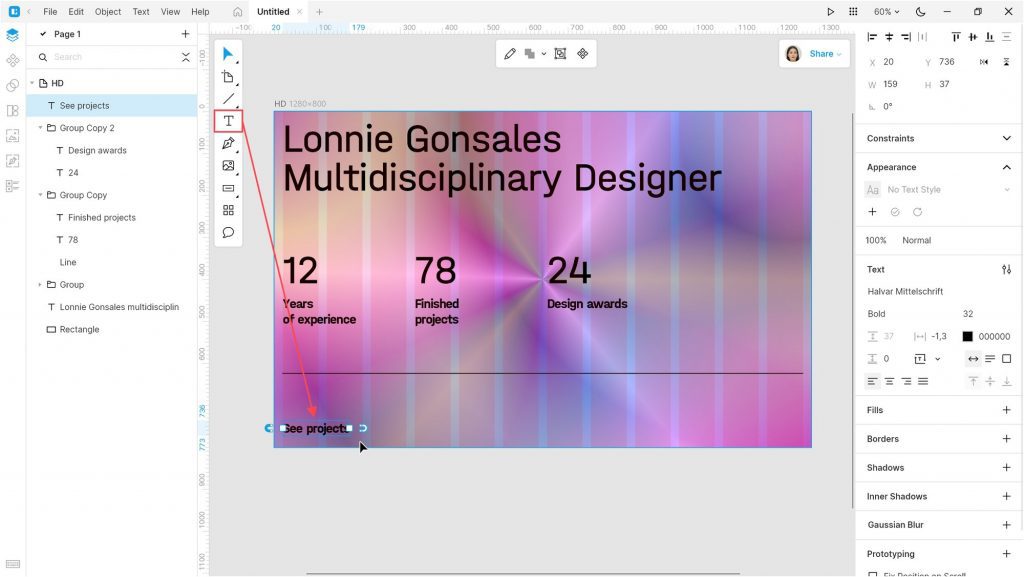
Add a line under the small text block. Paste the style that you’ve copied earlier (Ctrl+Alt+V / ⌘ ⌥ V).

Create the last text block in the lower-right corner of the artboard. Add a text, you can use alternative codes like me.

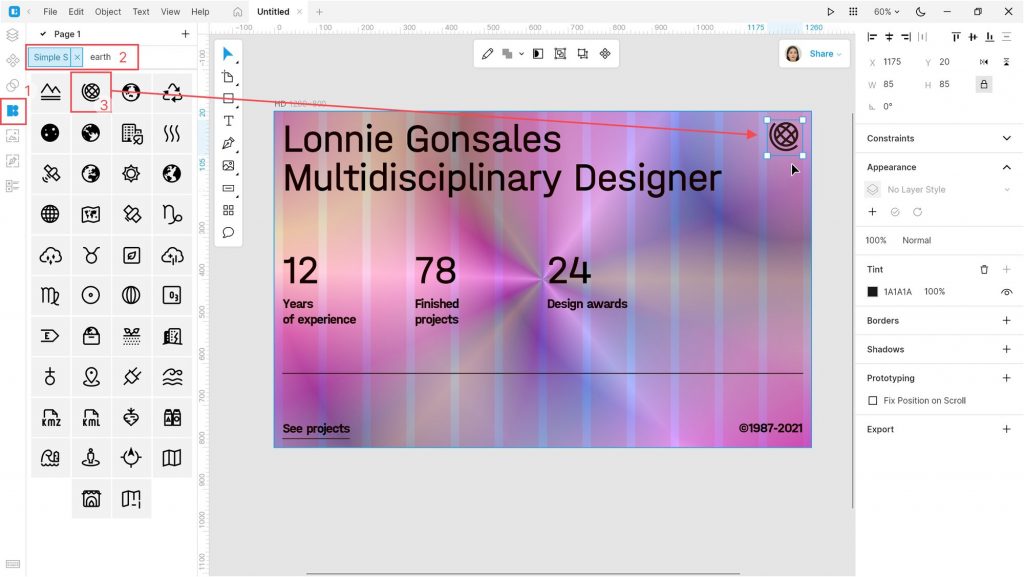
Open the Icons tab and select an icon you like. I used the Earth icon from the Simple small style.
Turn off the layout grid.
Create some more elements and place them all onto the Dribbble Shot Retina artboard.
Watch the full tutorial:
Create your designs in Lunacy and share them with us on social media: Twitter, Facebook, and Discord.
Check out the other Lunacy tutorials:
Lunacy is a collaborative graphic editor with built-in graphics. It lets designers focus on their work rather than spend hours googling for icons and illustrations they need. Starting from version 8 Lunacy runs not only on Windows but also on macOS and Linux. Help us spread the word about Lunacy. Send your fellow designers and developers this link https://icons8.com/lunacy.
About the authors
Julia G, a QA engineer for the Lunacy team, and Ilnur K, a product designer for the Icons8 team.